


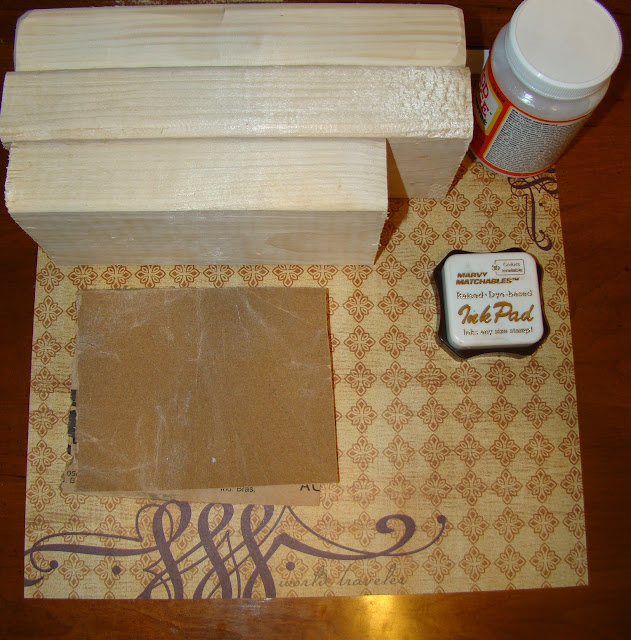
Here is what you will need:
3 Wood blocks (I used a 2X4 cut to these lengths: 6.5, 8.5 and 8.5 inches)
Paint
Scrapbook paper
Computer
Mod Podge
Sand paper
Ink (or stain) for distressing
Power sander (Optional)
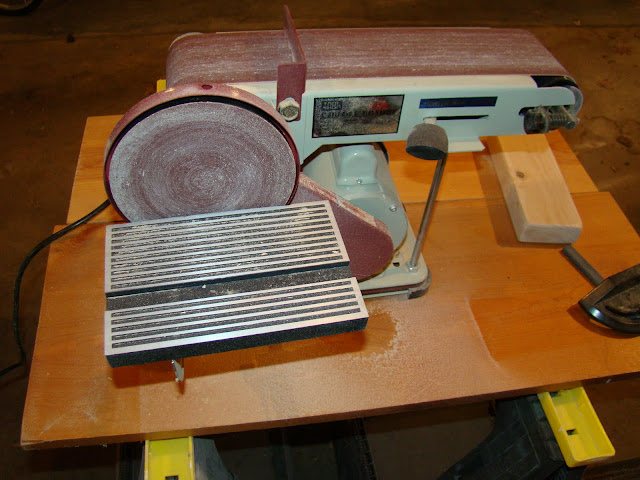
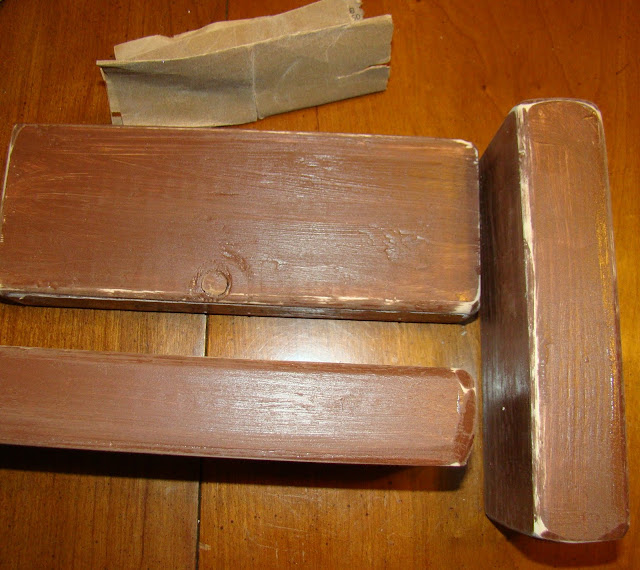
1.Sand down your wooden block so that the sides and corners are all smooth.
I used a POWER sander.
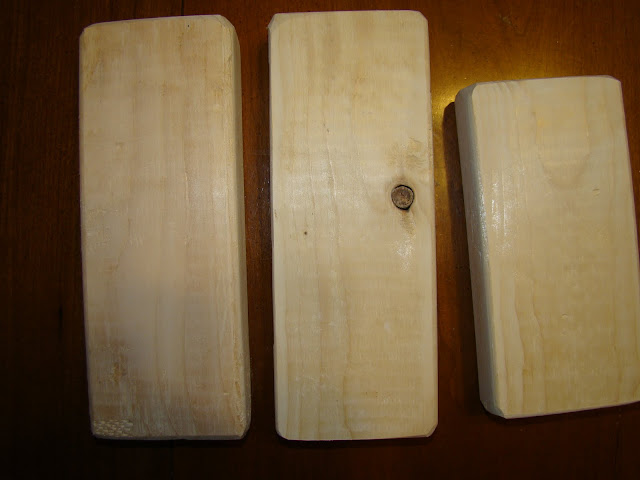
2. Paint all the sides of your blocks and let dry

3. Now here is the cool part! I printed the name and year established out on my computer... I first did a practice one on regular copy paper and then when I got the size right I printed it on my scrap book paper. There are lots of cool fonts you can download for FREE online (You can google "free fonts" and lots of sites will pop up... I really like: 1001 Free Fonts) It took me a couple of practices ones before I got the right size that I liked. Trim your scrapbook paper to 8.5X11 and put it in your printer when you are all ready. I used 2 pieces of scrapbook paper for it all to fit.
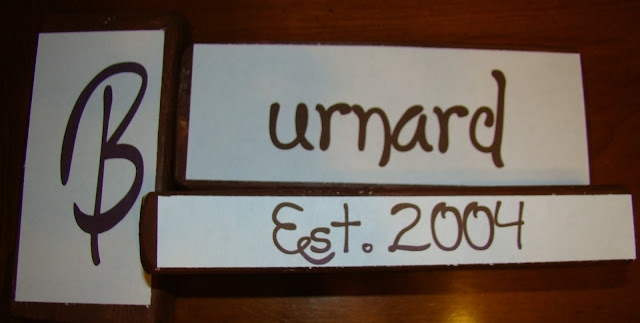
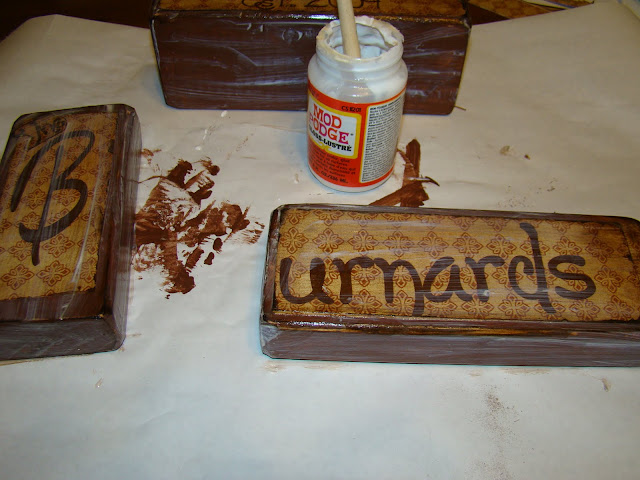
4. Once you have the words printed and cut out use the Mod Podge to glue it to the font sides of your blocks.
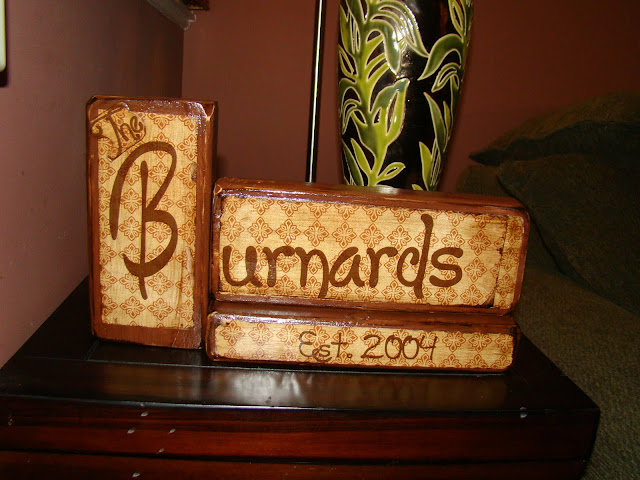
- I glued the first letter of the last name to the 6.5" block on the 6.5" X 3.5" side of the block
- I glued the rest of the last name on one of the 8.5" blocks on the 8.5" X3.5" side of the block
- I glued the Est. year one the other 8.5" block on the 8.5"X1.5" side of the block
- Let dry
5. Use your sandpaper to distress your edges and corners of the front and sides of your blocks.
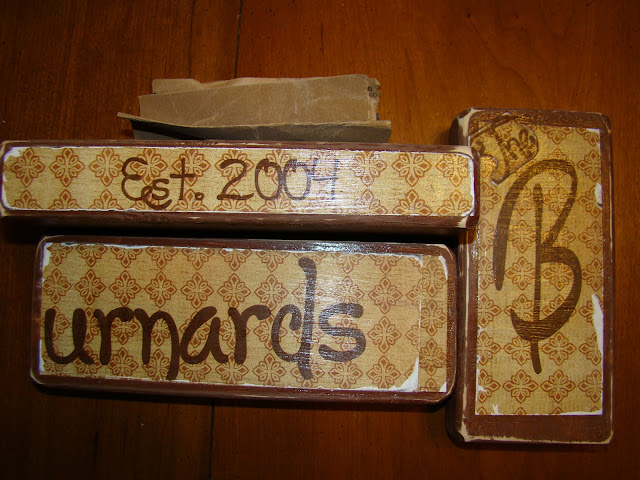
6. Use your ink or stain to the edges and corners that you just distressed.

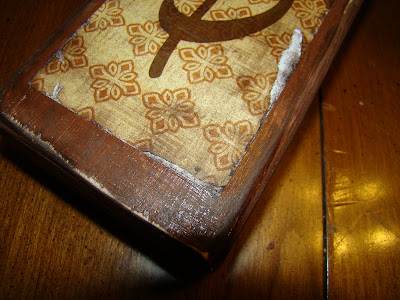
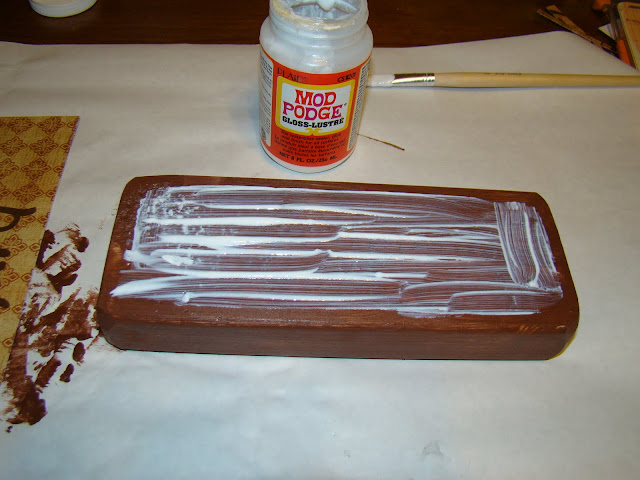
7. Paint Mod Podge over all the sides of the blocks to seal and finish it!
It makes a great wedding or house warming gift!
**For Personal use only! If you don't want to take the time I am selling CUSTOMIZED name blocks at my Etsy shop: Funky Joy!**
I am linking to these parties!
17 comments :
Fawnda! That is so cute. :D
That is so cute! Thanks for the tutorial! It will make the perfect bridal shower gift for my sister's upcoming wedding!
Thanks for the reminder that you can make cute things without a circuit! Not that I would ever turn one down. Your blocks look great! Thanks for sharing with Made it Monday! Jules
These are terrific, and it always a good thing to remember we don't have to have gadgets and gizmos to make great stuff! Thanks for sharing!
I love it! I have a cricut but have always thought projects could be done without one. Thanks for prove that!
This is darling! I have been wanting to make a blocks set like these, too!! Love them. Thanks for the tutorial!
Brilliant! You and I had very similar wavelengths this week. I don't have a cricut or vinyl lettering (had that info in my post too, ha!) and made mine out of a painted grocery bag!
Those turned out great! I bought a pazzles last year and it's still in the box! lol! Thanks for the great tutorial :)
so stinkin cute!!!!
So cute Fawnda! Such a perfect gift!
Awesome! I tried to make some with rub on transfer paper, but that didn't work out too well. I will give it another shot! Thanks!
I love this, because I am not a cricut owner either! Do I have to have a certain kind of printer? I've heard rumor that modge podge will smear ink if you don't...I was wondering if you know anything about this. :) necklacebliss(at)gmail(dot)com
craftdiscovery.blogspot.com
This is a great twist on the "est" sign. Thanks for the tutorial!
I love the way you used the three different pieces of wood. Original & really cute!
Ooooh I love that you did this without using a Cricut!! Great job! :)
So cute!! Makes me want to buy a sander. hehehe. Love it.
http://thecreativechickadee.blogspot.com/
That's cute! I'm currently making one of these. I used stencil paper and paint for mine.
Post a Comment