Showing posts with label paper crafts. Show all posts

Wednesday, August 21, 2013

Personalized Thank You Cards DIY and Silhouette Promotion!

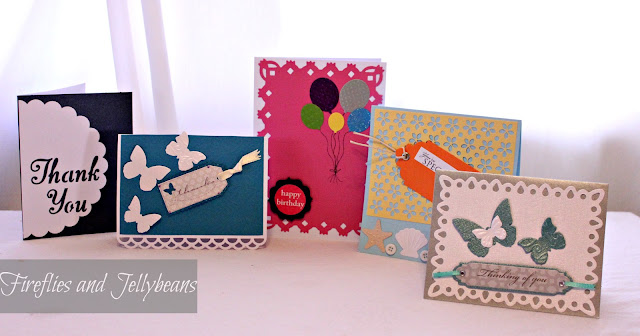
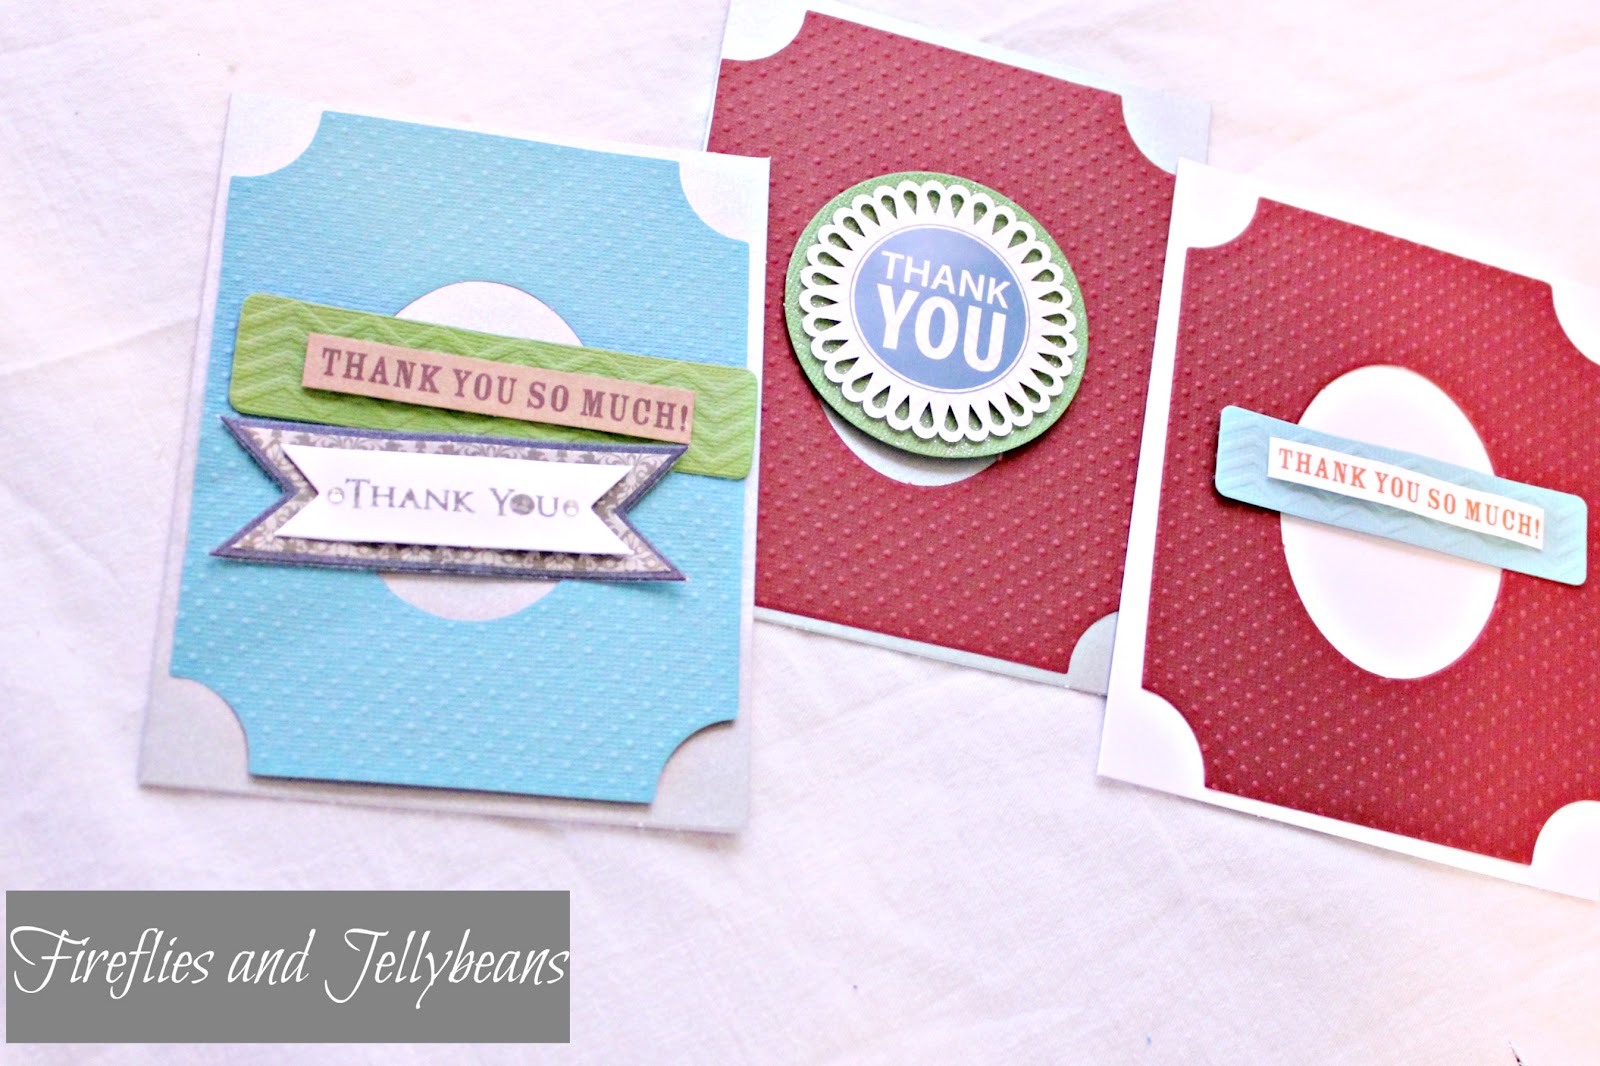
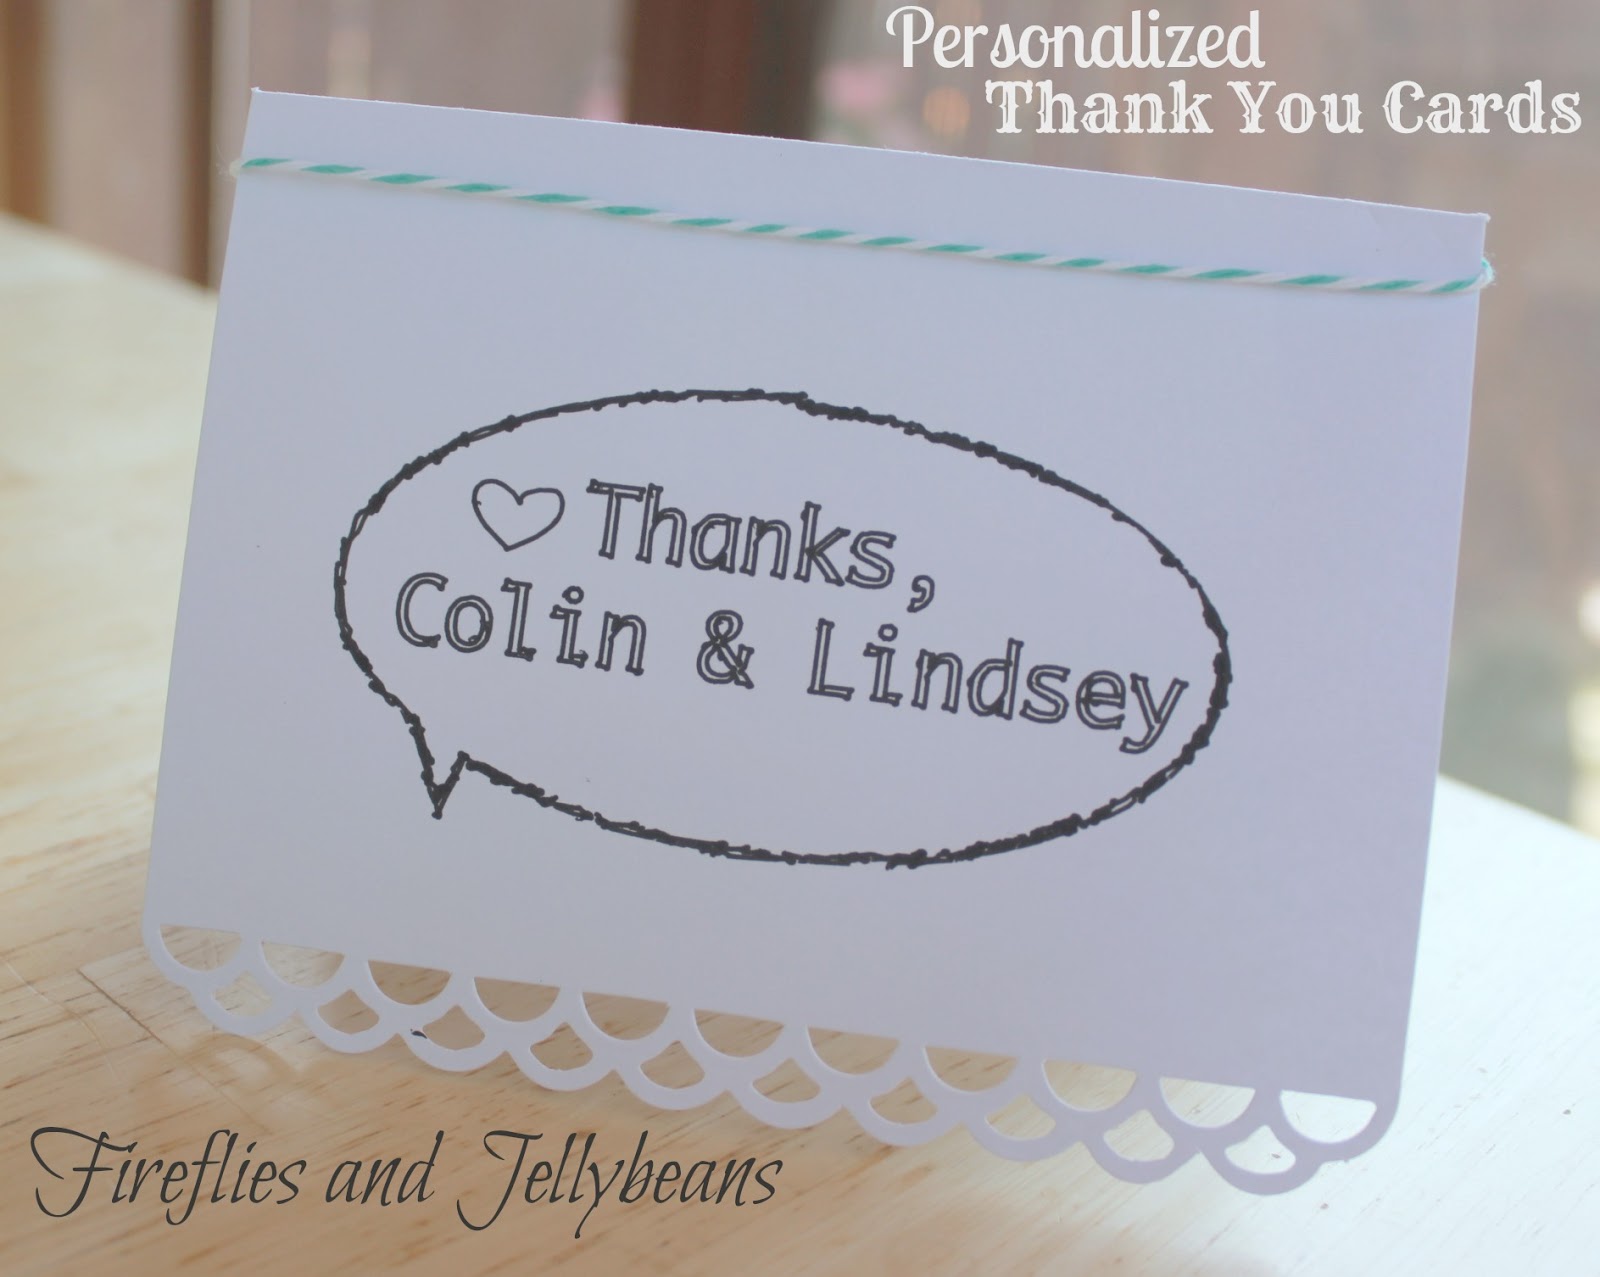
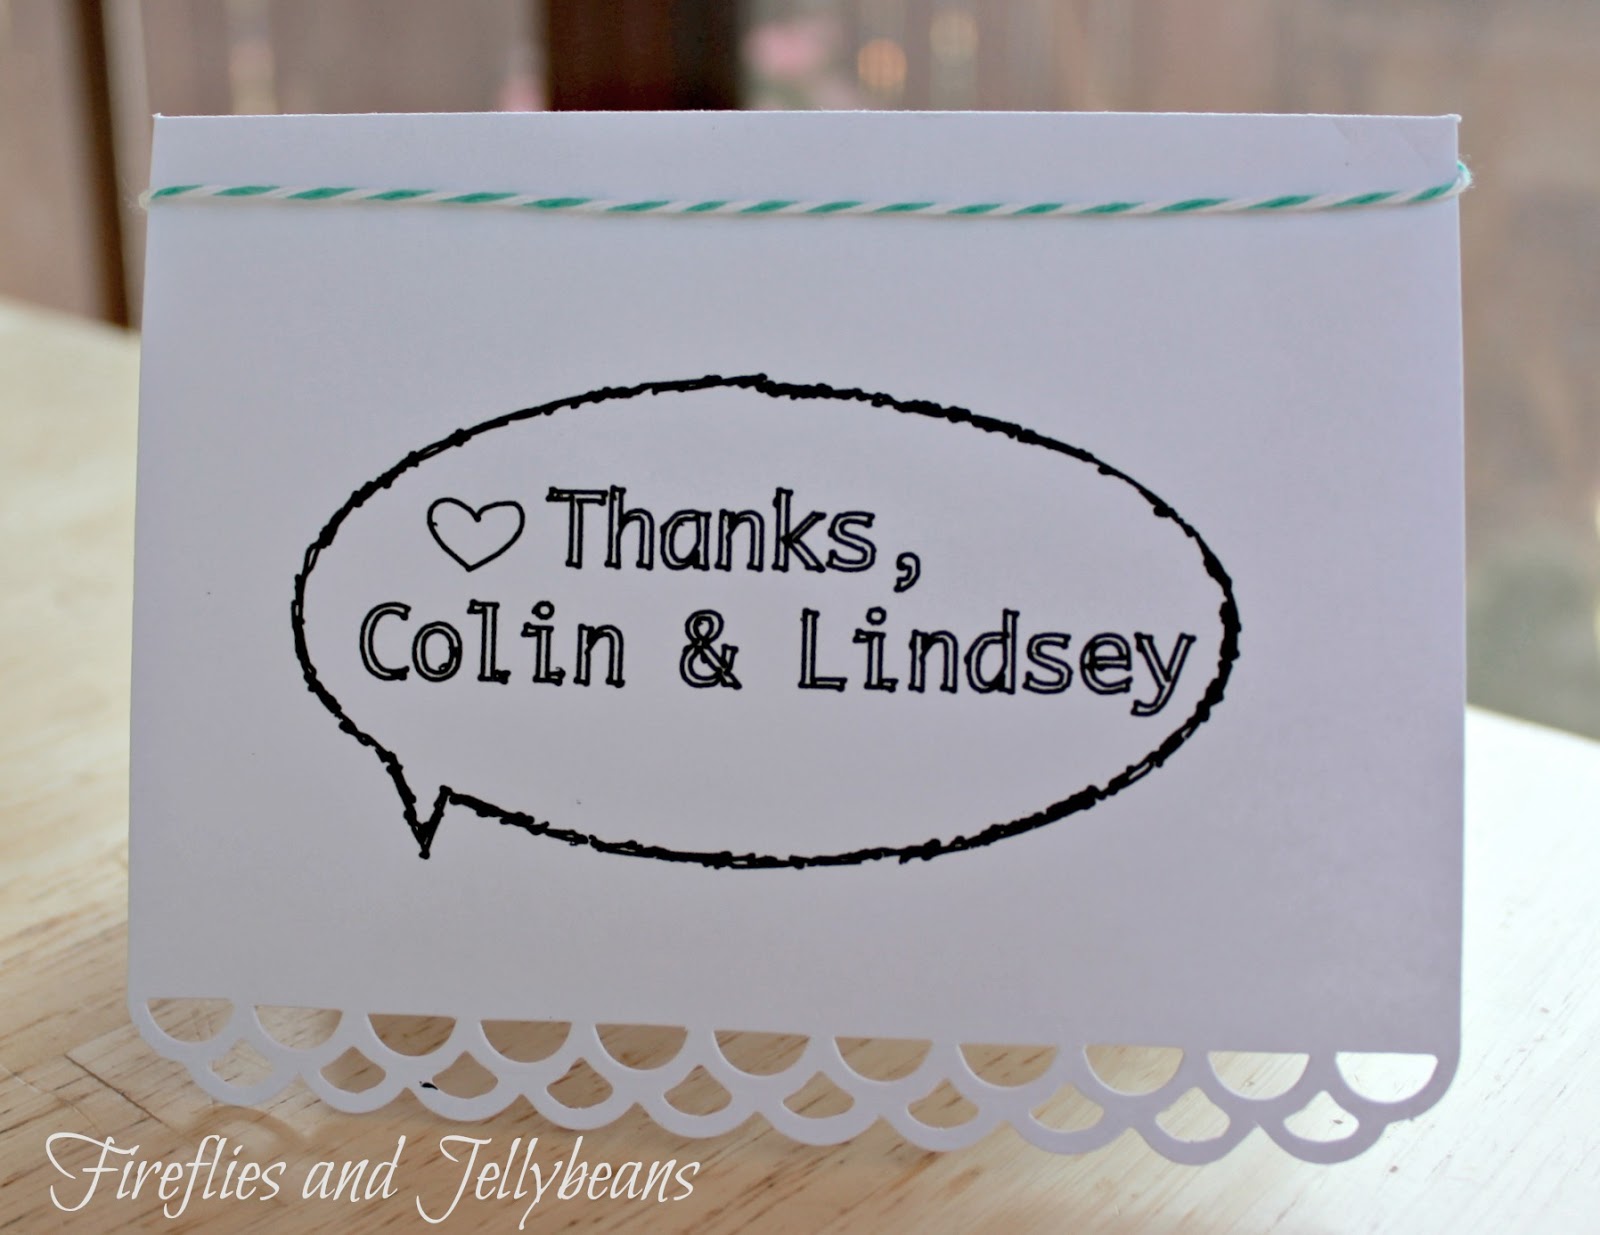
My Friend is getting married in October!  And her shower is coming up!  Since I have to give a little hand-made something to everyone (I am getting known for it now!) I decided to make some personalized Thank-You Cards!  I know that they will need them!  

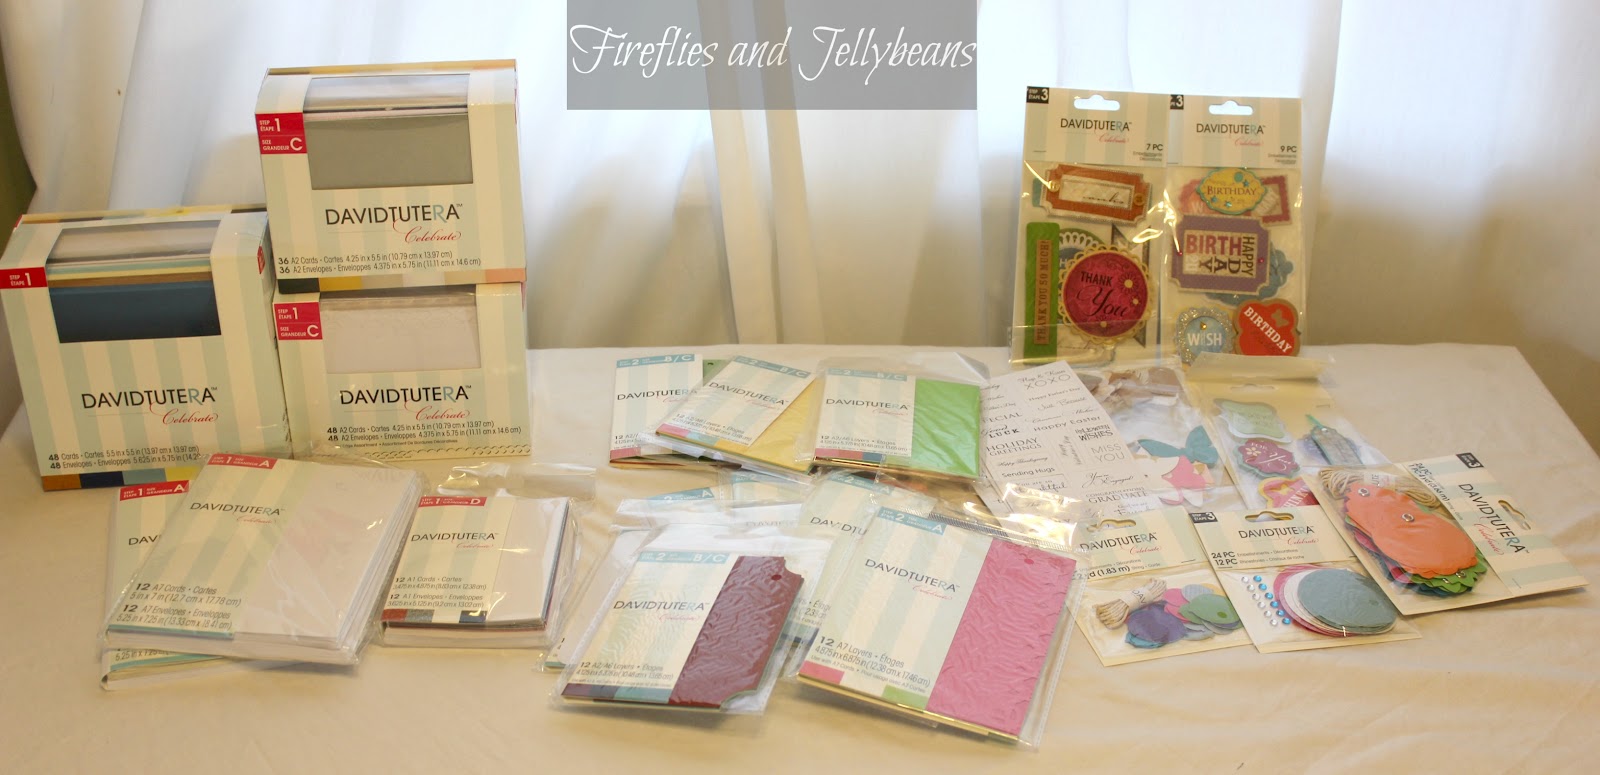
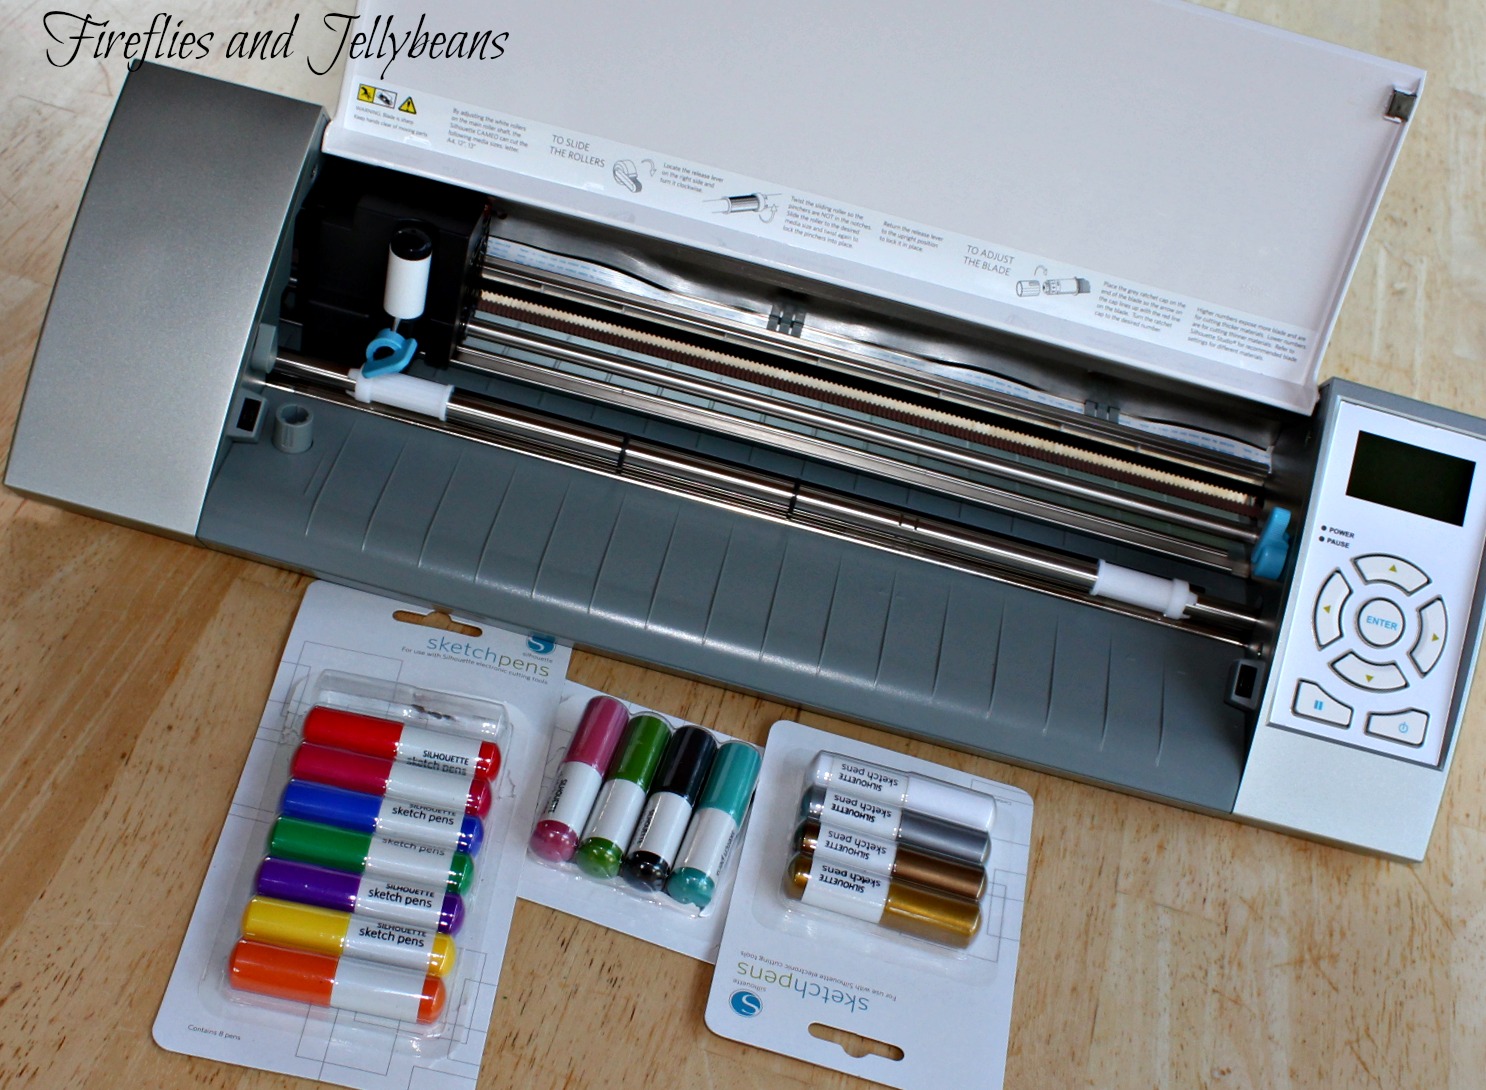
I used my NEW Silhouette Cameo and Sketch pens!  Oh-My-Goodness- these are so much fun!  There is an awesome promotion going on this week so be sure to check out the details at the bottom of the post! 

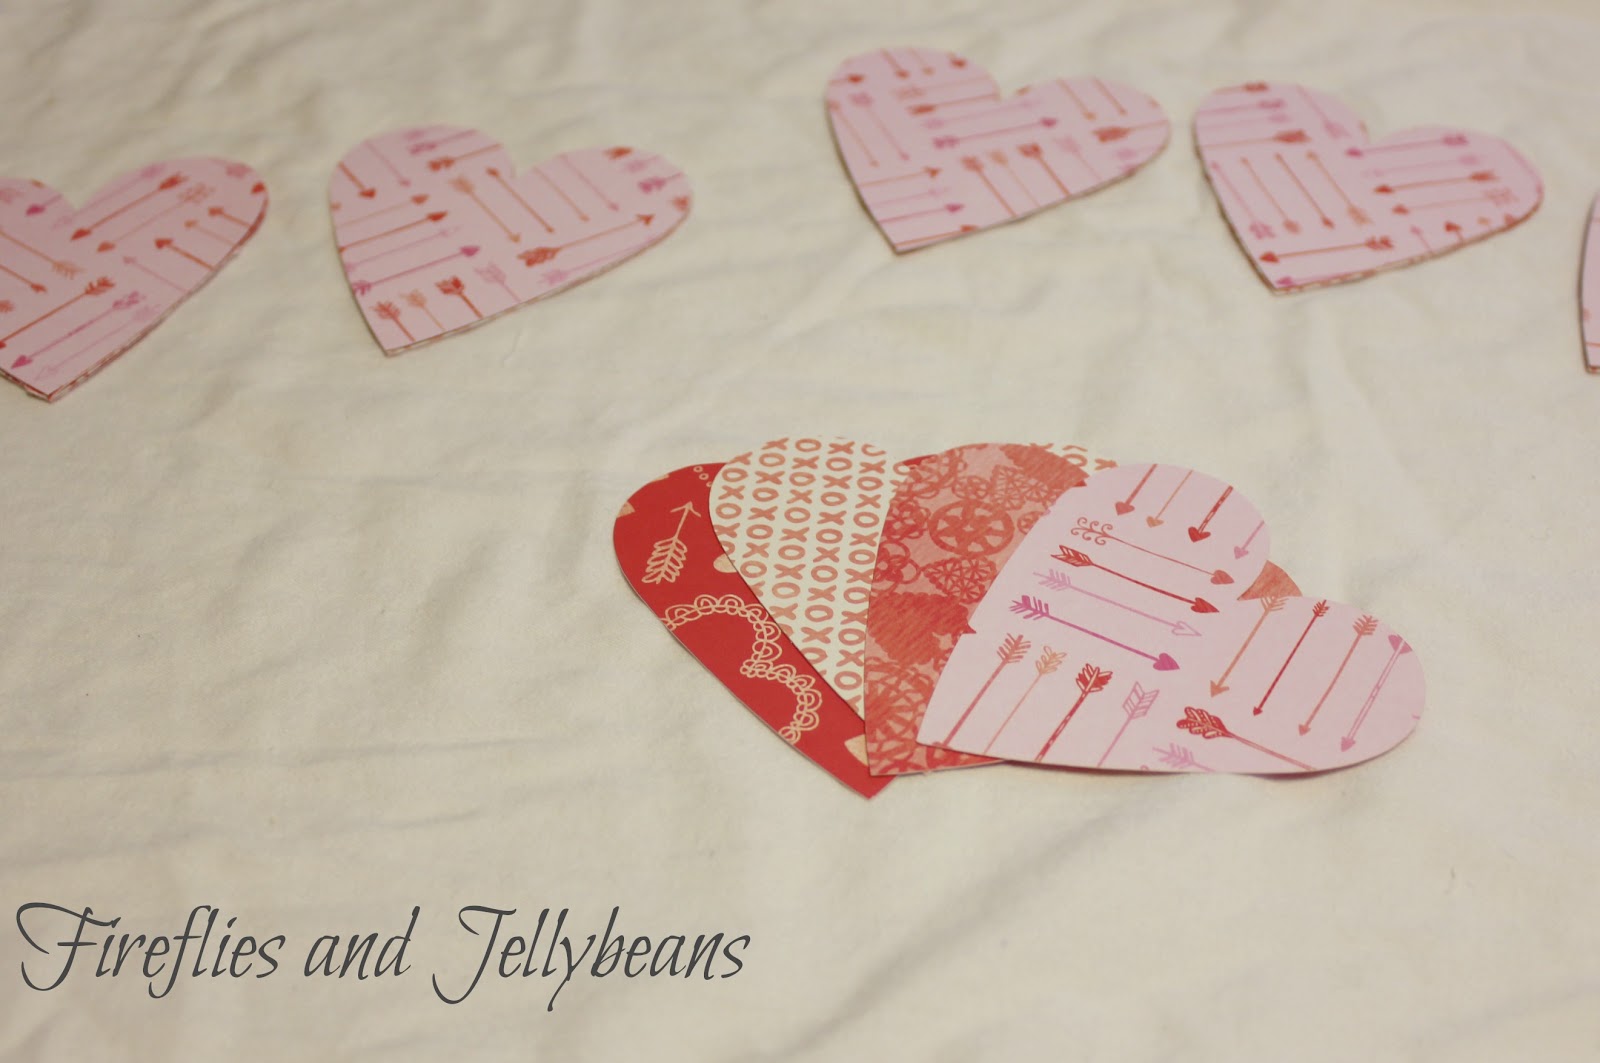
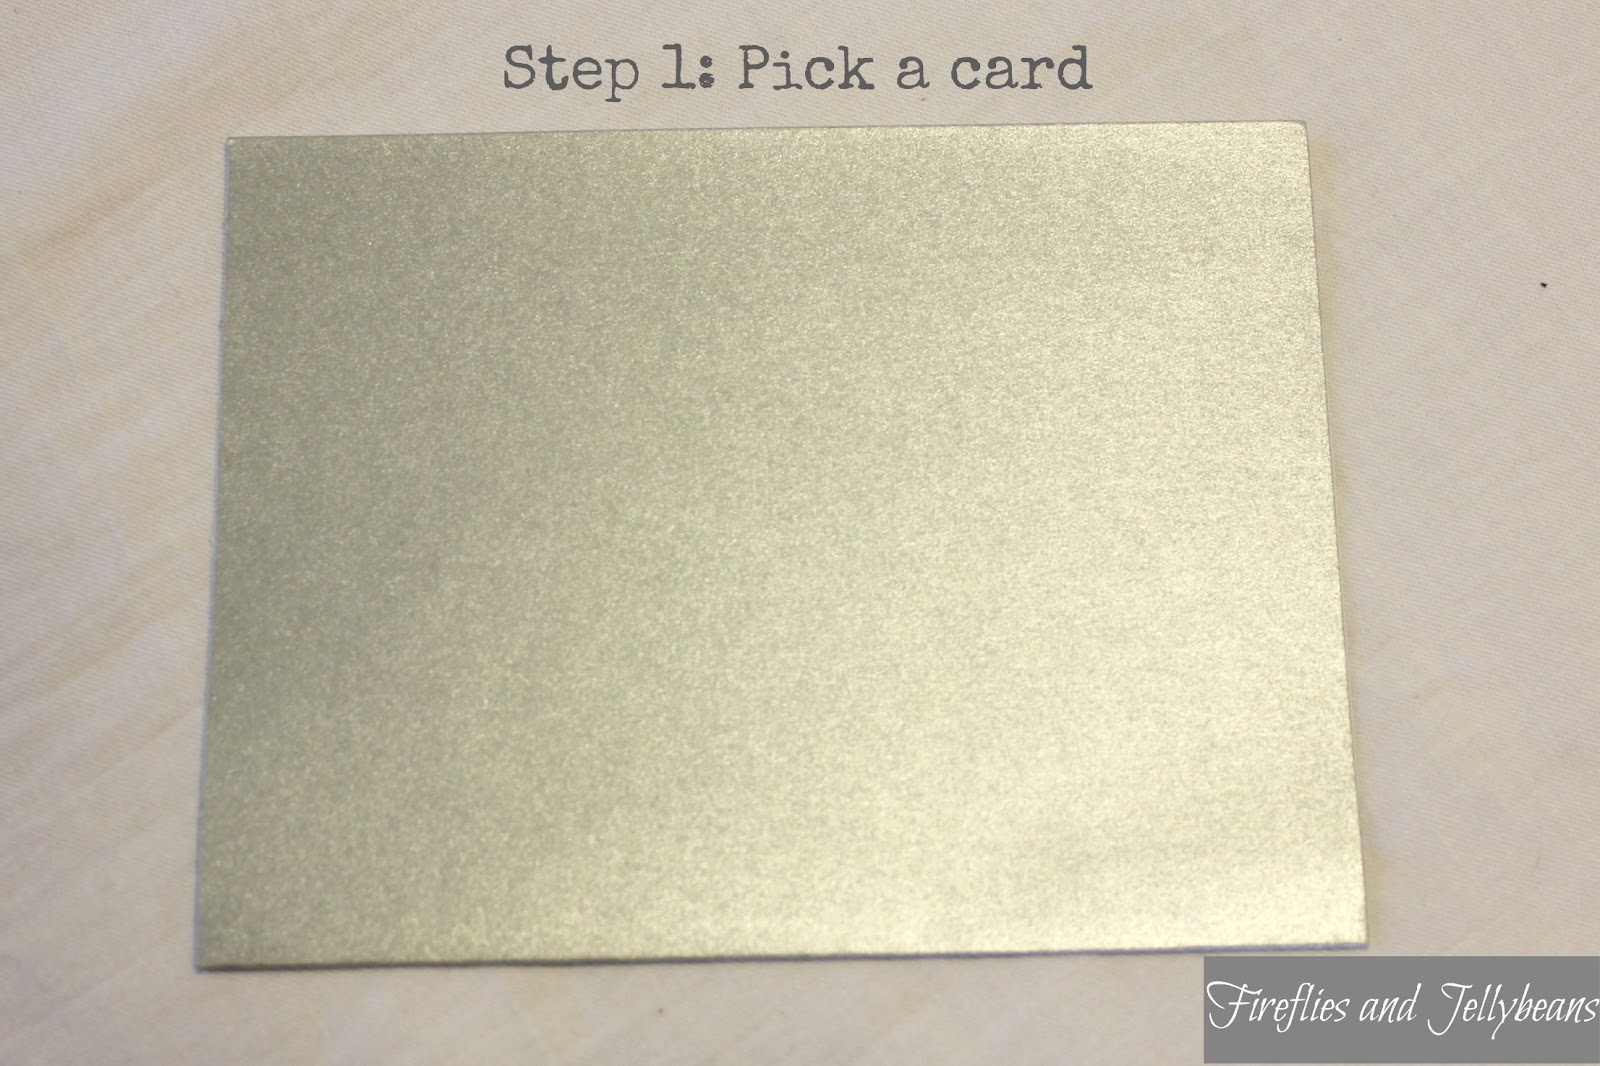
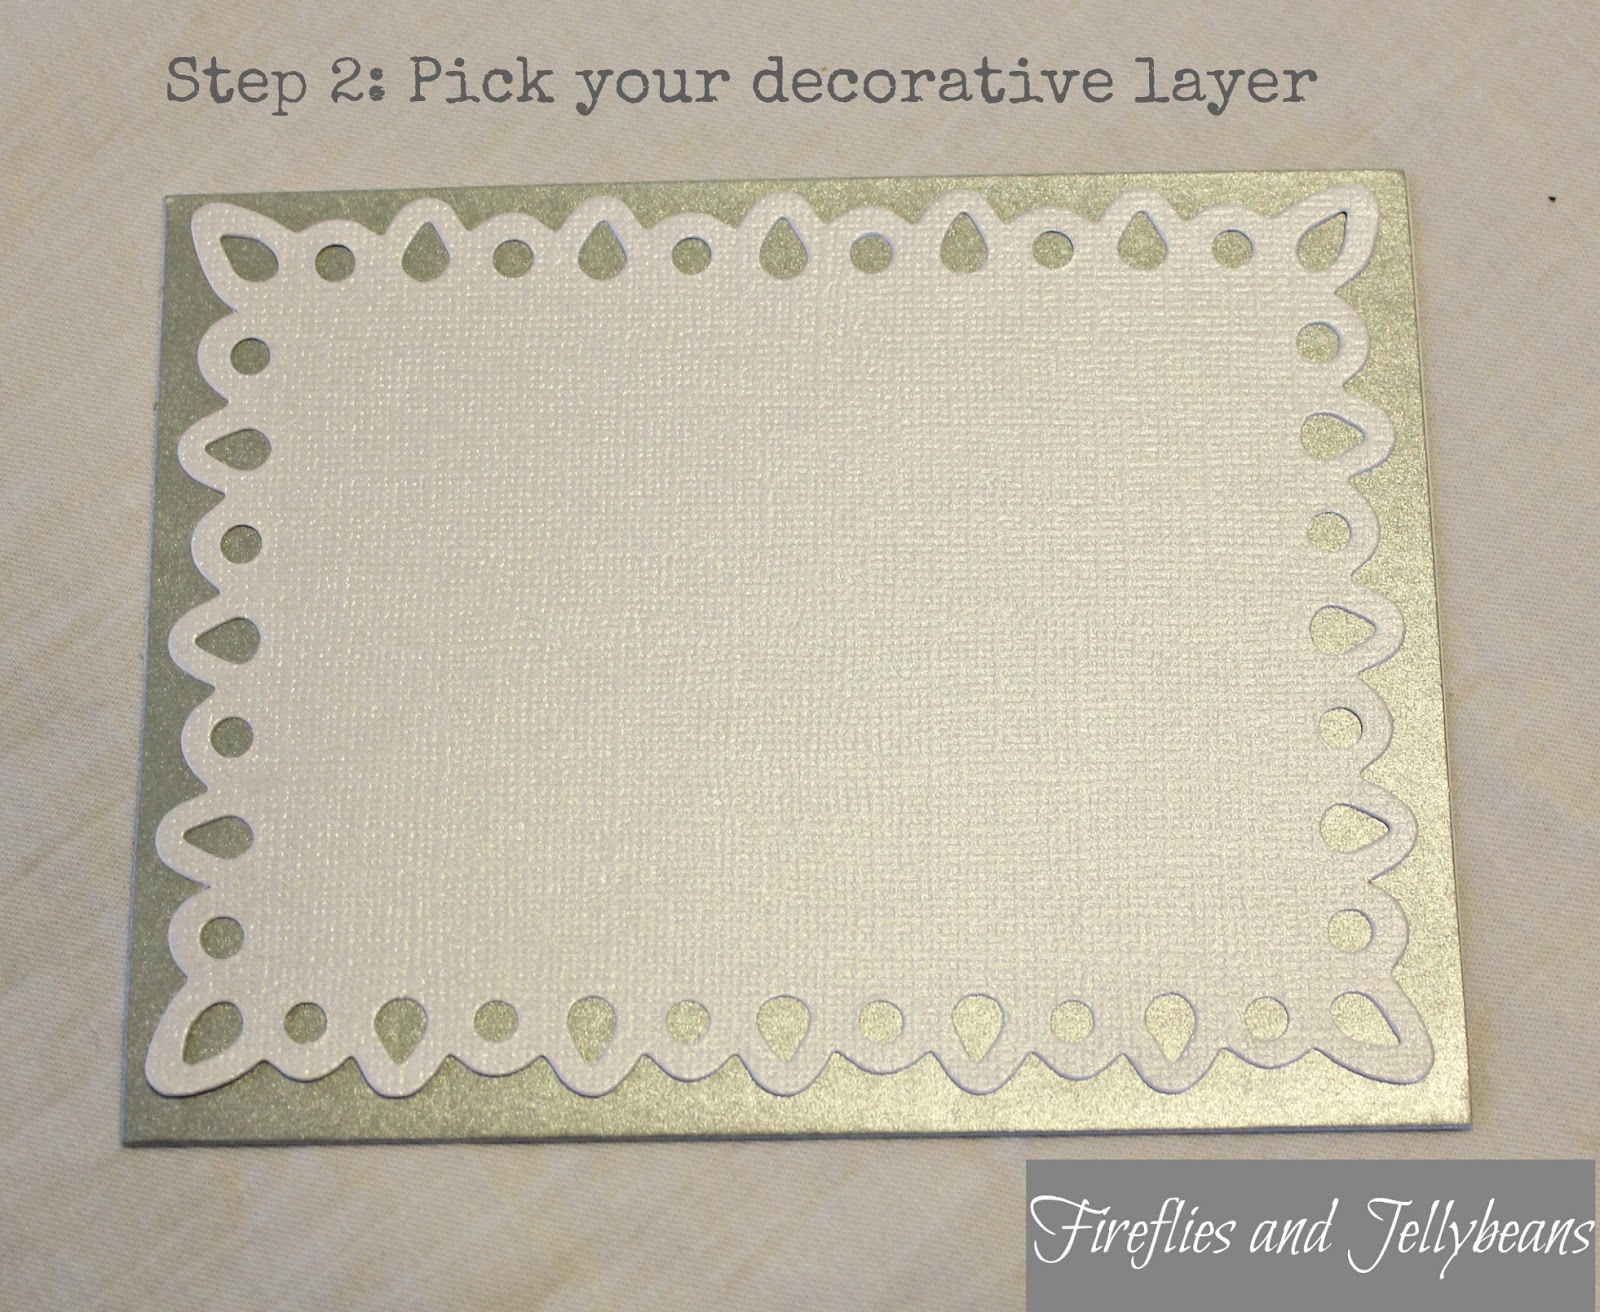
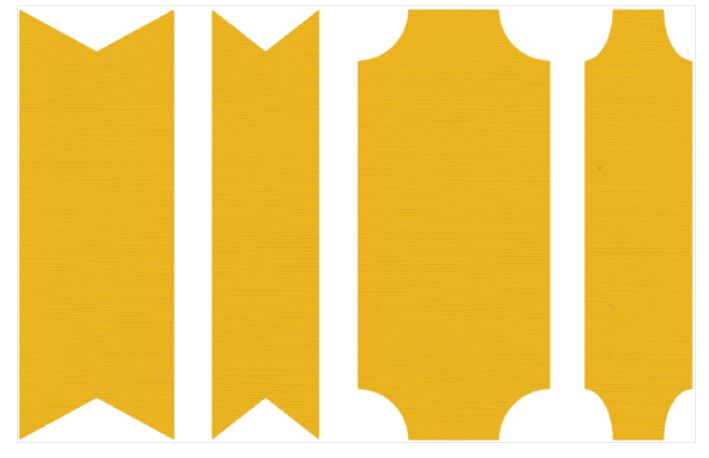
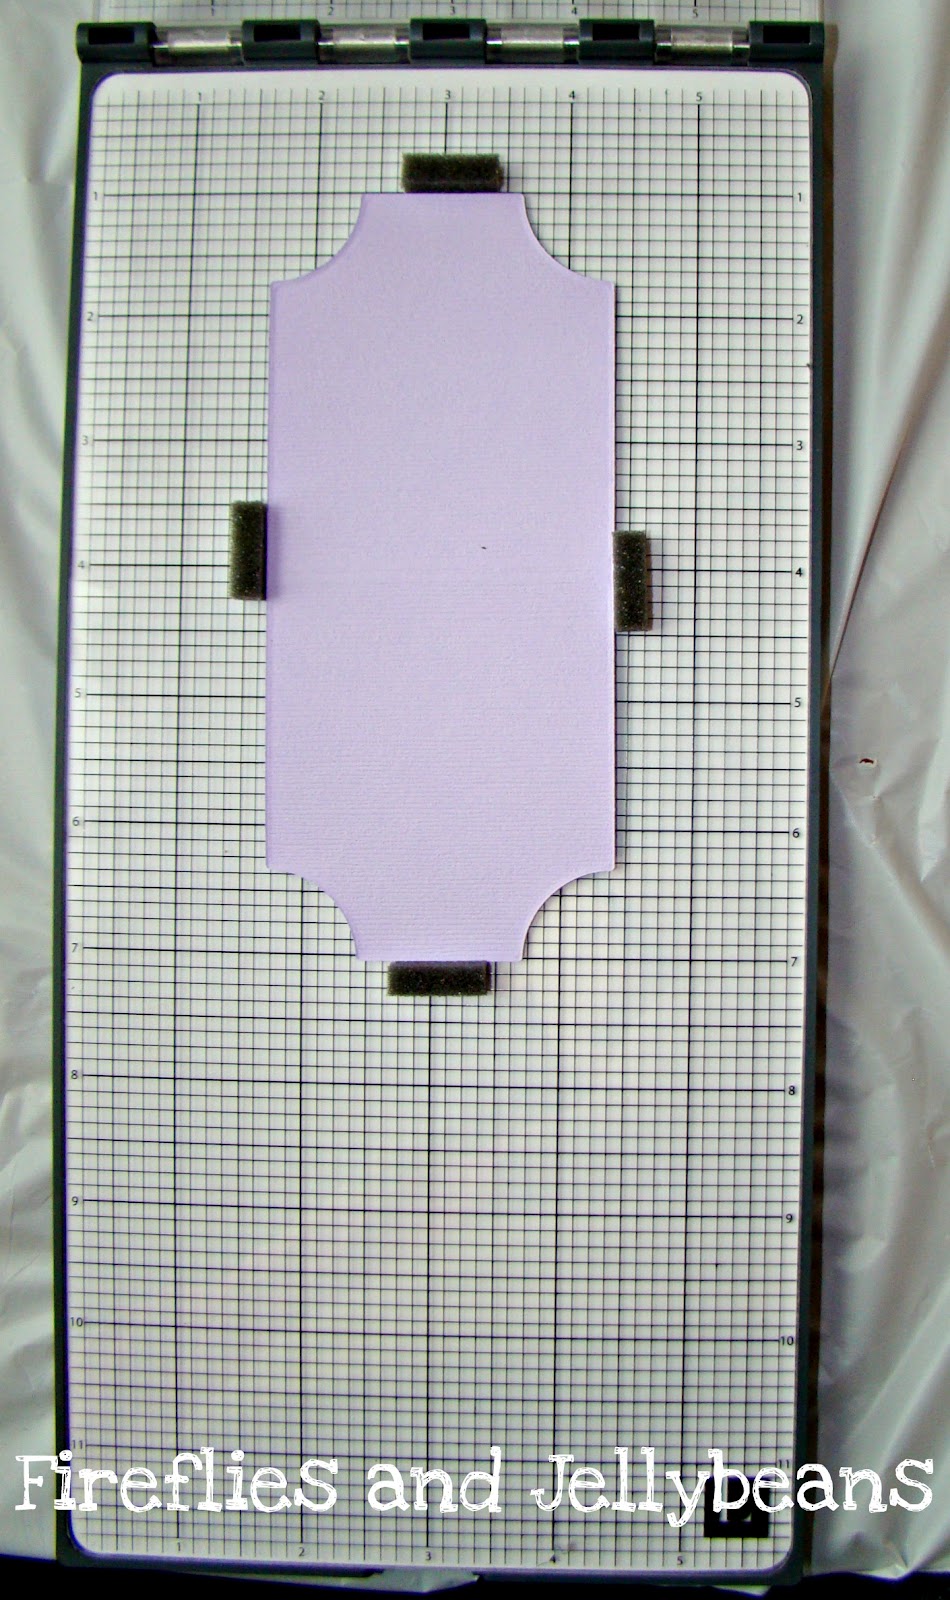
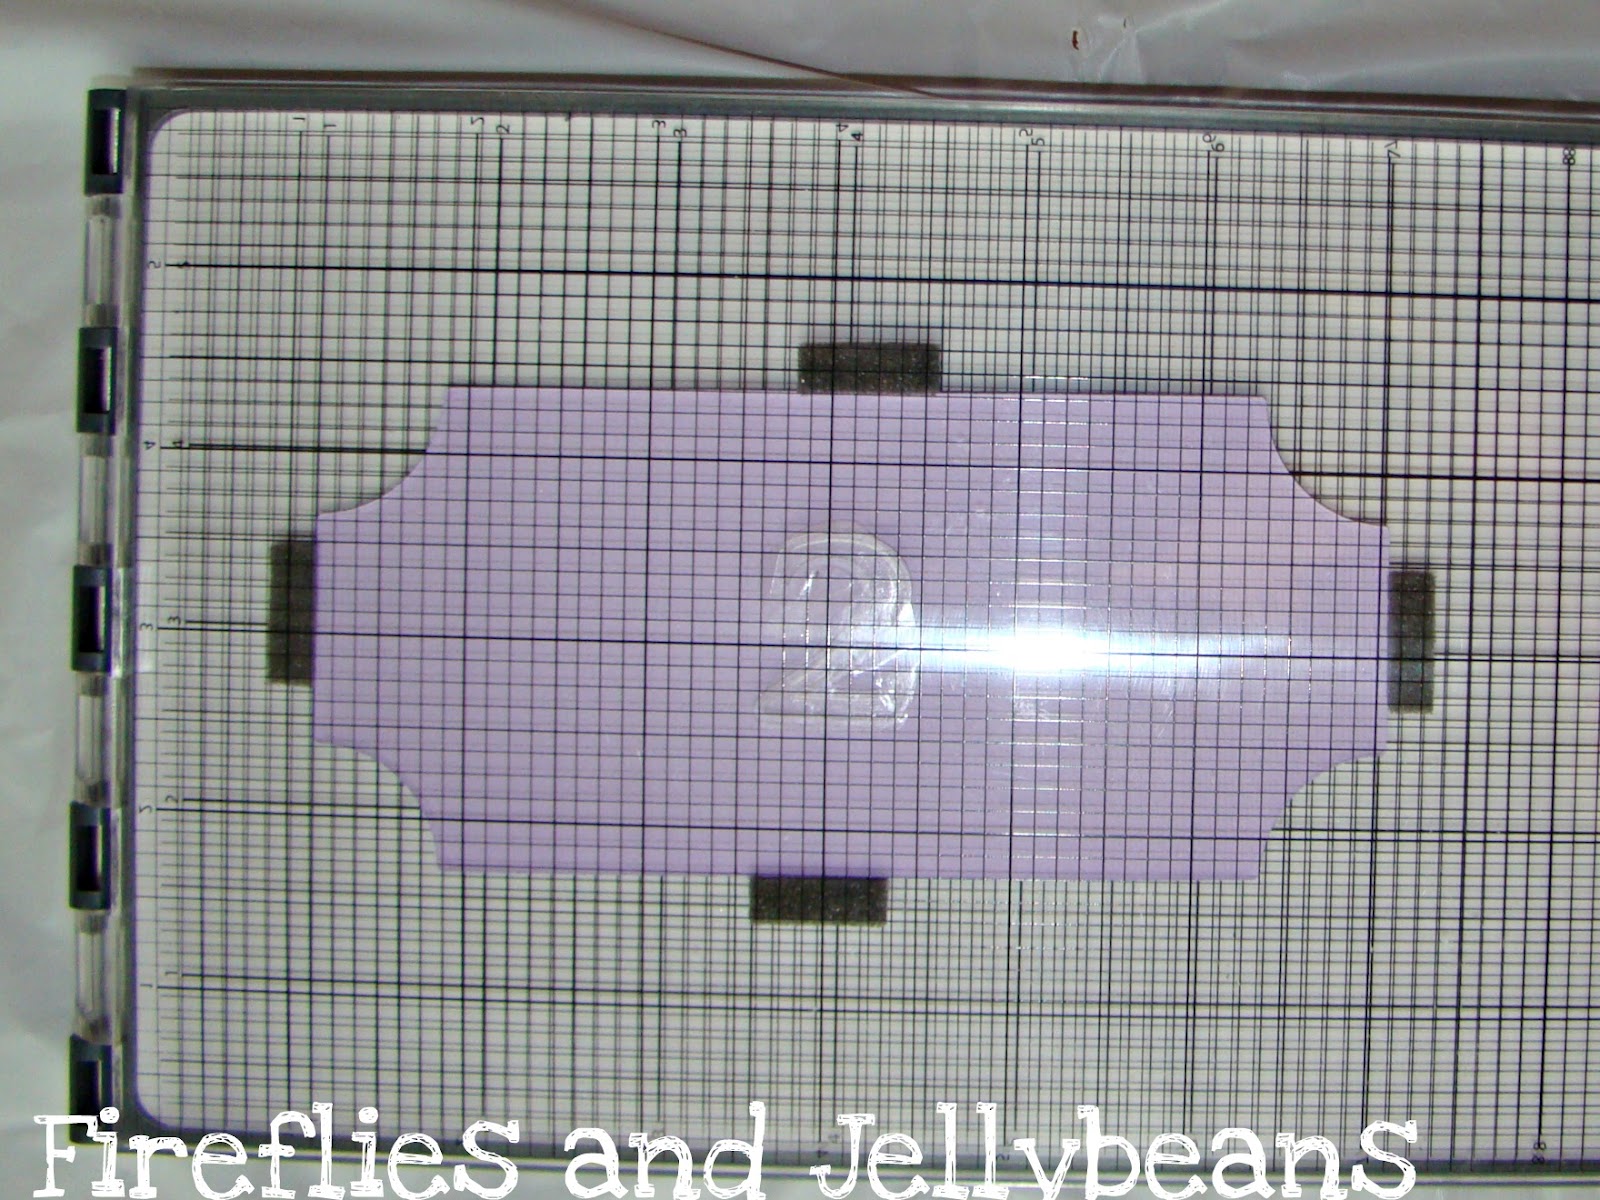
I created the sketch design in my Silhouette software.  I also upgraded to the design studio.  HERE is the tutorial I used to make the sketch picture.  I already had pre-made cards, but the tutorial shows you how to cut out a card shape too! 


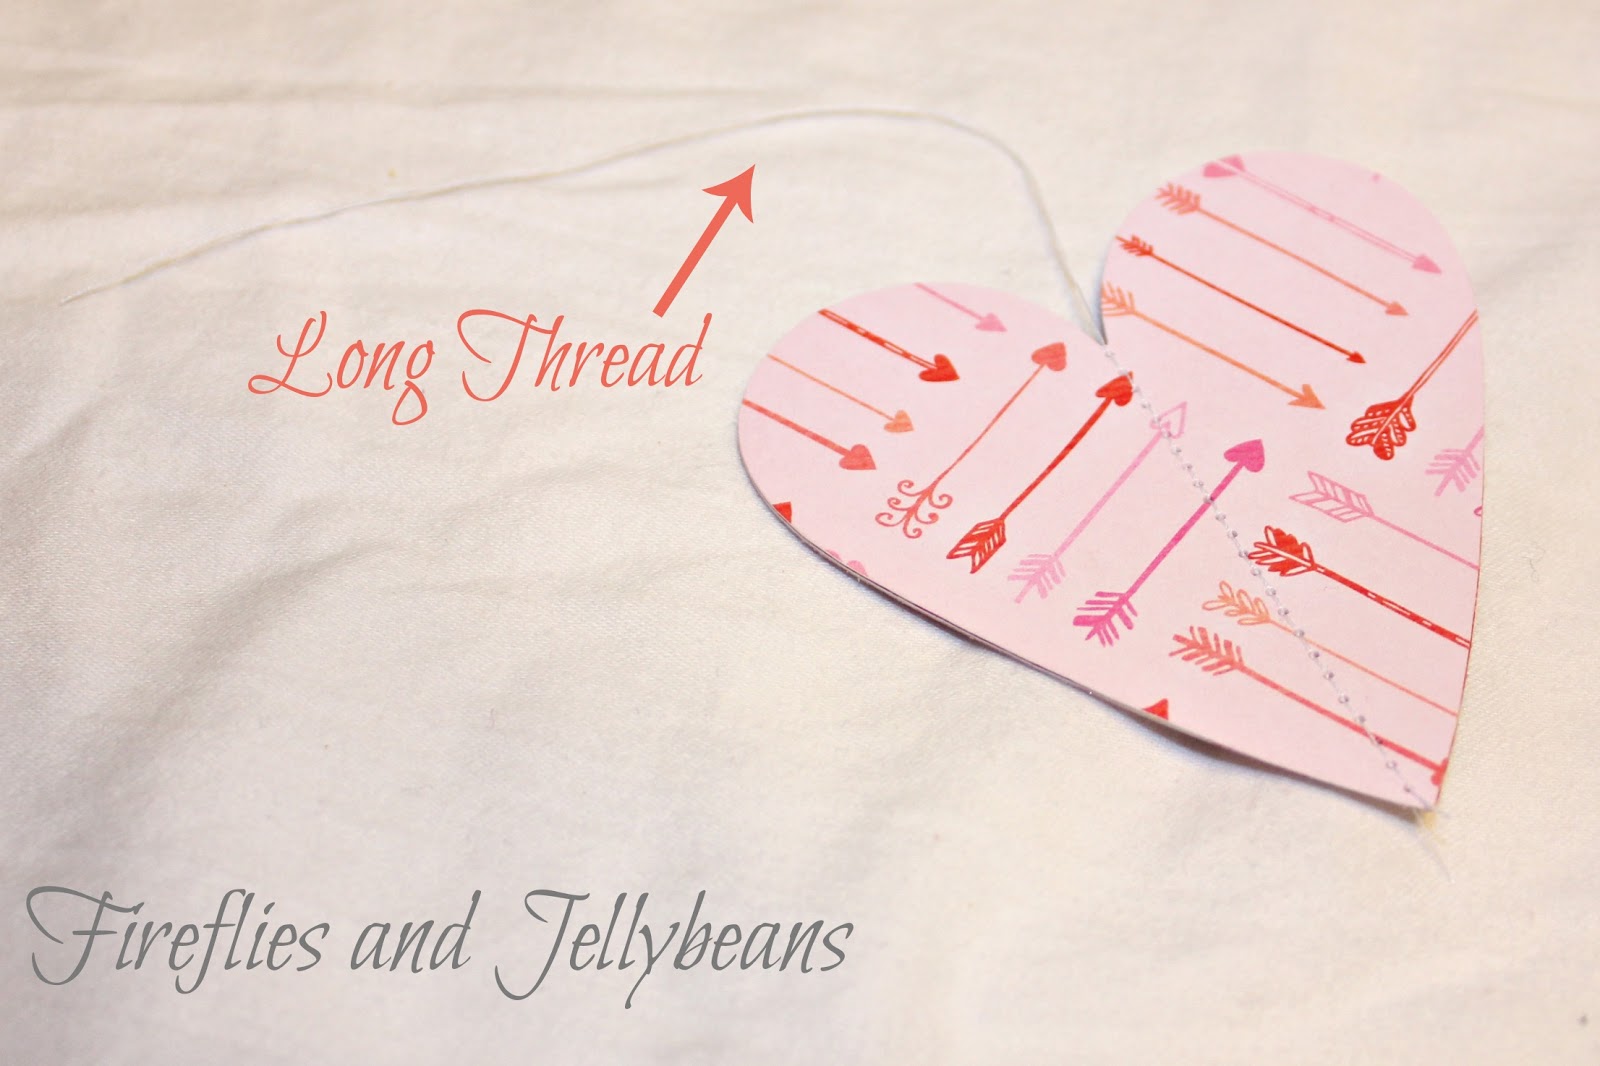
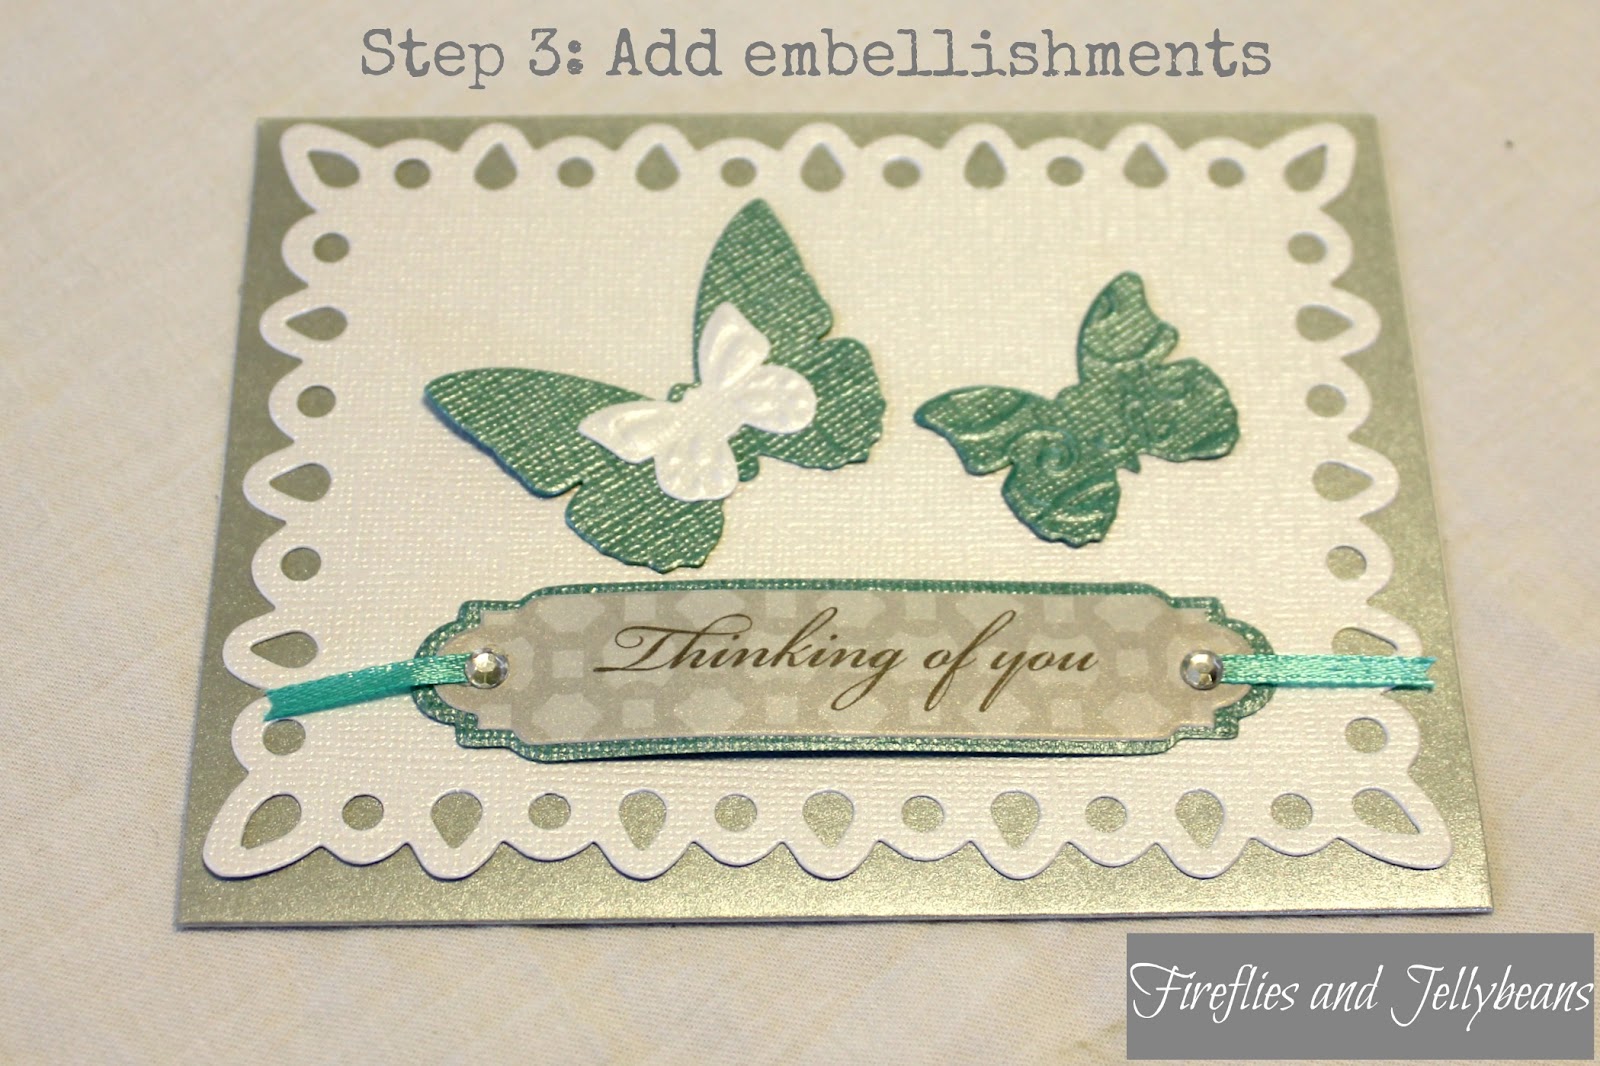
I replaced the blade with the sketch pen and sent the picture to be "cut" to the cameo.  It is so fun to watch the pen sketch away! 


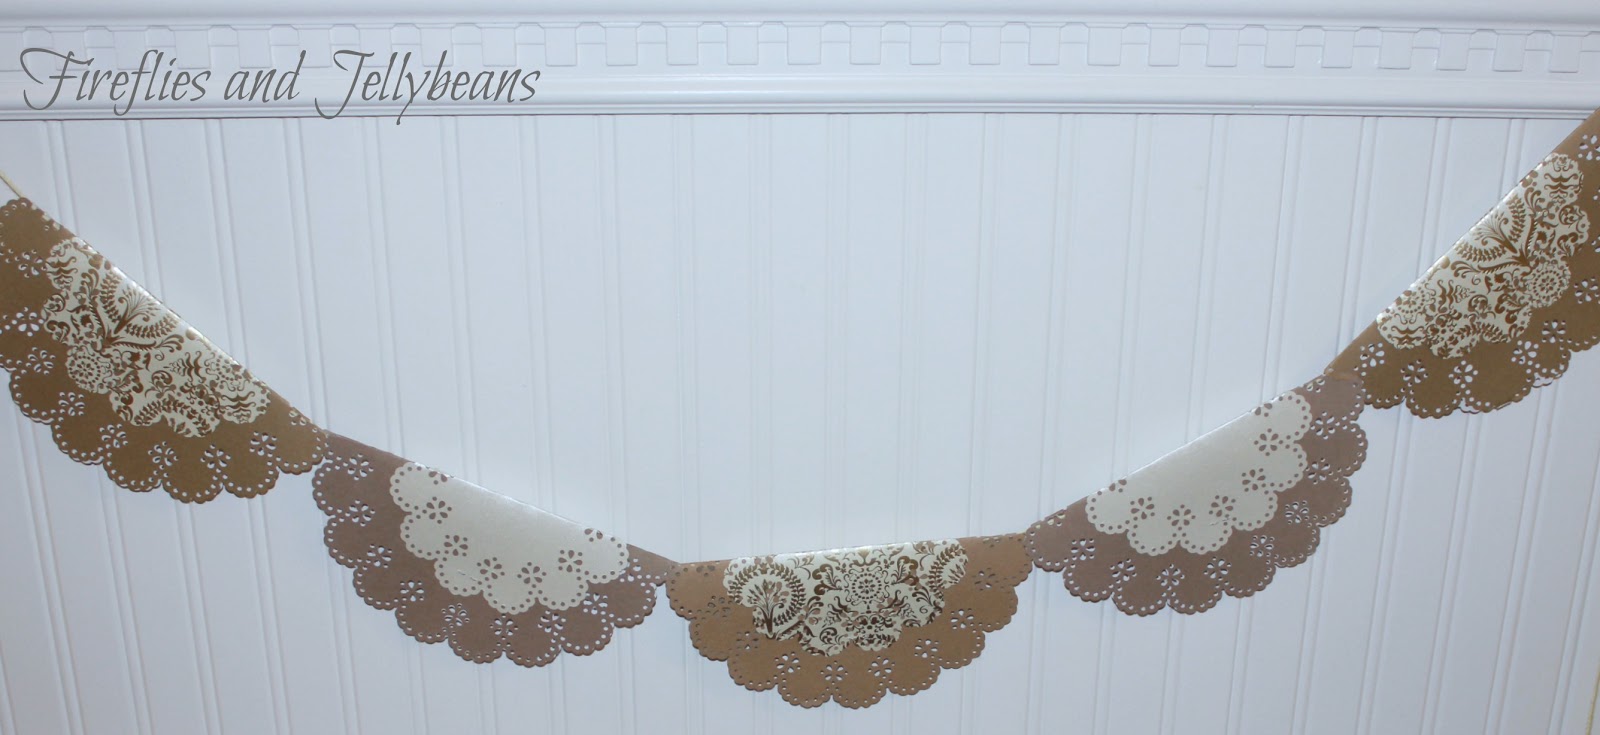
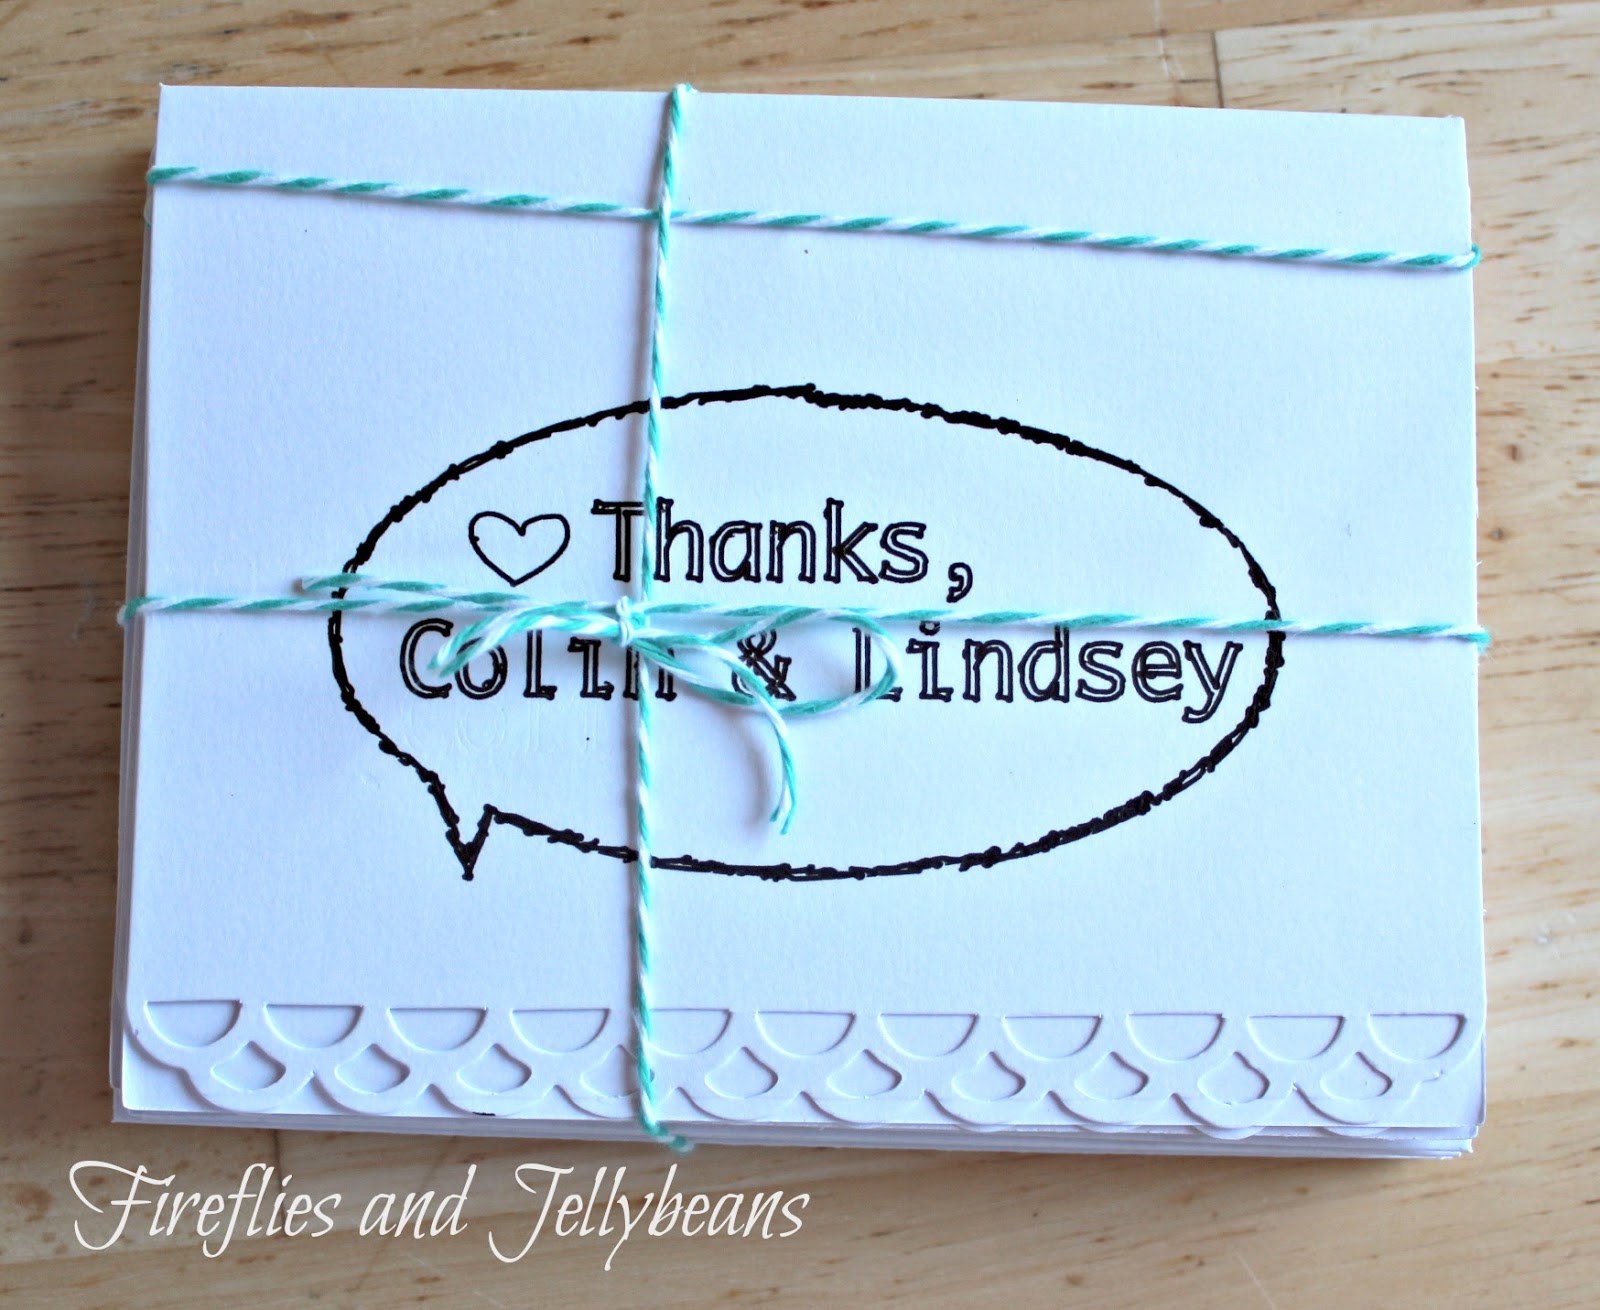
I added a little bakers twine (because everything is cuter with baker's twine!)

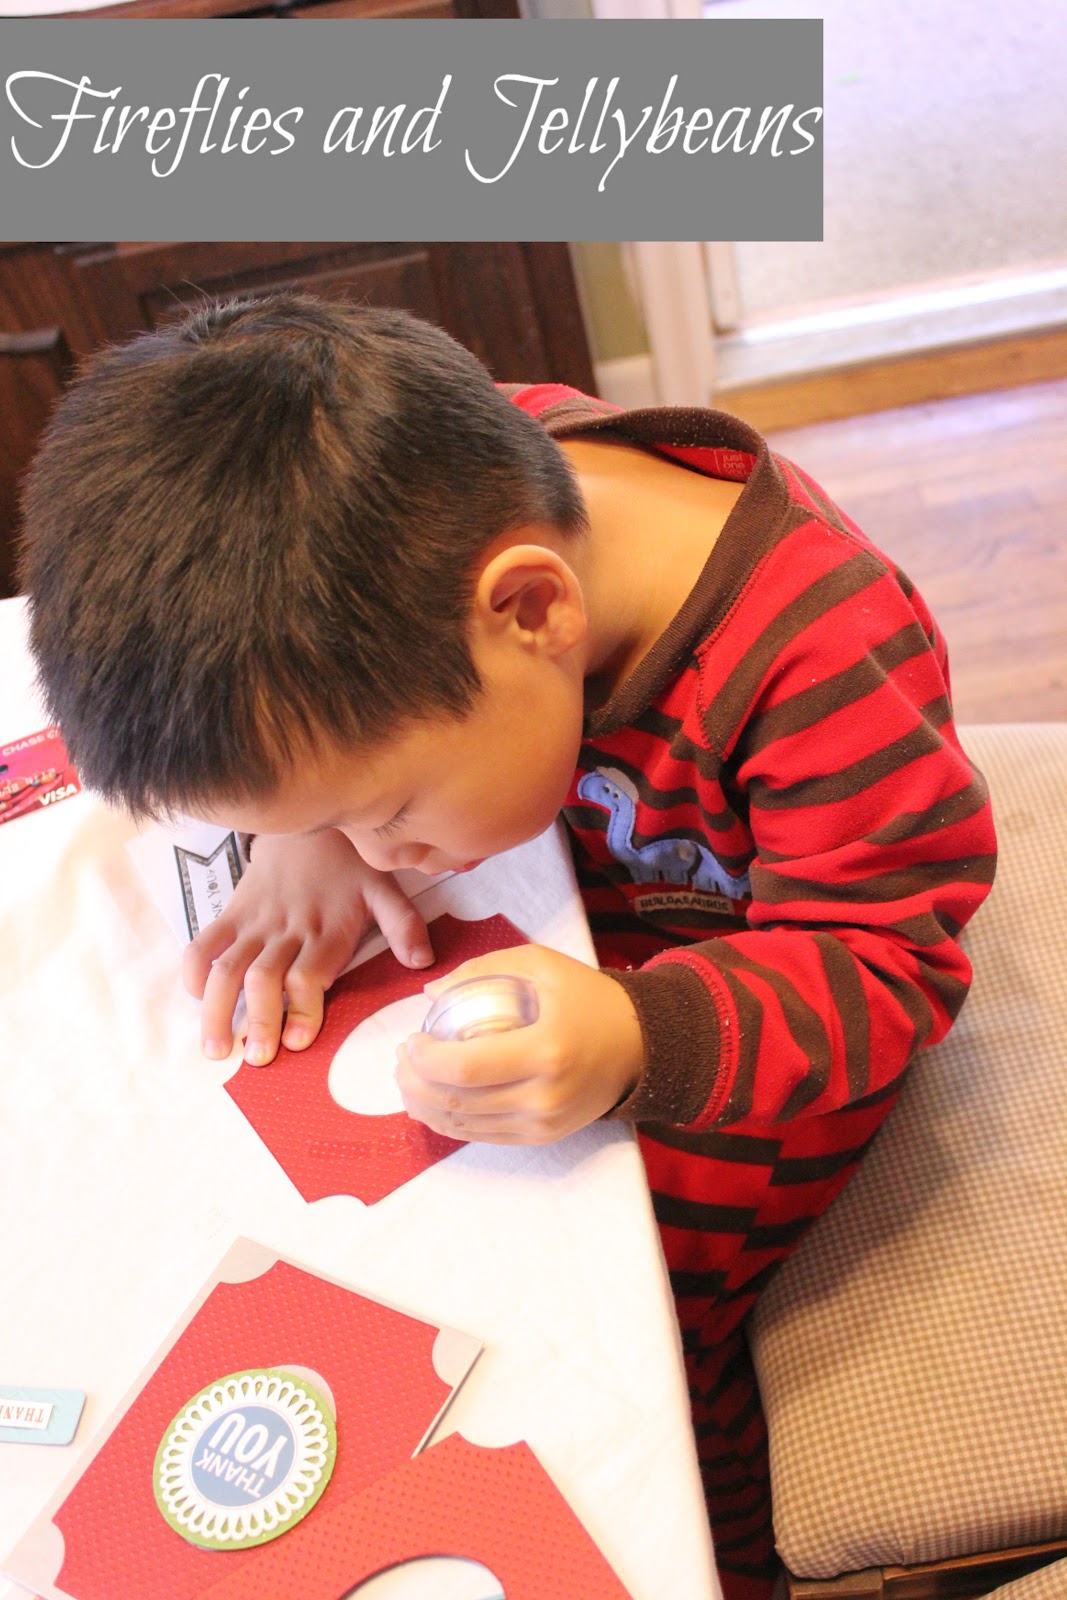
I repeated for a set of 8 cards and added the envelopes that match.  
All wrapped up and ready to give! 

Ok here is the awesome promo that Silhouette has going on right now! 

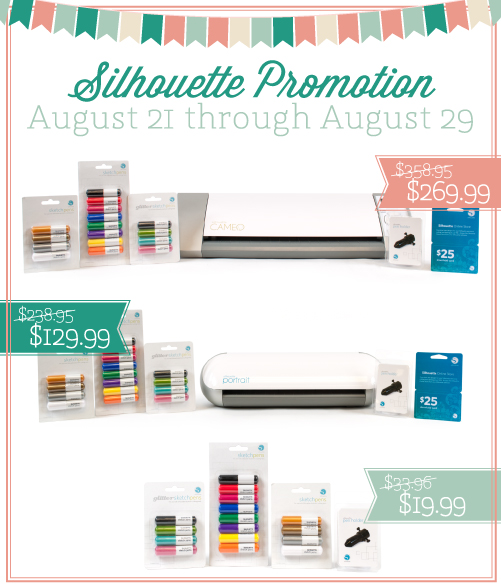
(1)    CAMEO plus sketch pen starter pack, metallic and glitter collection packs, plus a $25 gift card and a penholder for $269.99 ($88.96 off the retail price)

(2)    Portrait plus sketch pen starter pack, metallic and glitter collection packs, plus a $25 gift card and a penholder for $129.99 ($108.96 off the retail price)

(3)    Sketch pen starter pack, metallic and glitter collection packs, plus a penholder for $19.99 ($13.97 off the retail price)

To order your own go HERE and use the code: FIREFLIES and the deal is all yours! 

Disclosure: I am an affiliate of Silhouette and I was provided with some materials to make this craft.  However, all opinions are 100% mine


Monday, February 25, 2013

Paper Doily Crafts {#12monthsofMartha}

Here are this months crafts for our 12 Months of Martha posts!  Here is the loot that I got this month!  
It included Martha's new Circle Edge Doily Punch!   I am so excited about this punch because there are so many things you can use them for!  They are going to be available March 2013 at Joann's and Michael's or now at Martha Stewart Crafts


Today I am going to show you 3 easy projects! 

The Circle Edge Doily Punch is easy to use  The Starter kit come with a punch to start with you can pick your size (from 6" to 12") and place your paper on it.  It uses magnets to keep everything in place.  Then you punch and spin, punch and spin...continue all around the circle and you get a beautiful doily! 

Once you have your doilies punched you can do all sorts of fun things with them! 

Project 1:  Easy cute party favor bags
So easy- just use a ziploc baggie and put some treats or small prizes inside.  Fold your paper doily in half {or in this case 2 paper doilies- sizes 8 inches and 6 inches}.  Staple them over the top of the bag and done!  This are great for, little gifts,  birthday parties, showers and weddings! 

Project #2: Paper Doily Garland:
Also so easy!  Fold your doilies in half and either glue or staple them over yarn or ribbon.  Great for seasonal decorating, parties or home decor!

You can also get other punches to make all sorts of fun doilies!  

Project 3: Cards or scrapbooking:
These doilies are so great to add to a card or a scrapbook page!  

Here are some more fun ideas for a party from Martha's page!   Those hats at just too cute! 

Check more fun projects using the Circle Edge Doily Punch my  12 Month of Martha Pinterest board!  

***Disclosure: I was supplied with the Martha Stewart craft supplies but my opinions are always honest!***

Tuesday, January 29, 2013

3-D Heart Garland Tutorial (12 months of Martha!)

I am so excited to be part the 12 months of Martha Crafts!  Each month I get get a box of up-and-coming Martha Craft supplies to show off to you all!  This month is Valentines Craft Products! 
{All these craft supplies are available at Michael's}

Here is the box of supplies I got this month....


To make this 3-D Heart Garland you will need:
Martha Stewart Craft paper
Martha Stewart Glitter Eyelash Yarn
Sewing Machine and Thread (not pictured)
Scissors or Die cutting machine (not pictured)

1. cut out your hearts.  I used my Silhouette but you could trace a heart and use that.  Or if you have a heart punch that would work too.   I used 4 different patterned papers for each 3-d heart and I used 5   3-d hearts total for my 5 foot garland.

2. Pile your 4 patterned paper hearts all on top of each other and sew a straight stitch down the middle of the hearts.  Be sure to leave a long thread at the top of the heart... we are going to be using it later! 

3. Fold your hearts to make them 3-d.

4. Cut a piece of yarn to the length you choose.  Use your long threads to tie the hearts to the yarn. 

5. Repeat for your other hearts! 


***Disclosure: I was supplied with the Martha Stewart craft supplies but my opinions are always honest!***

Tuesday, October 9, 2012

Martha Stewart Crafts Week: Halloween Glitter Garland

I was sent a big box of crafting supplies from Martha Stewart!  It is a crafter's dream come true!   I had so much fun creating fun projects that I have deemed this week: Martha Stewart Craft Week!
Second Craft: Book Page Rosette Glitter Garland for Halloween!

Here is what you will need:
Martha Stewart Scoring board
Martha Stewart Glitter Paint
Martha Stewart Craft Paint Brushes
Martha Stewart Yarn
Book pages
Scissiors
Hot Glue (not pictured)


To make the rosettes:
score your full book page every 1/2 inch all the way accross the page.
Cut the pages into 2 inch strips
glue or tape the strips together end to end.
Fold on the scores according style and glue or tape the ends together to make a ring.
Press down on the folds to make the flower shape.
place a big blob of hot glue on the center of the flower to keep it together.  Hold the flower in place until the hot glue has cooled. 
Use your glitter paint to paint the rosette.
Use a darker colored glitter paint to accent the edges
Hot glue your rosettes to a yarn string.  I start in the middle and work my way out. 

Cute and festive!  

I think this would look great in Christmas colors too! 

Micheal's has a 50% off coupon of one Martha Stewart Crafts item to help you get started on your crafting!

See my other Martha Stewart Crafts:
Easy Halloween Decor

***Disclaimer:  I was provided with the Martha Stewart Craft supplies for free.  However, my options and crafts are 100% mine***


Tuesday, October 2, 2012

Make Homemade Cards easy as 1-2-3!

I love to give homemade cards.  I love to personalize each one to the person that it is going to.  

That is why I love the New Core’dinations David Tutera paper line! It is made so that all the pieces work together to make beautiful cards easy!  
It uses a 1-2-3 step simple system to creating beautiful paper crafts.

There are many many options for each step!  So many choices.  {Available at Joanns soon!}  And they are all made to mix and match together to make beautiful cards!   Each package is labeled so that they are super easy to use.  Step 1 are the cards (comes in many different sizes).  Step 2 are the decorative layers.  Step 3 are the embellishments. 
So lets make a card:


See?!  So easy right!  You can whip up a bunch of them in no time!  


Even my 4 year old son got in on the action!  


Here are the cards that he made (All by himself!)  

Be sure to check out more David Tutera on Facebook, Twitter and YouTube

David Tutera is also having an amazing giveaway:Three lucky winners will receive a $300 grand prize pack of supplies fromDavid Tutera’s Celebrate cardmaking line AND a personally signed book fromDavid20 additional winners will receive a $50 Celebrate prize pack.Sign up here for a chance to win!


Check out more fun ideas!

I wrote this post as part of a paid campaign with Core’dinations David Tutera and Blueprint Social. The opinions in this post are my own.


Wednesday, April 18, 2012

Bottle Labels and Straw Flags for a Birthday Party with Lifestyle Crafts

I am getting ready for my daughter's 2nd birthday party this weekend.  She loves the color purple.  So we are throwing her a purple party!
I made these cute water bottle labels and these cute straw flags so that people can mark their drinks!
I used the Fancy Envelope Tabs Die , along with the L Letterpress  from Lifestyle Crafts to make these darling party favors!  {check out the discount code at the bottom of the page!} 
The Fancy Envelope tabs can be used on so many projects; labels, cupcake toppers, small cards, etc.  And the letterpress embosses and stamps at the same time, creating an amazing professional custom look! 
Here is how you use the letterpress:
First cut out the shape you want to use.

Next aline your printing plate in the back of the clear side of the letterpress platform.  In my case I am using the #2.  The printing plate come with adhesive stickers to use to keep it in place. 

Now, line up your paper and use the foam tabs to keep it in place.  I love that you can create a frame around your shape so that you can use it again to print more then one!

I like to double check that everything lines up before I put any ink on.  

Squrit some ink on the ink base and use your brayer to spread it around,  you want your brayer to have an even cover of ink on it.  Not too thick.   Use your brayer to roll the ink onto the printing plate.

Now close the letter press platform and run it through  your die cutter (Epic 6 in my case)

Take it out and let it dry.  Repeat, repeat repeat... for all your water bottles!

Use adhesive to attach the labels around the bottles. 


Here is a side view:
I used a smaller fancy envelope tab and folded it in half around a straw (with a glue dot between) to make this cute straw flag!  I think it is an adorable way to make a name tag for your drink!

Lifestyle Crafts is also have FREE shipping on orders over $25 and A Paper sale! 
Don't forget to use code: fireflies to get 20% off your total order (including sale prices!)


***disclosure: I am an affiliate of Lifestyle Crafts.  I also did receive free products to make these crafts.  All opinions are 100% mine! ***

Content Ad