Showing posts with label Lifestyle Crafts. Show all posts

Wednesday, November 28, 2012

Easy Gift Wrap with Lifestyle Crafts

Lifestyle Crafts has some fun sets out for the holidays to make gift wrapping a cinch! They have the Knotty and Nice sets.  See the bottom for a 20% off code to use on the WHOLE Lifestyle Crafts site!


I got the Knotty set and it come with die cuts to make 4 different 3-d bows! 

I paired them with some Lace Doily Nesting Die Cuts I already had for a SUPER cute look!

They look great on Kraft paper! 


And on regular gift wrap too! 

Just think of how cute your gifts could be this year! 

Don't forget to use code: fireflies to get 20% off your total order (including sale prices!)

Tuesday, June 19, 2012

Label it! With Lifestyle Crafts

Lifestyle Crafts has It Kits... For those just getting into crafting, these kits are a great place to get started. They're especially great, because they come with the digital files which lets you cut It Kits shapes on your digital die cutting machine, as well as your manual die cutting machine.  20% off code at the bottom of post! 

Here are the It Kits that Lifestyle Crafts has:
Label It,
Tab It,
Corner It
Clip It,
Tag It,
Edge It

To help me get my life in order I got the Label It kit.  Here is what I did with it!

Reward Poster:

My son has a hard time staying in his bed at night. He likes to sleep with his mama, and that means I don't get much sleep.  To help him be BRAVE and stay in his own bed we made reward poster for him.  If he could stay in his bed all night 10 time, he would get the batman car he picked out at the store.  Yep- we totally use bribery in this house!

Here is what we did.
We took a piece of poster paper. markers, and one of my new Label dies and got to work.
I cut out 10 circle/star shapes (I thought they looked super hero-y) and traced around them on the poster for the letters.  we spelled out "Kyan is Brave" I had my son involved the whole time making the poster.  I really wanted him to own it.  {now, the arty mama in me wanted to take over and make it "cute" but I let him decorate it and he was so proud!) We printed off pictures of Batman from a Google image search and used those on the poster too.
We hung it on the door together and we talked about how Batman does not sleep with his mom.  We talked about what it meant to be brave.  We talked about the fact that God is always with us so we know we are safe.  We talked about it a lot... all day, during the bath before bed, after the story... it was a BIG deal.  Then each day he stayed in his bed all night he got to put a sticker on his poster.  I made it a ceremony of sorts to put the sticker on the poster.  There was lots of high five-ing and praise!
It was slow going at first.  I don't think he really got that he had to get all the letters to get the car... but after he got a few stickers and LOTS and LOTS of encouragement, he got it and starting earning stickers night after night.  We didn't make him start over if he got up at night, he just didn't earn his sticker that day.  It got to a point where he would pray "Lord- help me stay in bed so that I can get a sticker in the morning."  I am happy to report that he earned his Batman Car he was so happy and excited!  And I am happy because I am getting more sleep!

Labels for Totes:

I love the fact that you get the digital files too!  I was able to use the files in my silhouette to make these cute labels for all my kids craft/little toys.

I recycle my wipes container to hold all the little pieces/toys/craft things for my kids.  I love that they are the perfect size.  What I did not love is that I cannot see what is inside.
I loaded the digital files into my silhouette and cut out these labels on white board vinyl {From Expressions Vinyl}.  Now I know what is inside.  And it is easy to change it if need be!
Don't forget to use code: fireflies to get 20% off your total order at Lifestyle Crafts


Tuesday, June 12, 2012

Key Holder Plaque {Tutorial} With Lifestyle Crafts

My kitchen counter is always piled with stuff and I can never find my keys.  So, I created a key holder plaque to help me out!
Lifestyle Crafts came out with their new Bloom and Grow Die Cuts!
They are whimsical and sophisticated at the same time.
Lifestyle Crafts Dies work in most die cutter machines!
Did you know you could use your die cuts to make your own stincels?  Here is what I did:

Here is what you will need: 
Bloom and Grow Die Cuts
Die Cutter
Plaque
Primer
Spray adhesive 
Craft paint
Small coat hook

 Cut out your dies

Prime your plaque

Spray your dies with the adhesive and place them on your plaque

Paint over your stencils with white paint (or whatever your background color is).  
This will make sure to give them crisp lines when you peel off the stencils.

Get your paint ready.  I wanted to blend a couple of colors together.  I used these sponge pouncers to paint over the stencils.   I LOVE the texture they created.  When you use a stencil you always want to use a pouncing motion.
Before my paint dried I peeled off the stencils with a tweezers.  I had to be careful to get all the pieces off.  Let paint dry.  Optional: Sand for a distressed look.

Add your coat hooks.  Find your placement on the plaque and mark where the holes are.  Predrill holes {make sure you have a scrap piece of wood underneath}  for the screws (where you marked them) and screw your screws in. 
Add some vinyl or paper letters to finish it off!

 Don't forget to use code: fireflies to get 20% off your total order at Lifestyle Crafts


***disclosure: I am an affiliate of Lifestyle Crafts.  I also did receive free products to make these crafts.  All opinions are 100% mine! ***

Wednesday, April 18, 2012

Bottle Labels and Straw Flags for a Birthday Party with Lifestyle Crafts

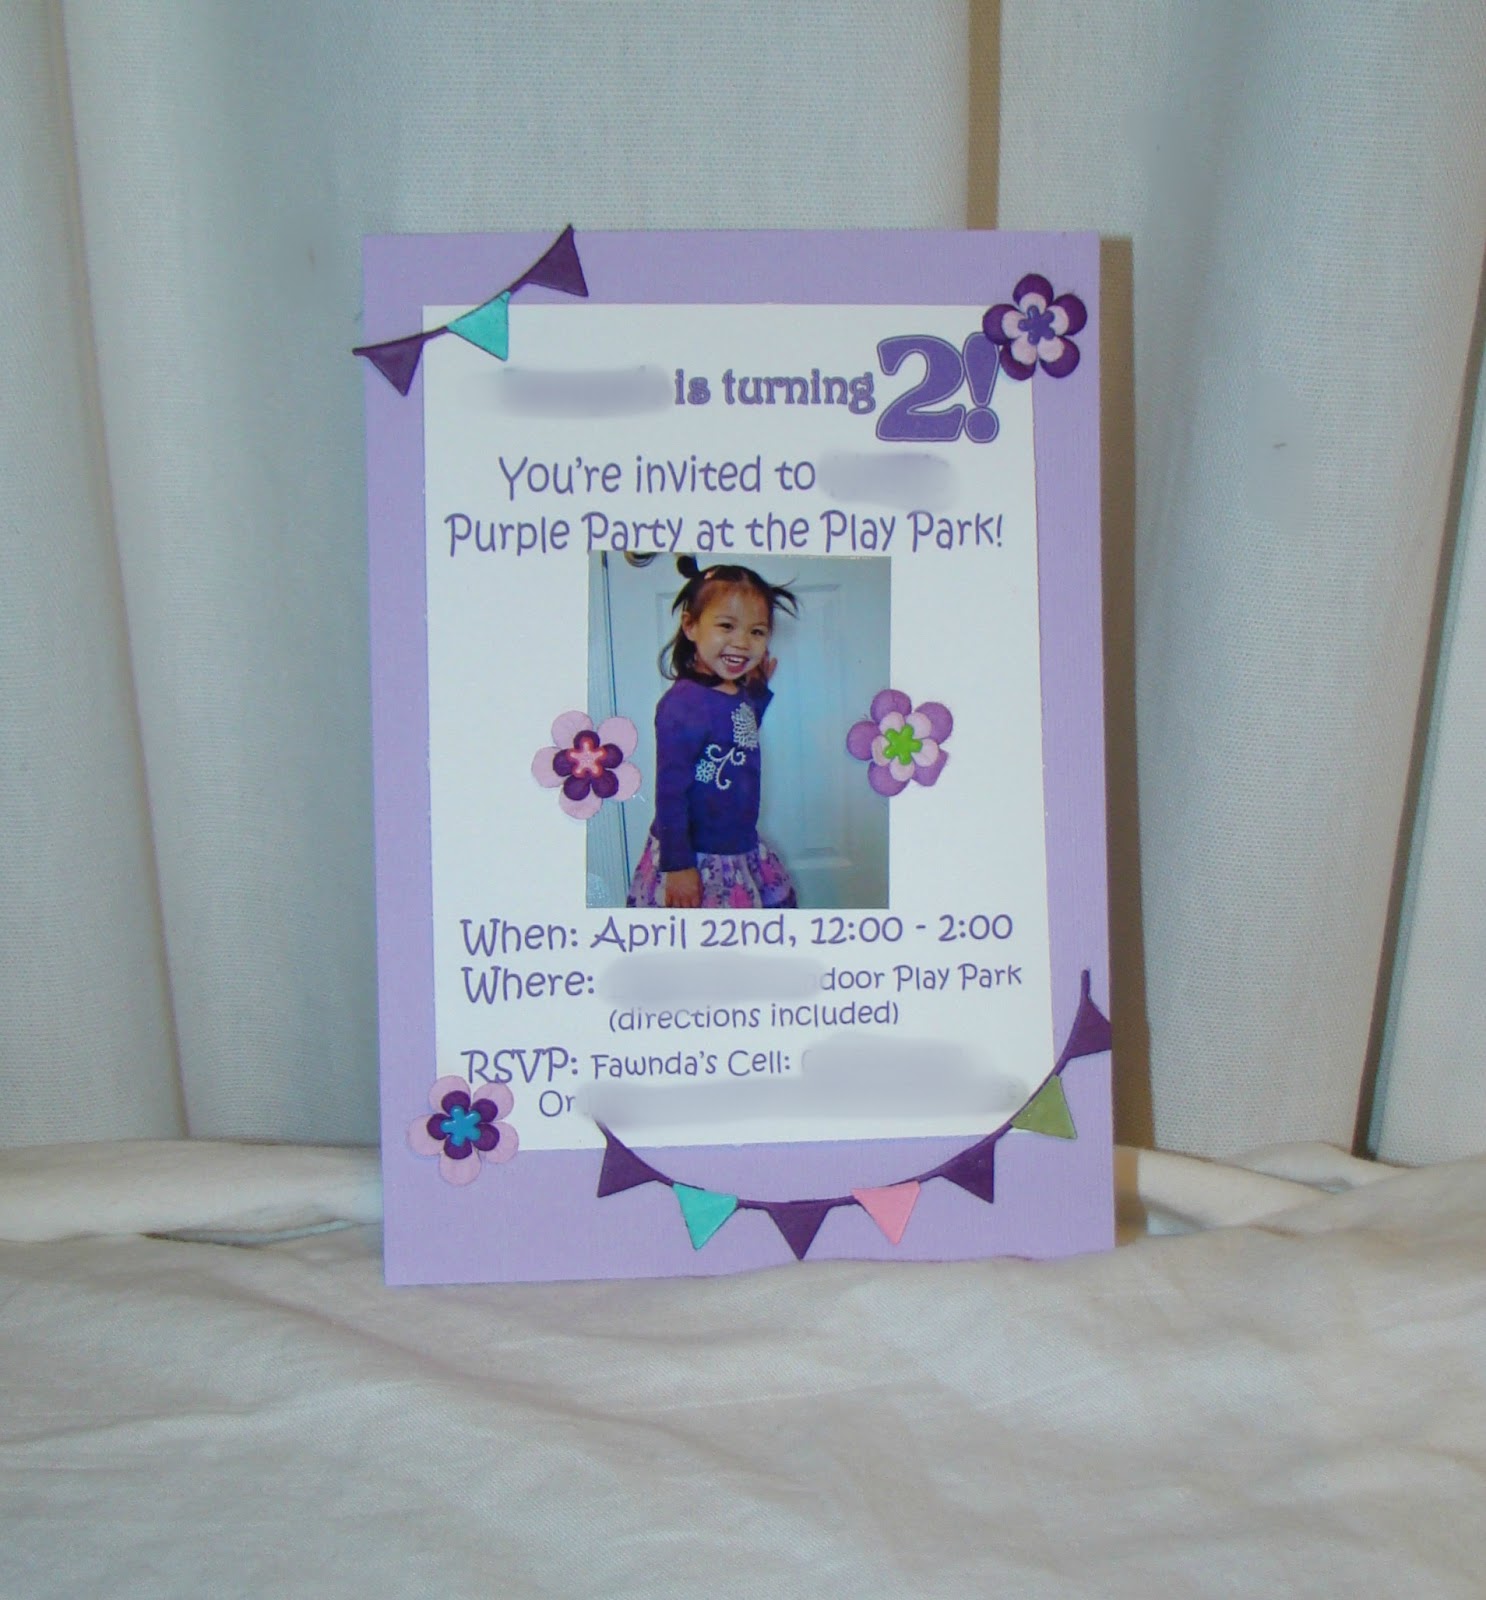
I am getting ready for my daughter's 2nd birthday party this weekend.  She loves the color purple.  So we are throwing her a purple party!
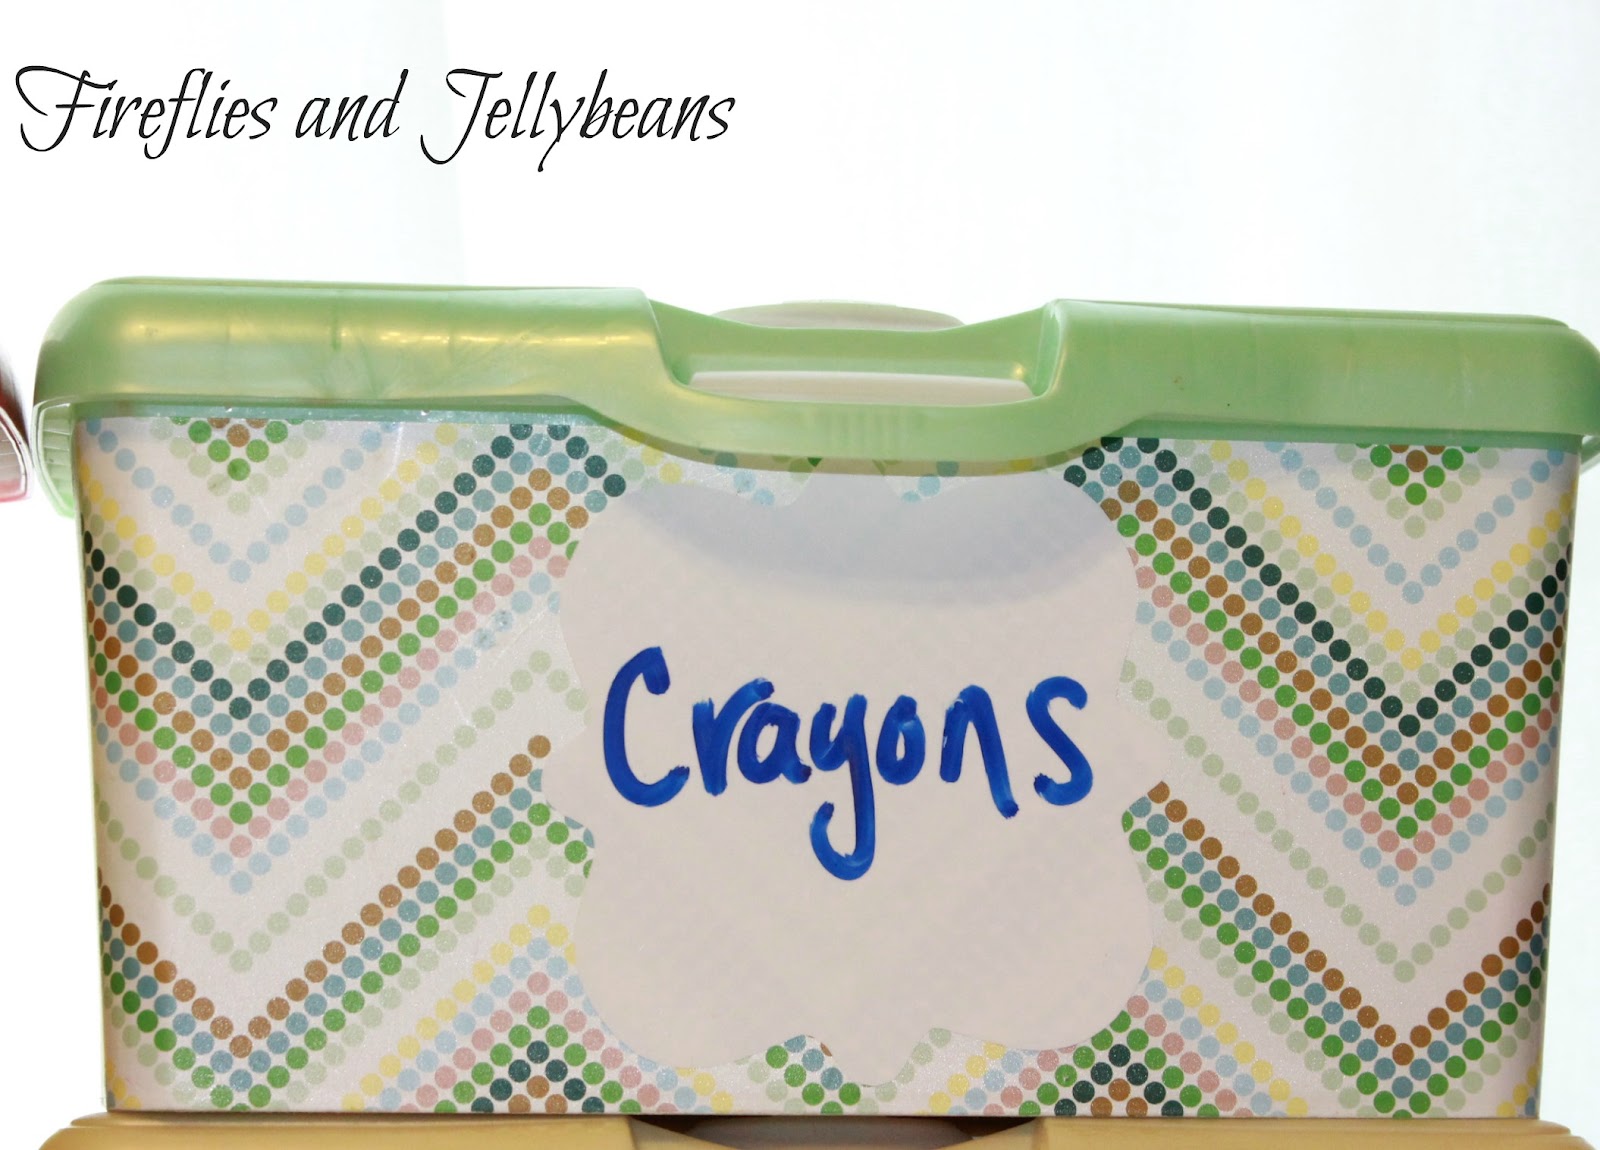
I made these cute water bottle labels and these cute straw flags so that people can mark their drinks!
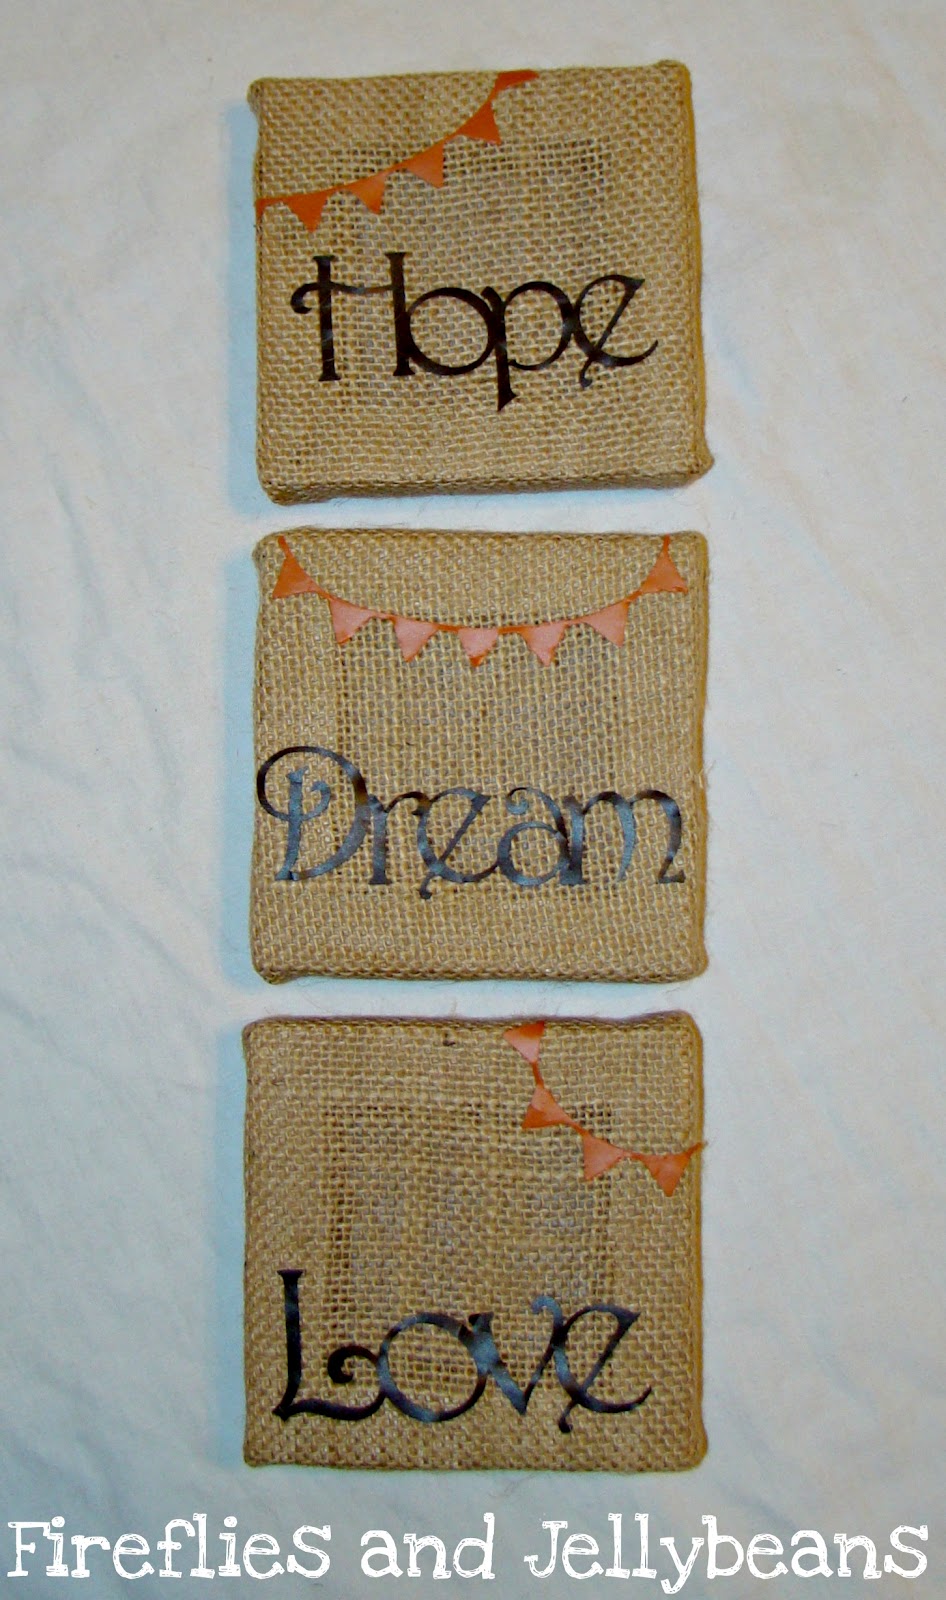
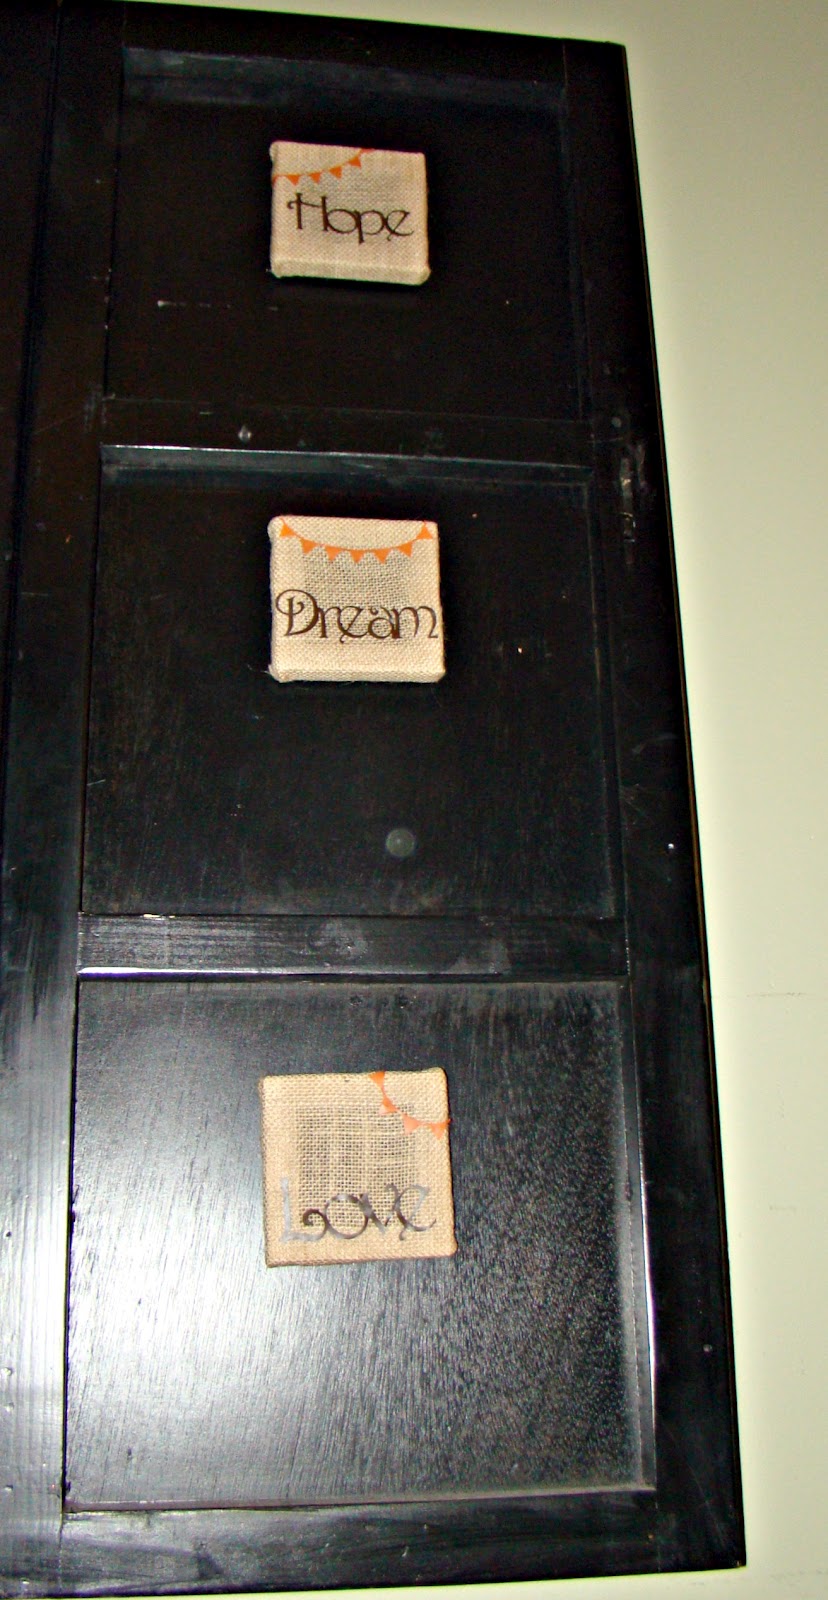
I used the Fancy Envelope Tabs Die , along with the L Letterpress  from Lifestyle Crafts to make these darling party favors!  {check out the discount code at the bottom of the page!} 
The Fancy Envelope tabs can be used on so many projects; labels, cupcake toppers, small cards, etc.  And the letterpress embosses and stamps at the same time, creating an amazing professional custom look! 
Here is how you use the letterpress:
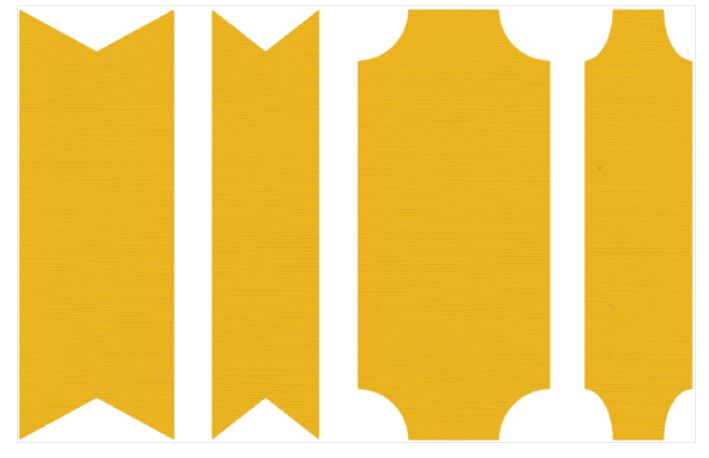
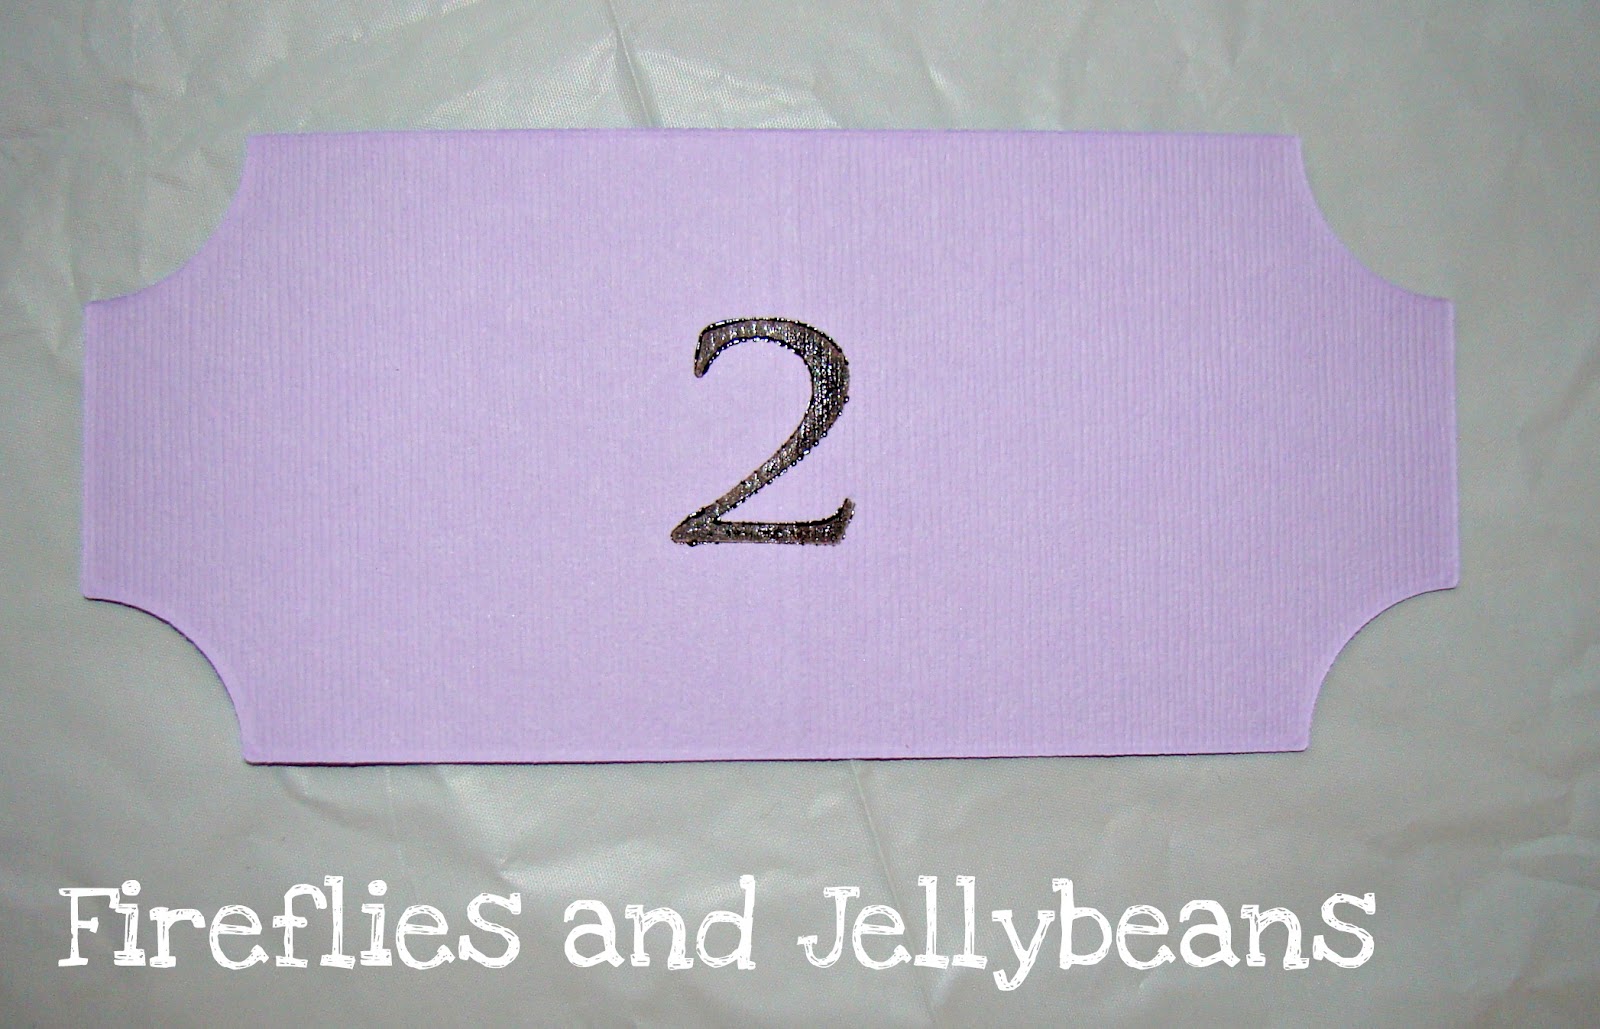
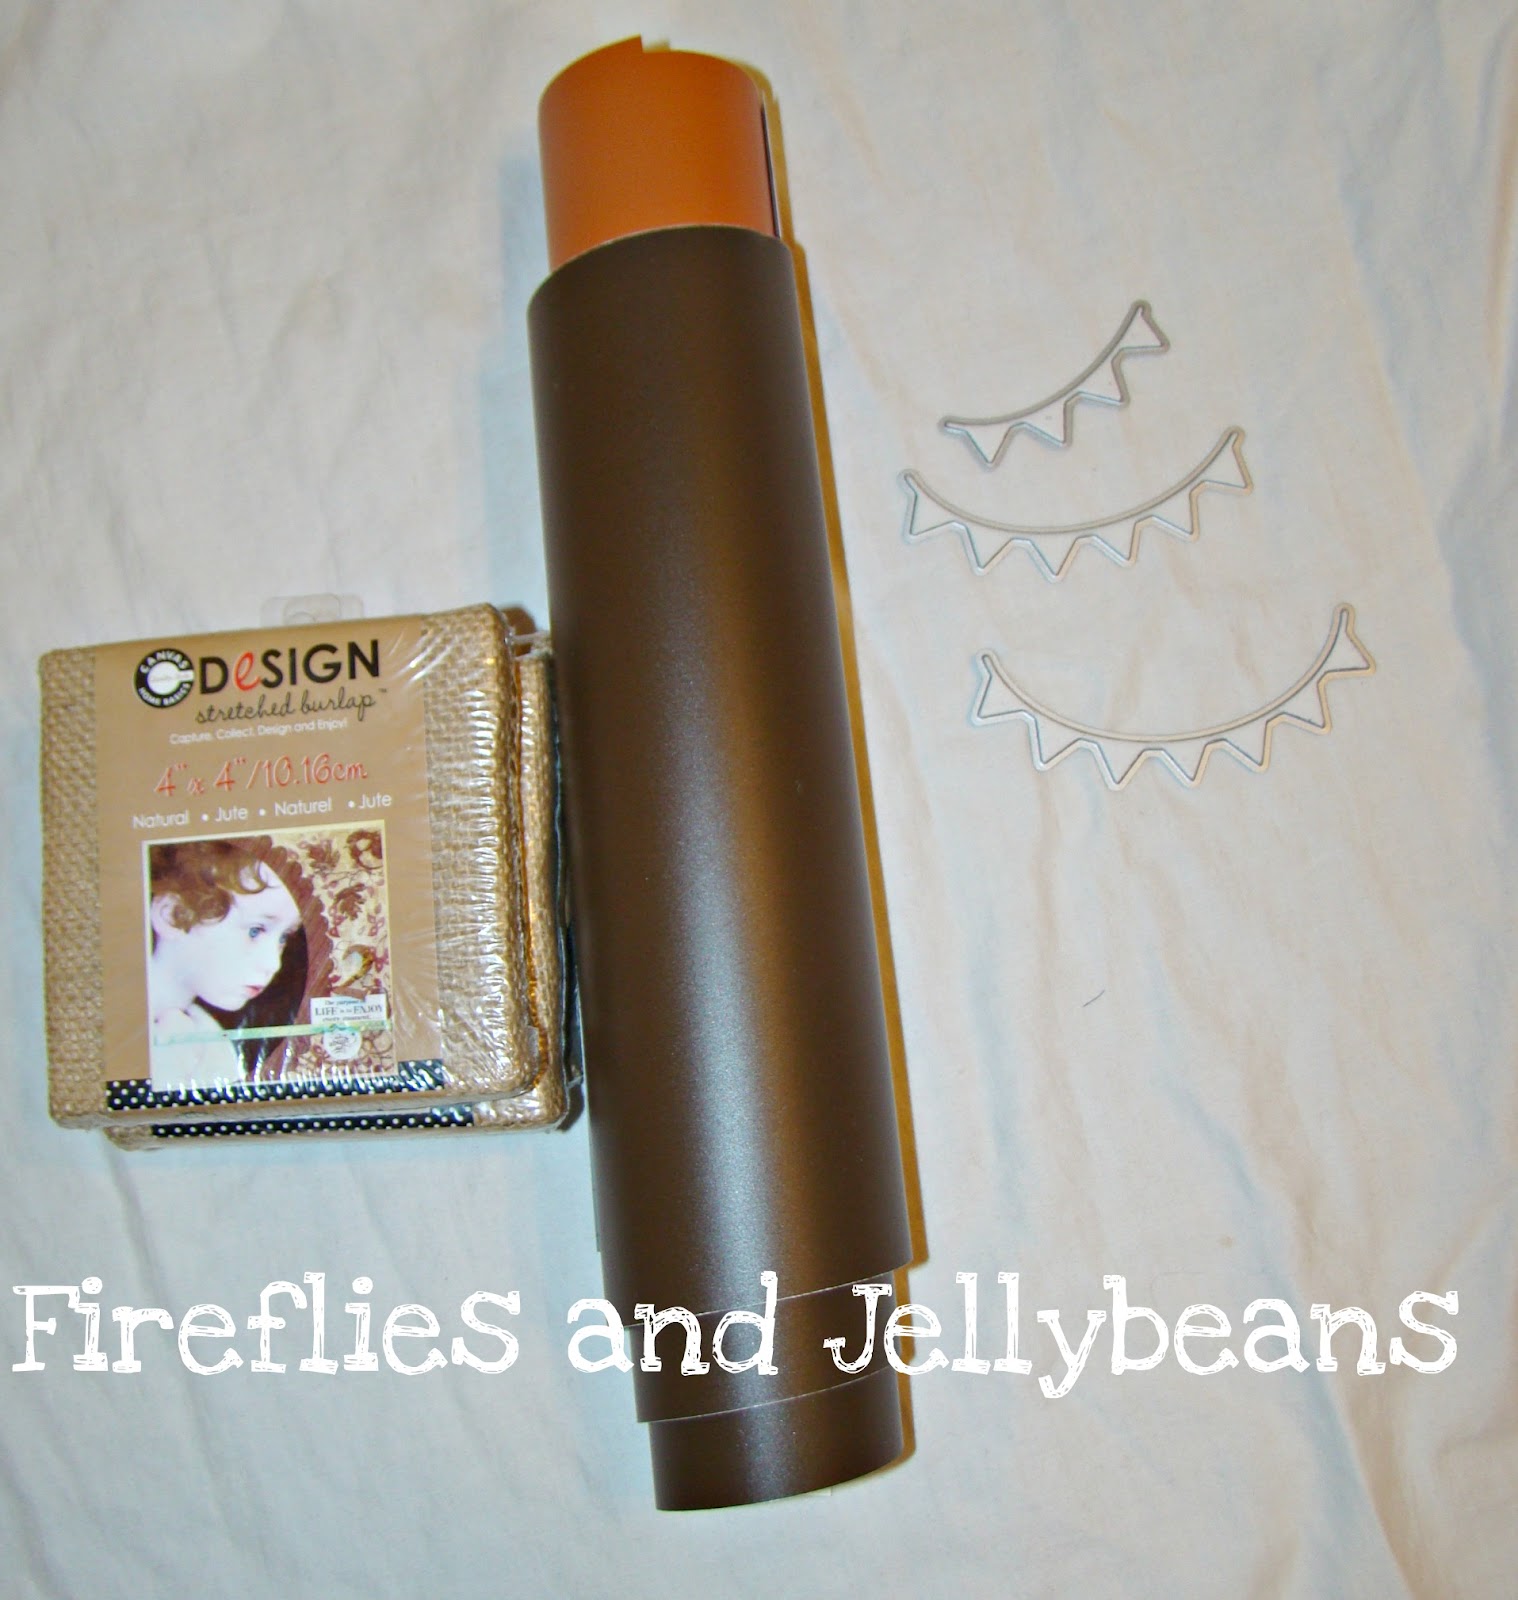
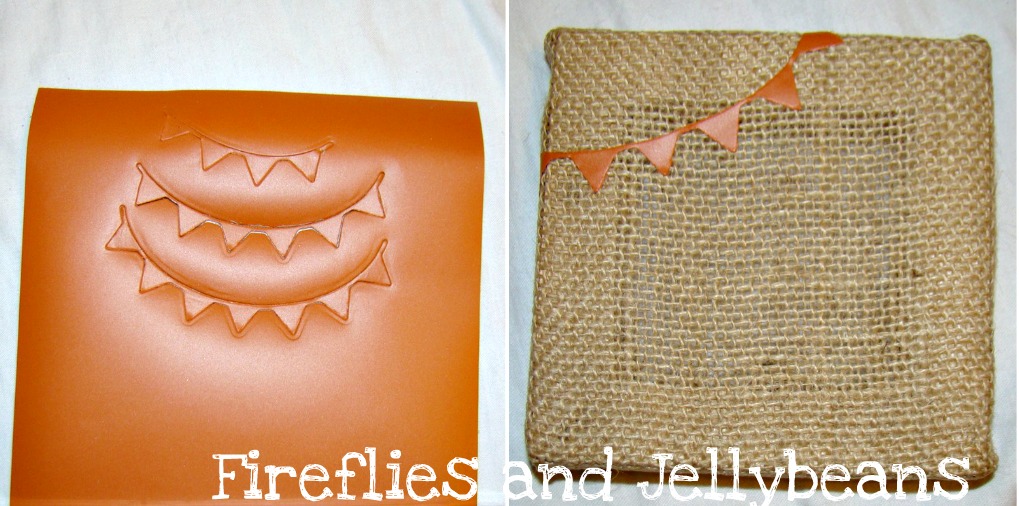
First cut out the shape you want to use.

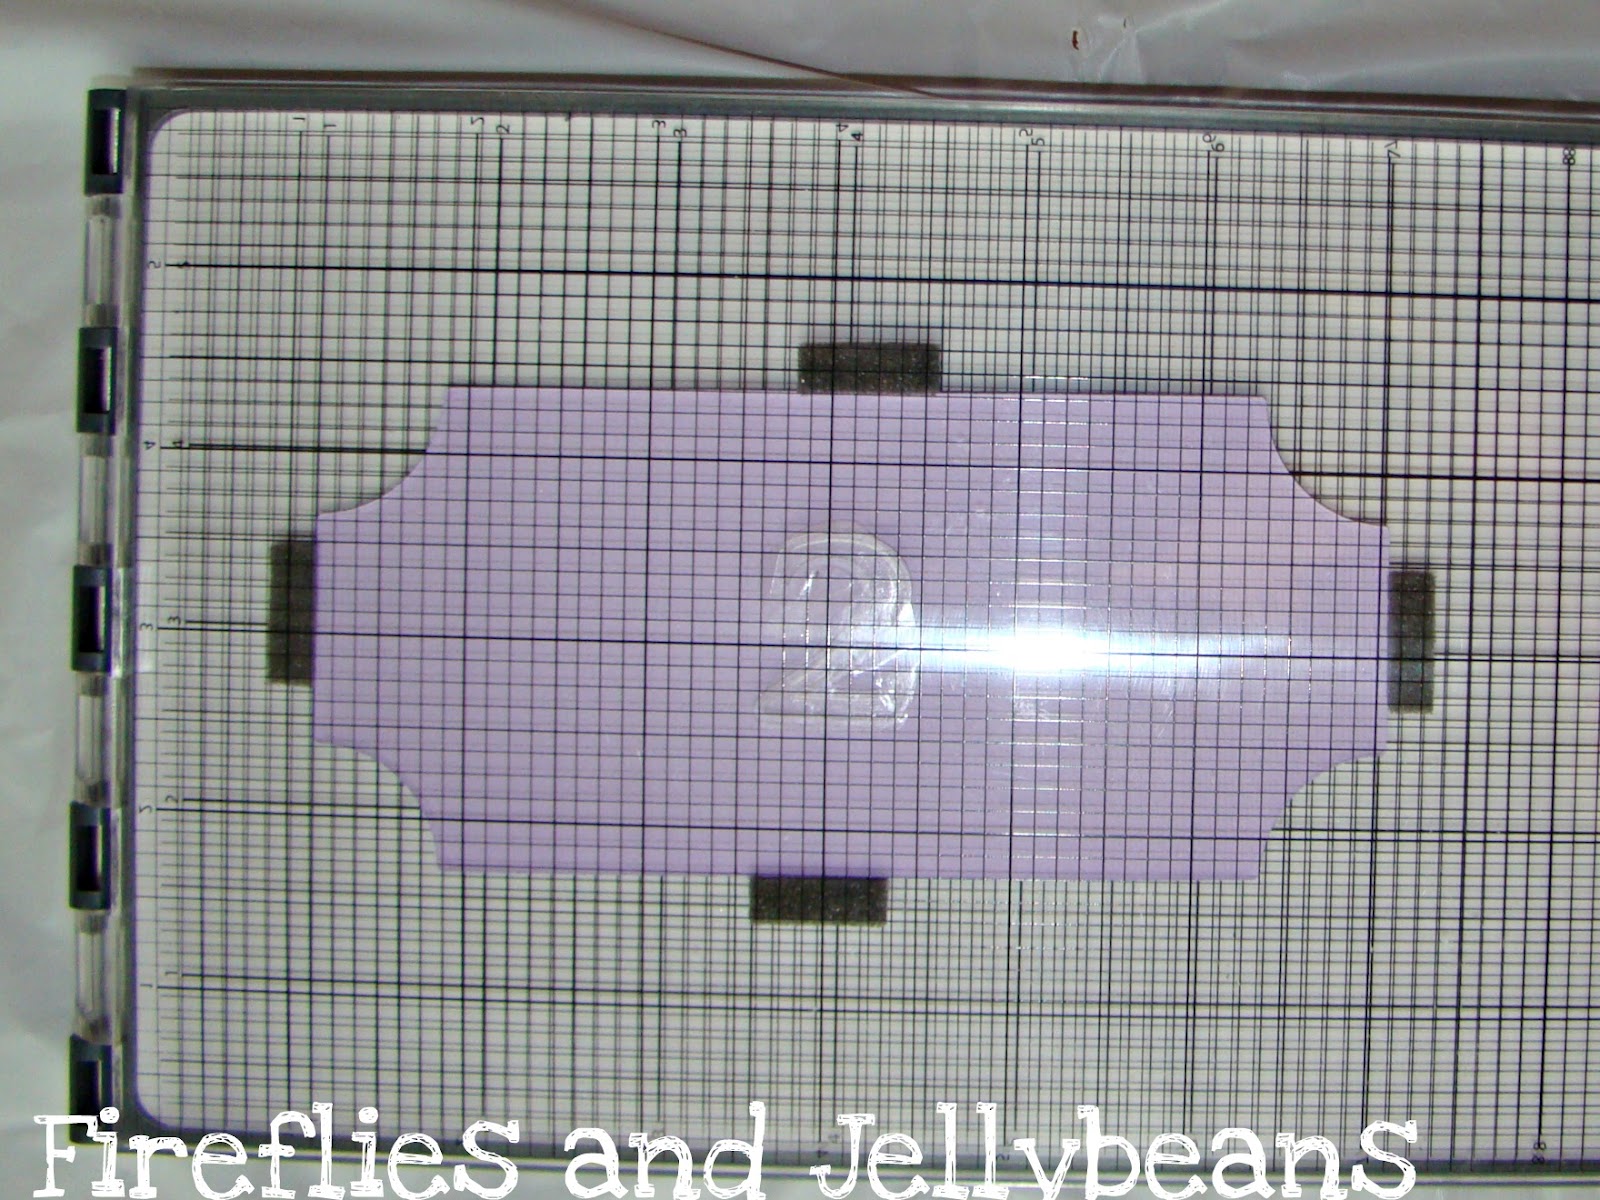
Next aline your printing plate in the back of the clear side of the letterpress platform.  In my case I am using the #2.  The printing plate come with adhesive stickers to use to keep it in place. 

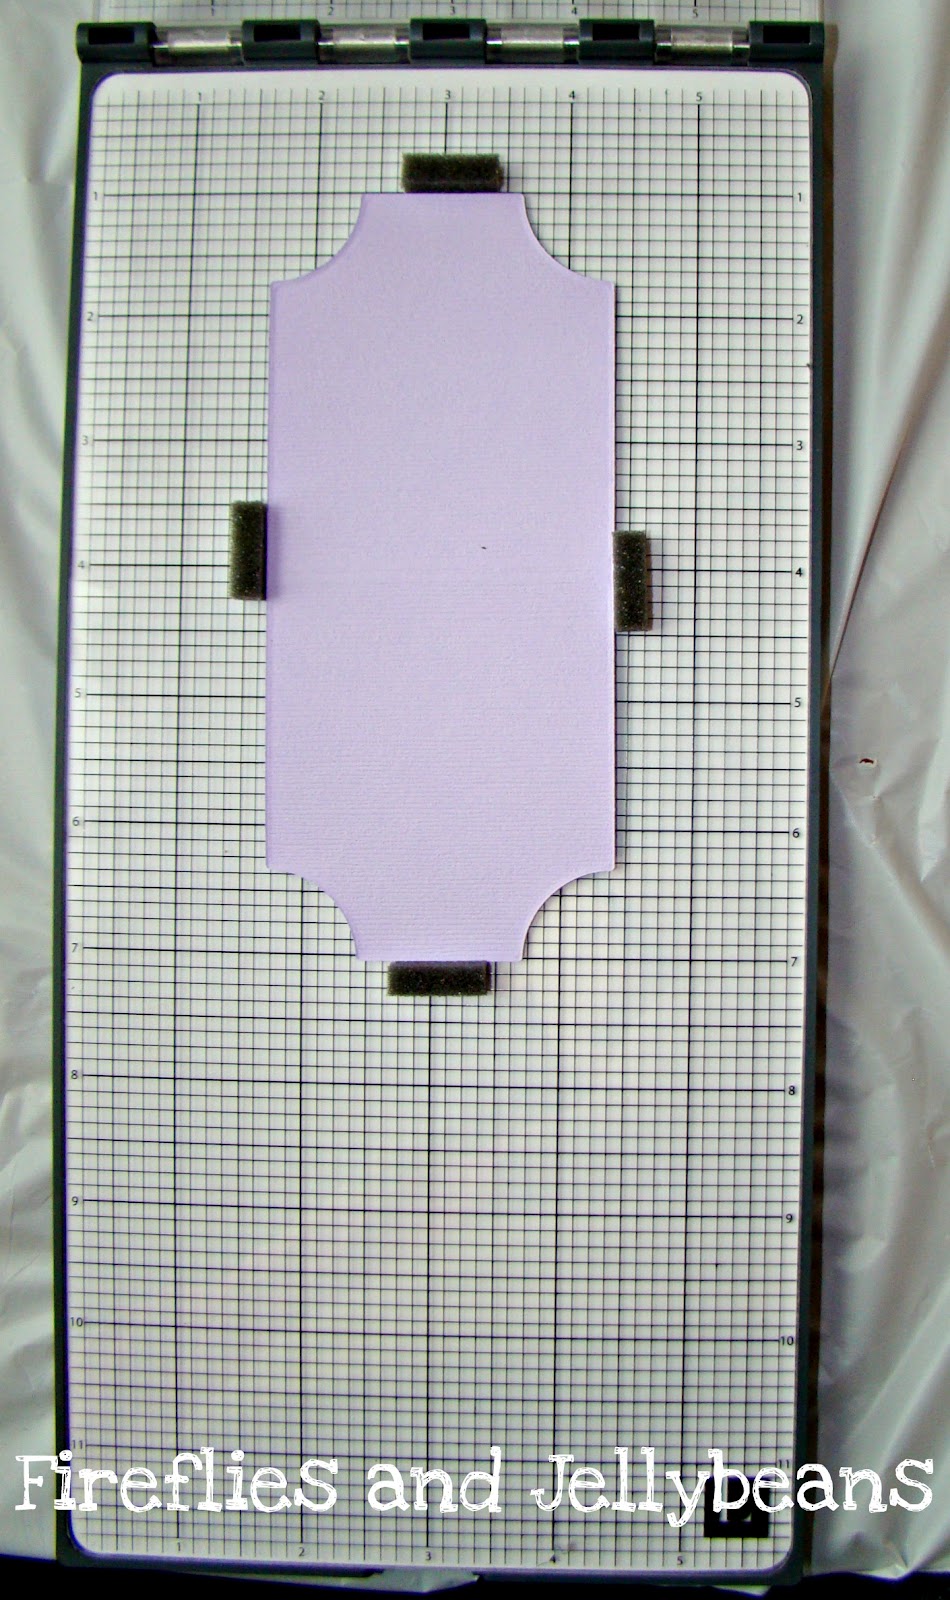
Now, line up your paper and use the foam tabs to keep it in place.  I love that you can create a frame around your shape so that you can use it again to print more then one!

I like to double check that everything lines up before I put any ink on.  

Squrit some ink on the ink base and use your brayer to spread it around,  you want your brayer to have an even cover of ink on it.  Not too thick.   Use your brayer to roll the ink onto the printing plate.

Now close the letter press platform and run it through  your die cutter (Epic 6 in my case)

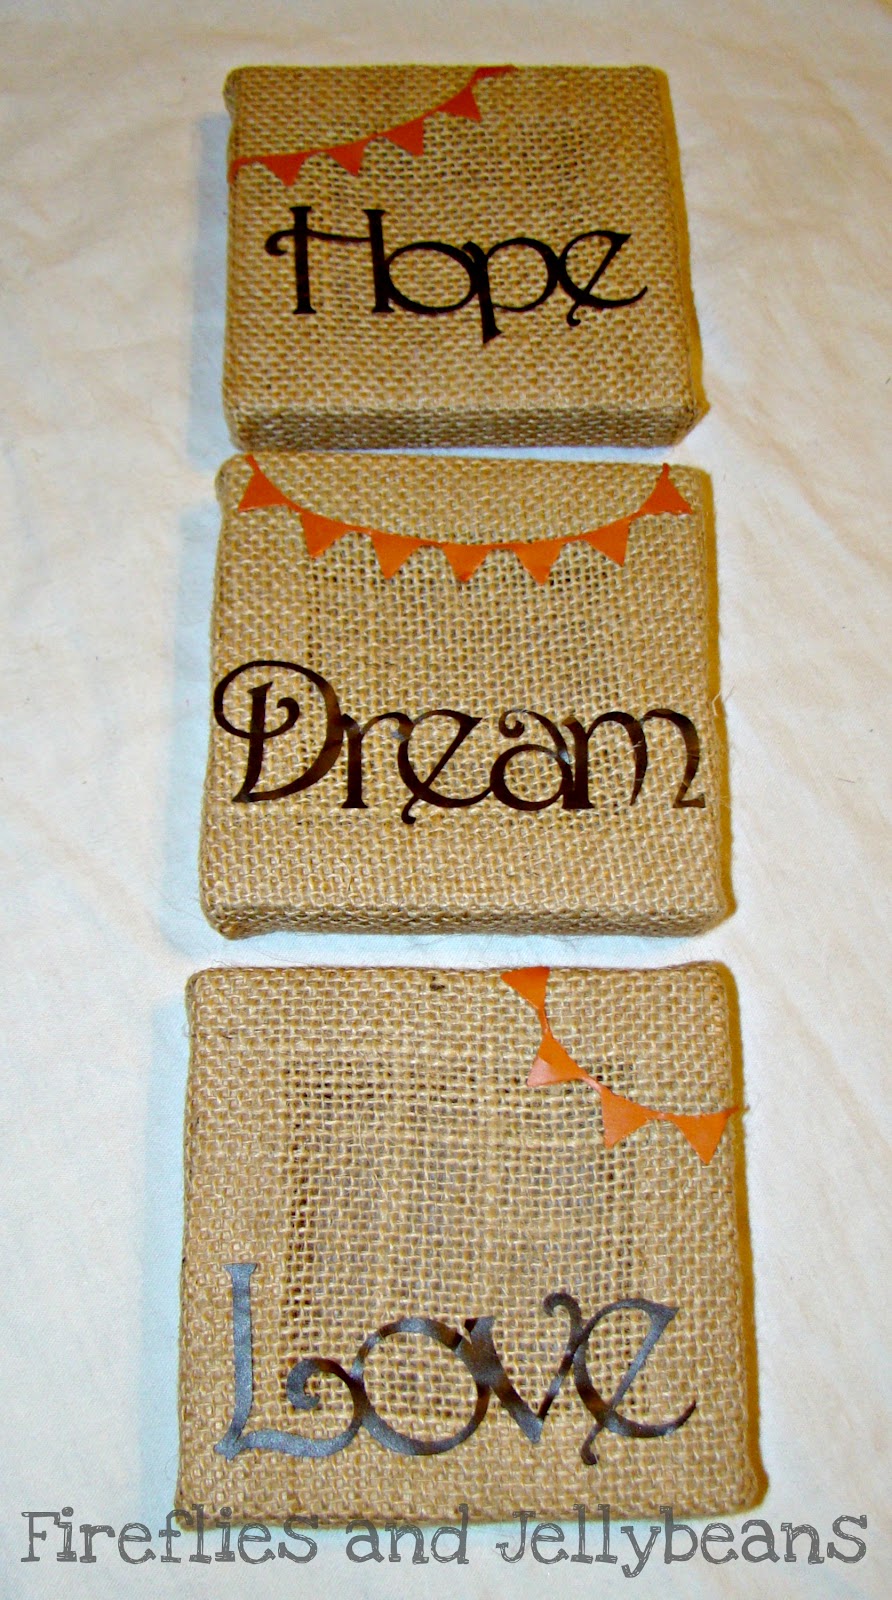
Take it out and let it dry.  Repeat, repeat repeat... for all your water bottles!

Use adhesive to attach the labels around the bottles. 


Here is a side view:
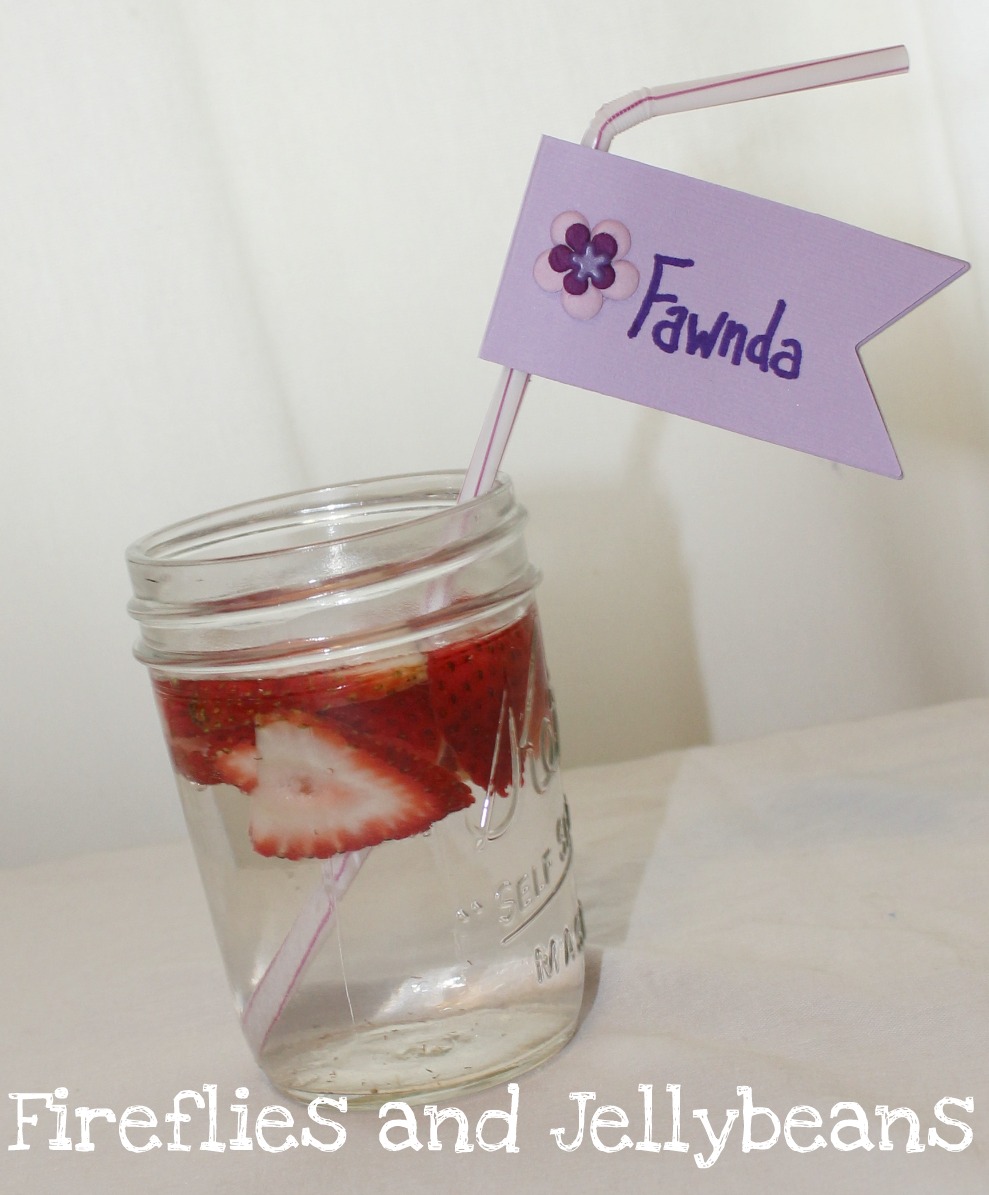
I used a smaller fancy envelope tab and folded it in half around a straw (with a glue dot between) to make this cute straw flag!  I think it is an adorable way to make a name tag for your drink!

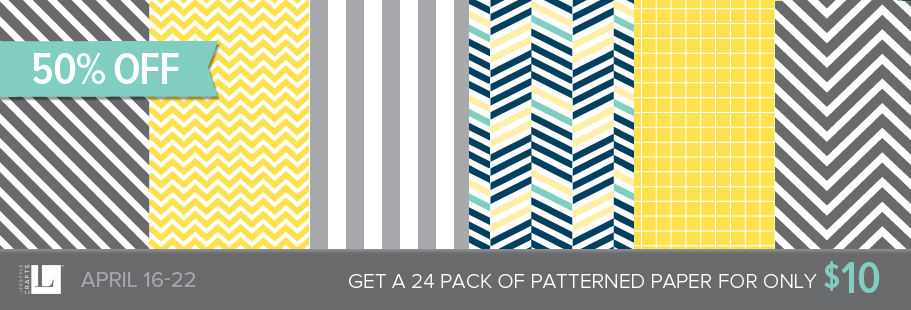
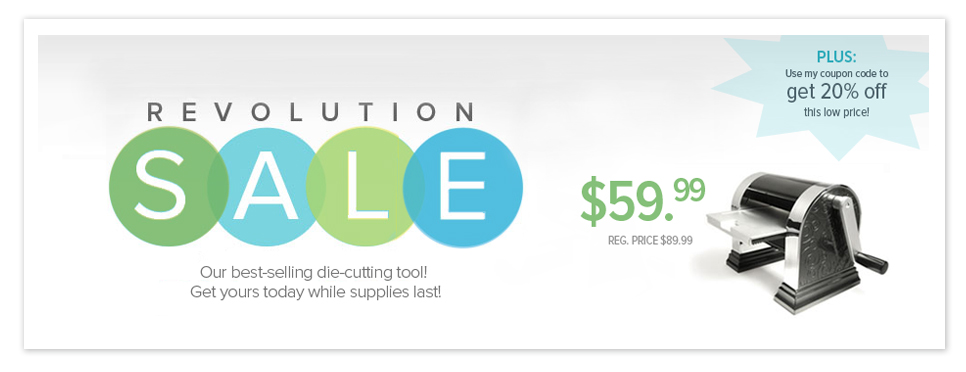
Lifestyle Crafts is also have FREE shipping on orders over $25 and A Paper sale! 
Don't forget to use code: fireflies to get 20% off your total order (including sale prices!)


***disclosure: I am an affiliate of Lifestyle Crafts.  I also did receive free products to make these crafts.  All opinions are 100% mine! ***

Tuesday, April 10, 2012

Hope, Dream and Love Canvases {tutorial}

Lifestyle Crafts have come out with some fun new dies! 
Big Top dies are being released today!
The great thing about Lifestyle Crafts' dies are that they work in any die cutting machines (big shot, cuttlebug etc!)  Be sure to check out the discount code for 20% off your order at the bottom of the post!

I got the Pennants dies and made these super cute canvases for my work space! 
Here is what you will need: 
Vinyl 
Canvases (mine are burlap from Canvas Corp) 
Pennant Dies

Did you know that you can cut vinyl with your Epic Die cutter?  I wasn't sure if it was going to work but, it totally did!  I shimmed it with a piece of paper folded over (placed under the dies) to help get it to cut all the way through, but it did come out nicely!  Once I cut out the pennants I placed them on the canvas.

I then cut out my letters (if you have alphabet dies, you could use those too) and placed them on my canvas. and done!

The pennants add the perfect amount of detail, while keeping it very simple!  They look so cute hanging up in my work space! 


I also used the pennants to decorate my daughter's birthday invite...I LOVE how it turned out!  
 I have some more party decor that I used the pennants and the fancy envelope tabs for... check back later this week to see them!  They are SO CUTE!!

Get 20% off your order at Lifestyle Crafts
  with code: FIREFLIES

Lifestyle Crafts is also having a sale on their Revolution Die cutter.  It is on sale for $59.99 and if you use my discount code it will only be $47.99! 
A little info on the Revolution: It has a 4" magnetic platform, so when you put your metal dies on the platform, they hold tight and don't slide off! The 4" platform is slightly smaller than the Epic, so it only works with dies and embossing folders that are 4" or smaller and is too small for the letterpress. It is easy-to-use and compact and many crafter's favorite tool.


Content Ad