Showing posts with label fruit sorter project. Show all posts

Thursday, April 21, 2011

Rhinestone #1 Shirt and Silhouette SD Giveaway!!

***This Giveaway is CLOSED!!***

Yep! Your read that right! We are giving away a Silhouette SD today! I am so excited for one of you! You are going to LOVE this machine!

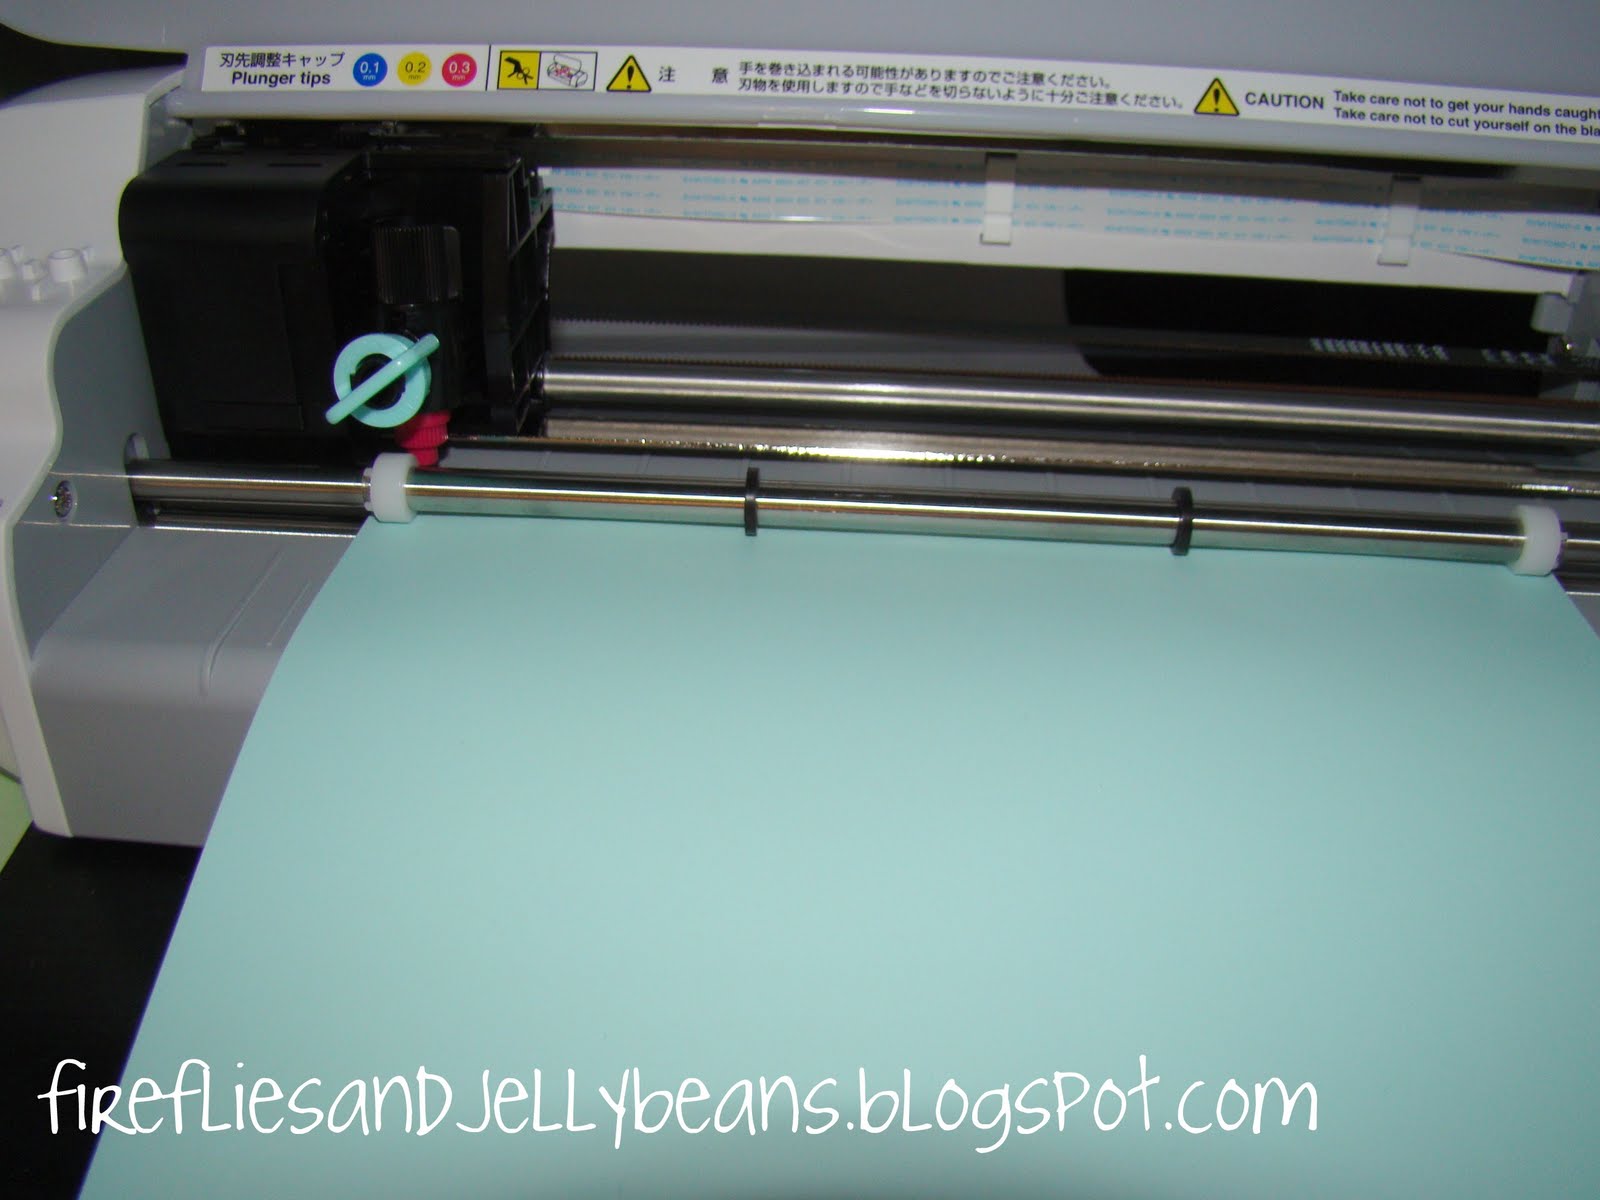
I LOVE LOVE LOVE my machine... I have not decided on a name for it yet... but it will have one... I am leaning toward Skyla or Lainey

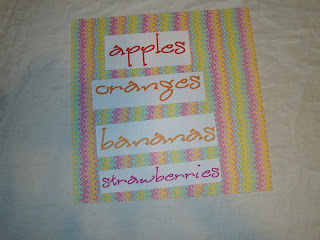
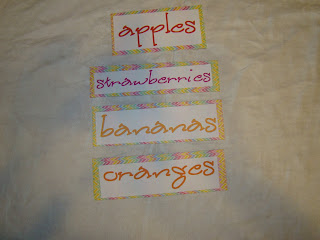
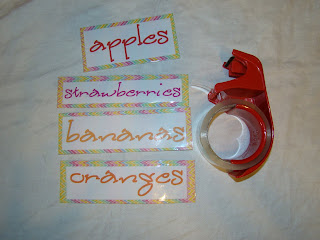
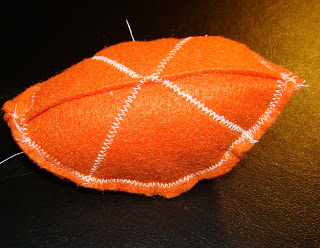
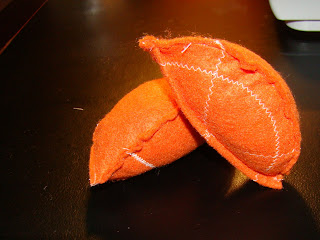
Here is one of the things that I made with mine this week {Along with the Rhinestone starter kit}
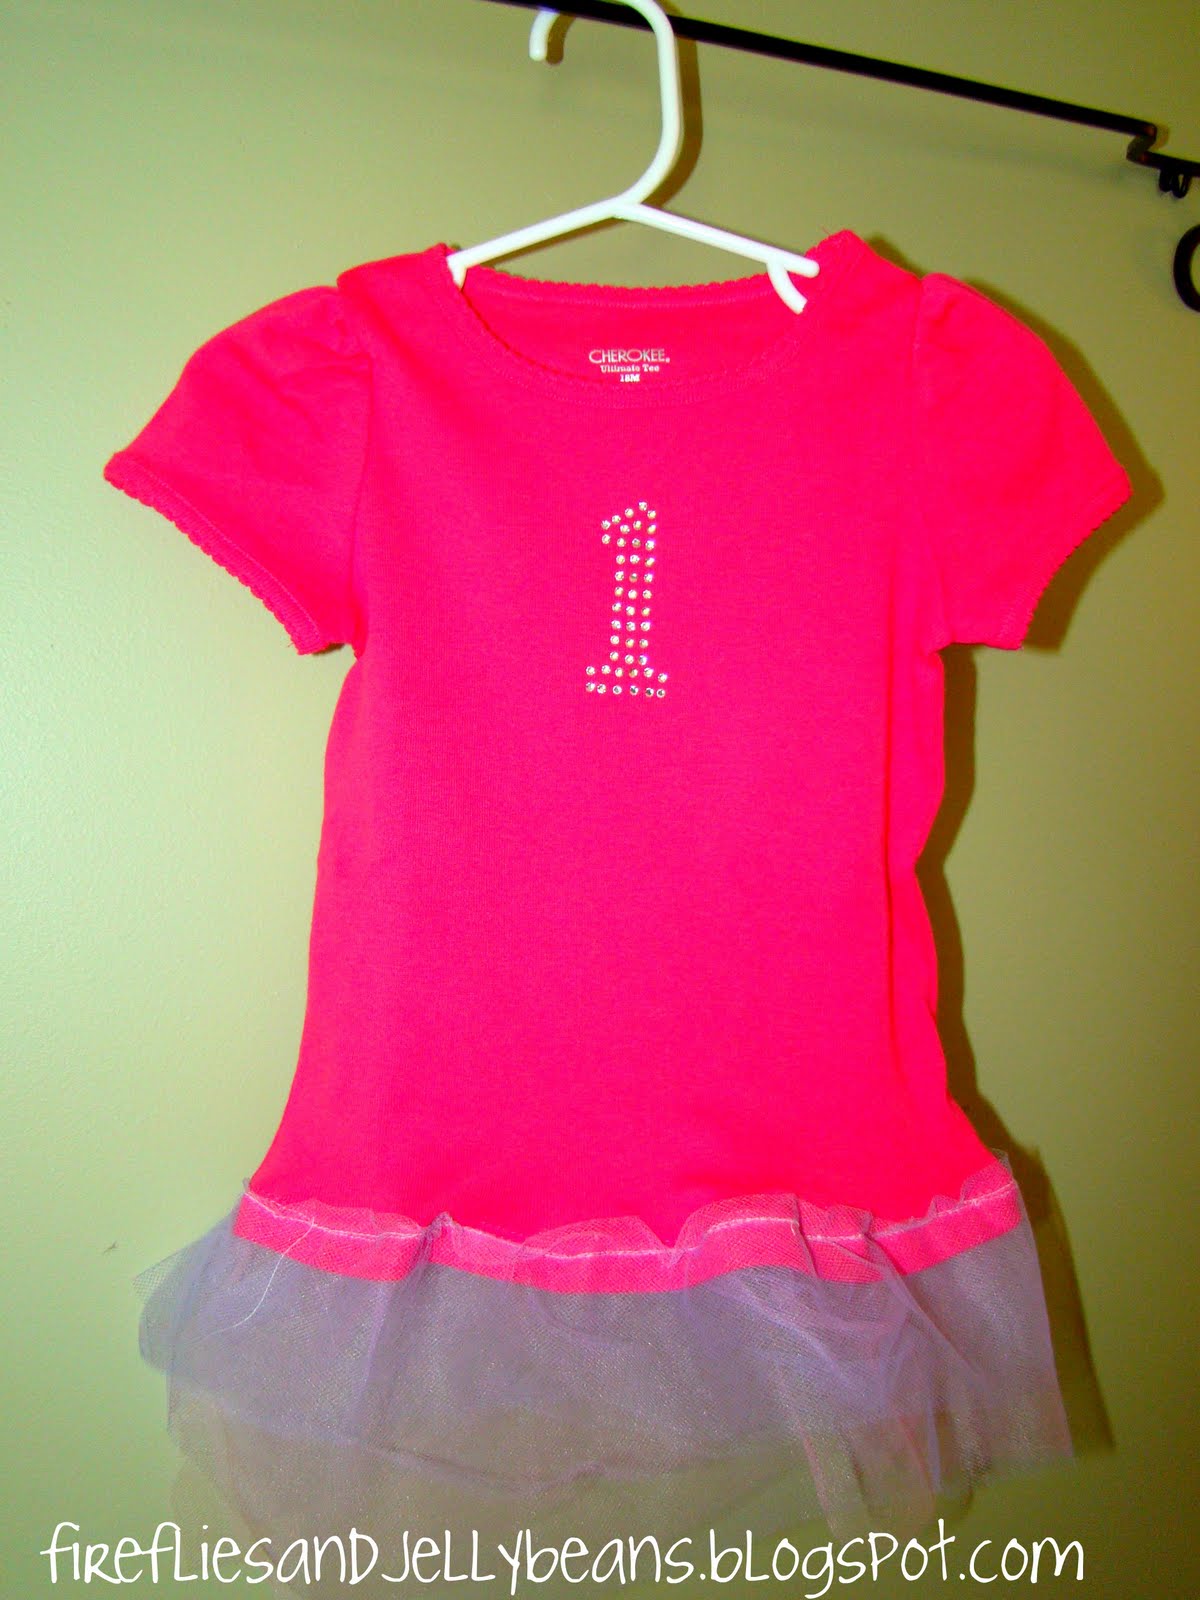
It is my daughter's 1st birthday today!!!  So I made her this special shirt to wear at her 1st birthday party.  Cute and girly!

You will need:
Silhouette SD machine
Rhinestone starter kit
T-shirt
Tulle (optional... but totally worth it!)

First I am going to show you how I worked with the rhinestone picture to add MORE bling to it

here is what the #1 looked like to begin with (you can find it in the Silhouette store for .99) 
Cute -but I wanted there to be more bling so I added more dots for more rhinestones!

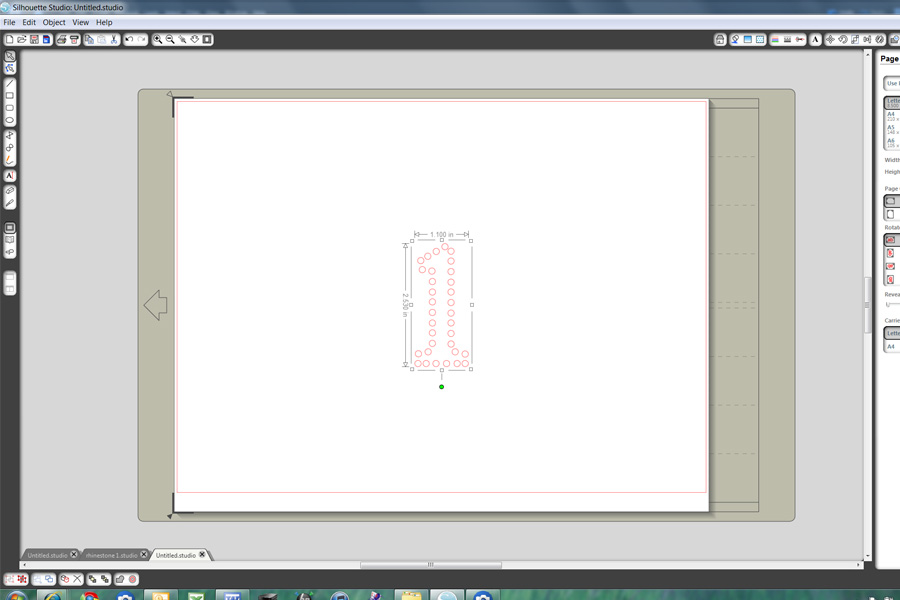
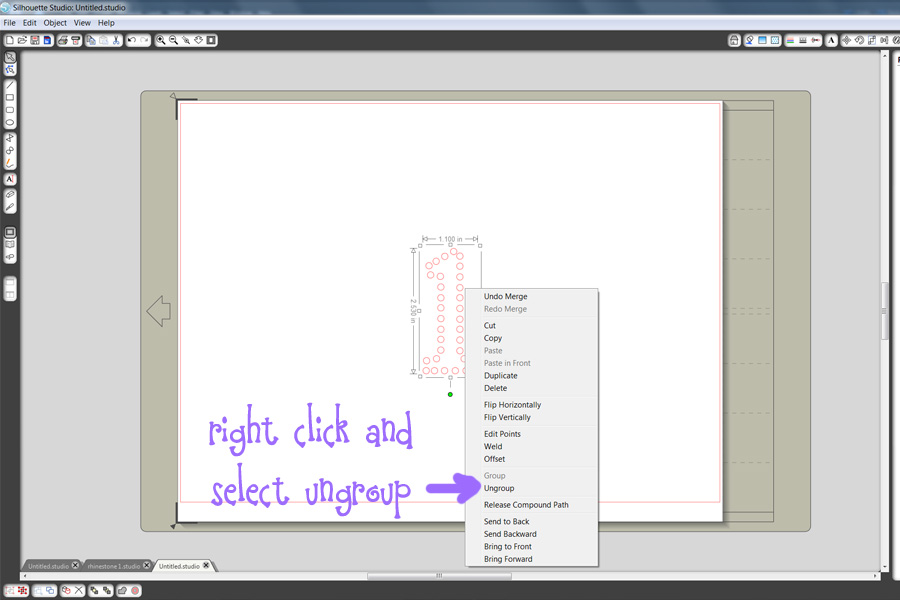
First I selected the #1 shape and right clicked on it.  Then I selected ungroup.
Now all your little dots should be separated. 

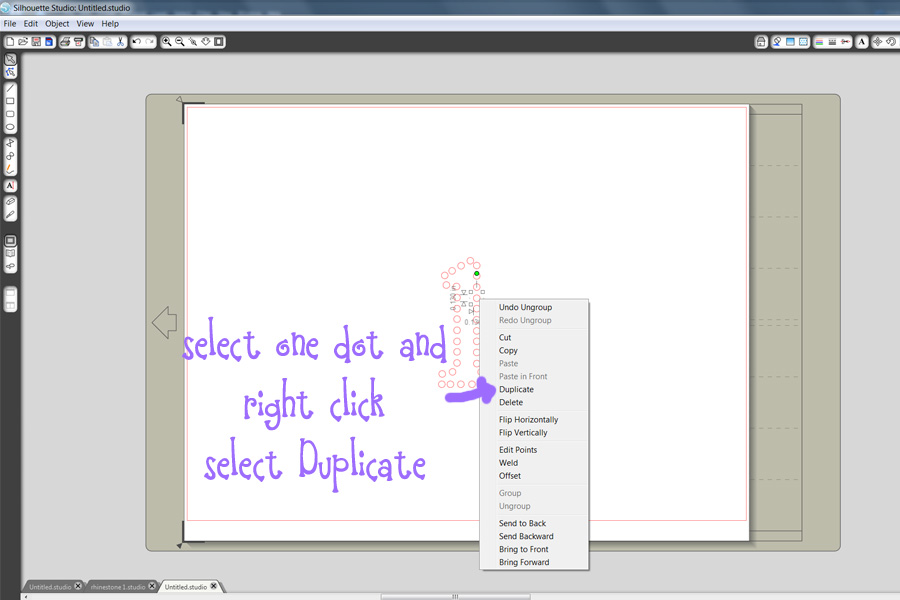
Now select one of your little dots (do NOT resize!!!) and right click and select duplicate.  This will give you another dot... repeat for at least 12 more dots

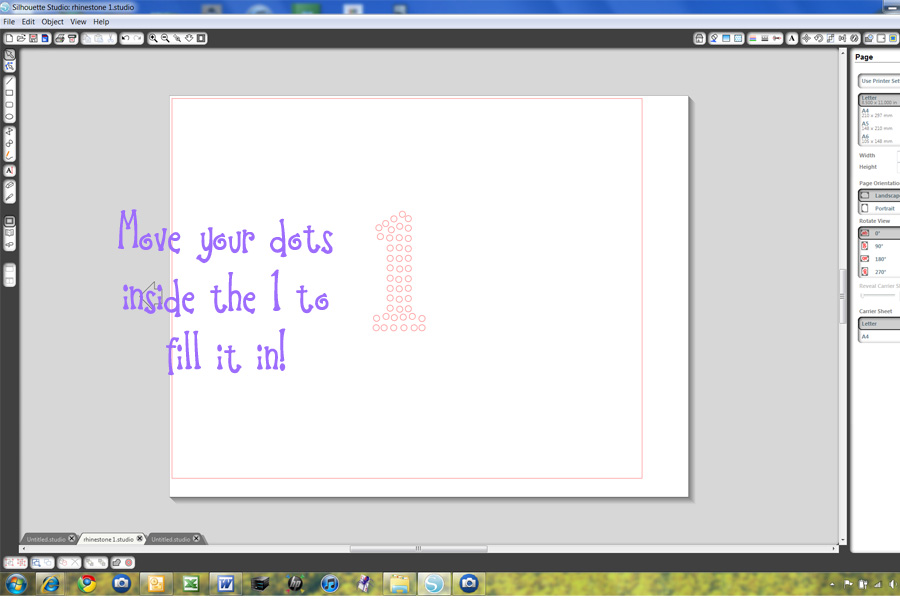
Move your dots inside the #1 to fill it in

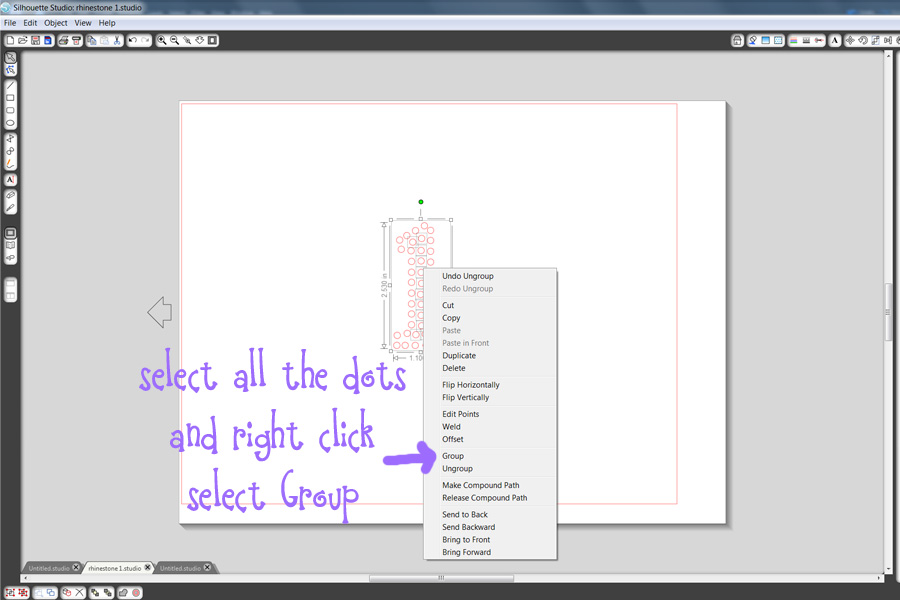
Now we are going to group them back together so that it is easier to move around. 
Select all the dots (I just make a rectangle around them with the mouse) and right click, now select Group.  Now all the dots should be stuck together in one big group! 

Now send it to your silhouette... no need for the carrier sheet!  Make sure the RED tip is in!

Peel off your blue backing and make sure all the holes are out... Silhouette suggests you do this in a quick swipe... but I had to pick out some holes... not a big deal!  Put it on the cardboard sheet.  Dump some rhinestones on it and use the brush to move them around to fill in most of the holes.  Use your Pick-Me-Up tool to fill in the rest of the holes and remove extra rhinestones   

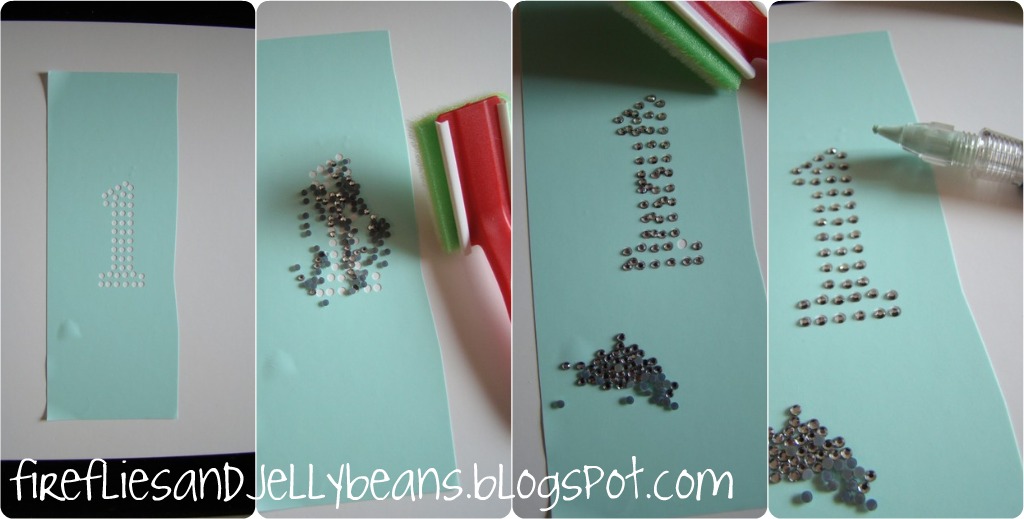
Put your clear adhesive transfer sheet over all the rhinestones and make sure the all stick. 
Move it to your shirt. Place a piece of fabric over it and iron for 30-45 seconds.  
Remove the clear adhesive transfer sheet  and turn your shirt inside out and iron on the back to pull the glue through. 

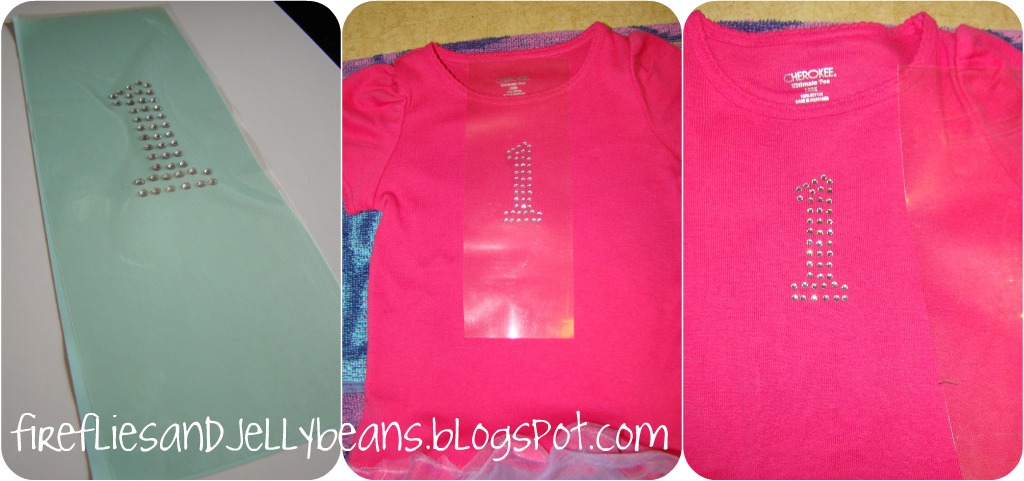
Ta-da!  Totally cute 1st birthday shirt! 
Of course, you could put any number on it and it would be SUPER cute!
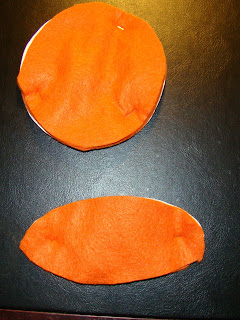
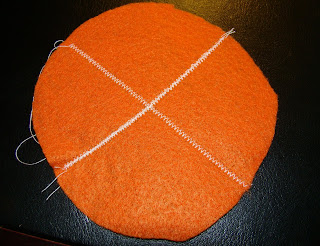
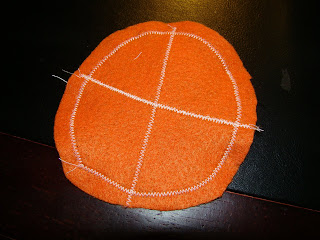
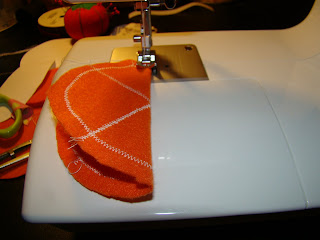
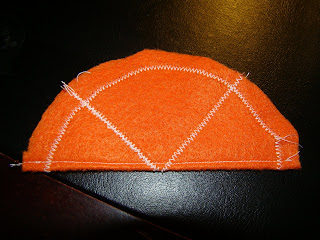
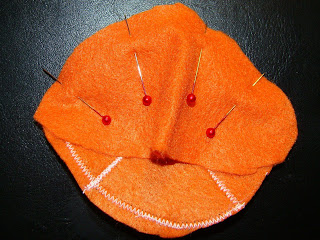
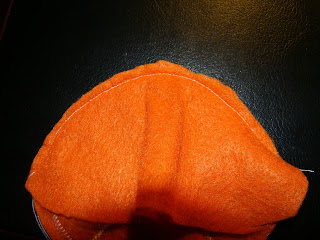
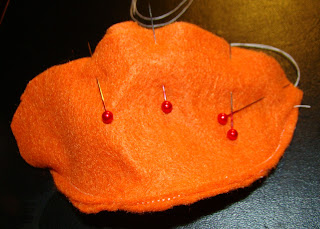
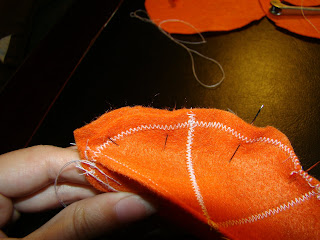
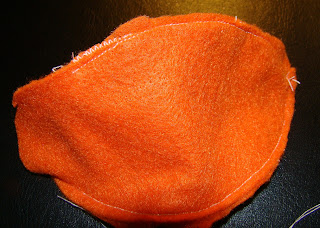
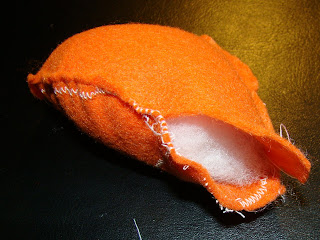
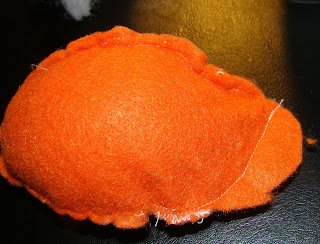
HERE is the tutu tutorial

And Now the giveaway! 
Silhouette is giving away ONE machine to a lucky F&J reader!

Here is how you can win:
{leave a separate entry for each!}
1. You MUST be a Fireflies and Jellybeans and Silhouette blog follower and post a comment on the Silhouette blog. (only one entry)
2. Like Silhouette on Facebook (one entry)
3. Blog, Tweet, Facebook about this giveaway! (one entry each)

This giveaway is open to US Residents only and ends on Monday April 25th at Midnight!

Silhouette is also offering this SWEET deal for F&J Readers!
A Silhouette SD
The Rhinestone starter kit
3 additional packs of rhinestones
And 1 Pick Me Up tool
ALL FOR $229!

This Rhinestone Bundle includes:
The Silhouette SD
2 sheets of rhinestone template material
2 sheets of rhinestone transfer tape
2 rhinestone backing boards
1 rhinestone placement brush
1 CD of rhinestone images
1 pack of clear 10ss rhinestones
1 pack of clear 16ss rhinestones
1 pack of clear 20ss rhinestones
1 pack of pink 10ss rhinestones
1 Pick-Me-Up tool

This is an incredible deal worth $125 in savings!
Click HERE and enter the code:Jellybeans

If you already have a Silhouette- all rhinestone products will be 30% off.

This promotion will run from April 21st-April 26th.

Good luck and Happy Silhouette-ing!


***Disclaimer: I was provided with the Silhouette SD machine and also the rhinestone starter kit for the project in this post... however my opinion is ALWAYS honest!***


This post sponsored by:

Monday, August 10, 2009

Fruit Sorting Baskets

Here is the final step in our fruit sorter project. We have made 4 kinds of fruit:
Bananas
Strawberries
Orange Wedges
Apple Wedges
Now, it is time to work on the baskets. Here is what you will need:

4 baskets (I got mine from the dollar store)
card stock
white paper
paper cutter
ribbon
adhesive

Not pictured:
scissors
hole punch
packaging tape


1.) Print out or hand write the names of the fruit that we made:
2.) cut out the names of the fruit:


3.) Cut out mats on card stock and mount your fruit names:

4.) have your assistant help you unroll your ribbon while you are doing the next step (optional!)


5.) Laminate your mounted fruit names with packaging tape (or what ever you want to use)
6.) Punch holes in the fruit names:


7.) Attach using the ribbon to the handles.


8.) Place on a shelf and enjoy the cuteness!

I hope that you enjoyed our fruit basket sorter project! :)

Monday, August 3, 2009

Fruit sorter project on a break agian!

I took another break from the fruit sorter project. I had VBS (Vacation Bible School) last week, where I volunteer to help lead the preschoolers, and we also got a summer cold, so that meant all projects came to a screeching halt! I am looking for some basket type thing from the dollar store to use and I hope to make some pears and the next few weeks! We will finish this!

Sunday, July 26, 2009

How to make felt apple wedges

I took a couple of weeks off of theFruit Sorter Project. It is summer and I needed to play with my little boy! : ) But I am ready to work on it again! We have already made bananas, strawberries. and orange wedges. Now we are going to make apple wedges!

Materials:
Red and white felt
Scraps of brown and green felt (optional)
white and black thread
Stuffing (Not pictured)
Sewing machine


I used the same pattern at I did for the Orange wedges.

1.) Pen your pattens to the felt. The circle goes on the white and the oval goes on the red.

Cut out your pieces.


2.) On the white circle zig-zag stitch 2 seeds (one on each side of the circle- right and left)


3.) Fold the circle in half so that a seed is on each side. Sew the folded edge.

4.) Pin the red oval to one side of the white circle.
Top stitch around the edge.

5.) Pin and top stitch the other side, leaving 1-2 inch hole to add the stuffing.
6.) Fill with stuffing.


Optional stem:
A.) Cut out a small rectangle out of the brown felt and a leaf shape out of the green felt.

B.) Sew the leaf to the stem


c.) Fold the stem in half and sew together.
7.) Attach the stem to the top of the apple (optional) and top sew the opening closed.

And now you have some cute apple wedges for you children to play with!

I am still trying to decide if I can make a pear or not... I have not found a good pattern yet. So, next week might be a pear or the baskets.

Sunday, July 5, 2009

How to Make a Felt Orange Wedge


Continuing in our Fruit Sorting Project, we are going to add oranges to the bananas and strawberries we already made!


Materials:
Orange felt
White Thread
Sewing machine (Optional- although it makes it MUCH easier!)
Stuffing
Pattern (I have mine below)


I made a circle shape for the wedge part of the orange and I made an oval shape that is a little bit bigger than the diameter of the circle for the outside peel. Feel free to use my pattern is for your personal and gift giving use!

1.) Cut out pattern and pin them to orange felt. I pinned mine to more than one layer of felt since I am planning on making more than one. But, for one orange wedge you only need one of each shape.


2.) Cut out the pieces of felt.

3.) On the circle sew and "X" using a zig-zag stitch.

4.) Also using a zig-zag stitch, sew around the circle about 1/4 - 1/2 and inch in... not too close to the edge because we have to sew on the top peel.

5.) Fold you circle in half and using a straight stitch sew a straight line on the fold.

Are you starting the see the orange taking shape now?!?!

6.) Pin one side of the peel (oval shape) to the circle WRONG sides together. I rarely pin when I sew because I am too lazy but I NEED to pin for this one. It will make your life SO MUCH easier if you pin! TRUST ME! It is OK if it butches a bit.

7.) Top stitch as close to the edge as you can. You can always trim off the extra if you don't get as close as you wanted.

8.) Now pin the other side of the peel.
a view from the other side...
9.) Top stitch across the other side leaving a 1 1/2 inch gap to fill with stuffing.

10.)Fill with stuffing


11.) top stitch the opening closed. It is OK if there is extra felt hanging off the end. You can trim if off, like I had to!


TA-DA! An orange wedge... make sure to trim you loose threads off!


I could only make 2 tonight since I ran out of white thread. But I am planning on making 4 total.
Next week we are going to make apple wedges! After you have done the oranges, apples will seem easy!

Content Ad