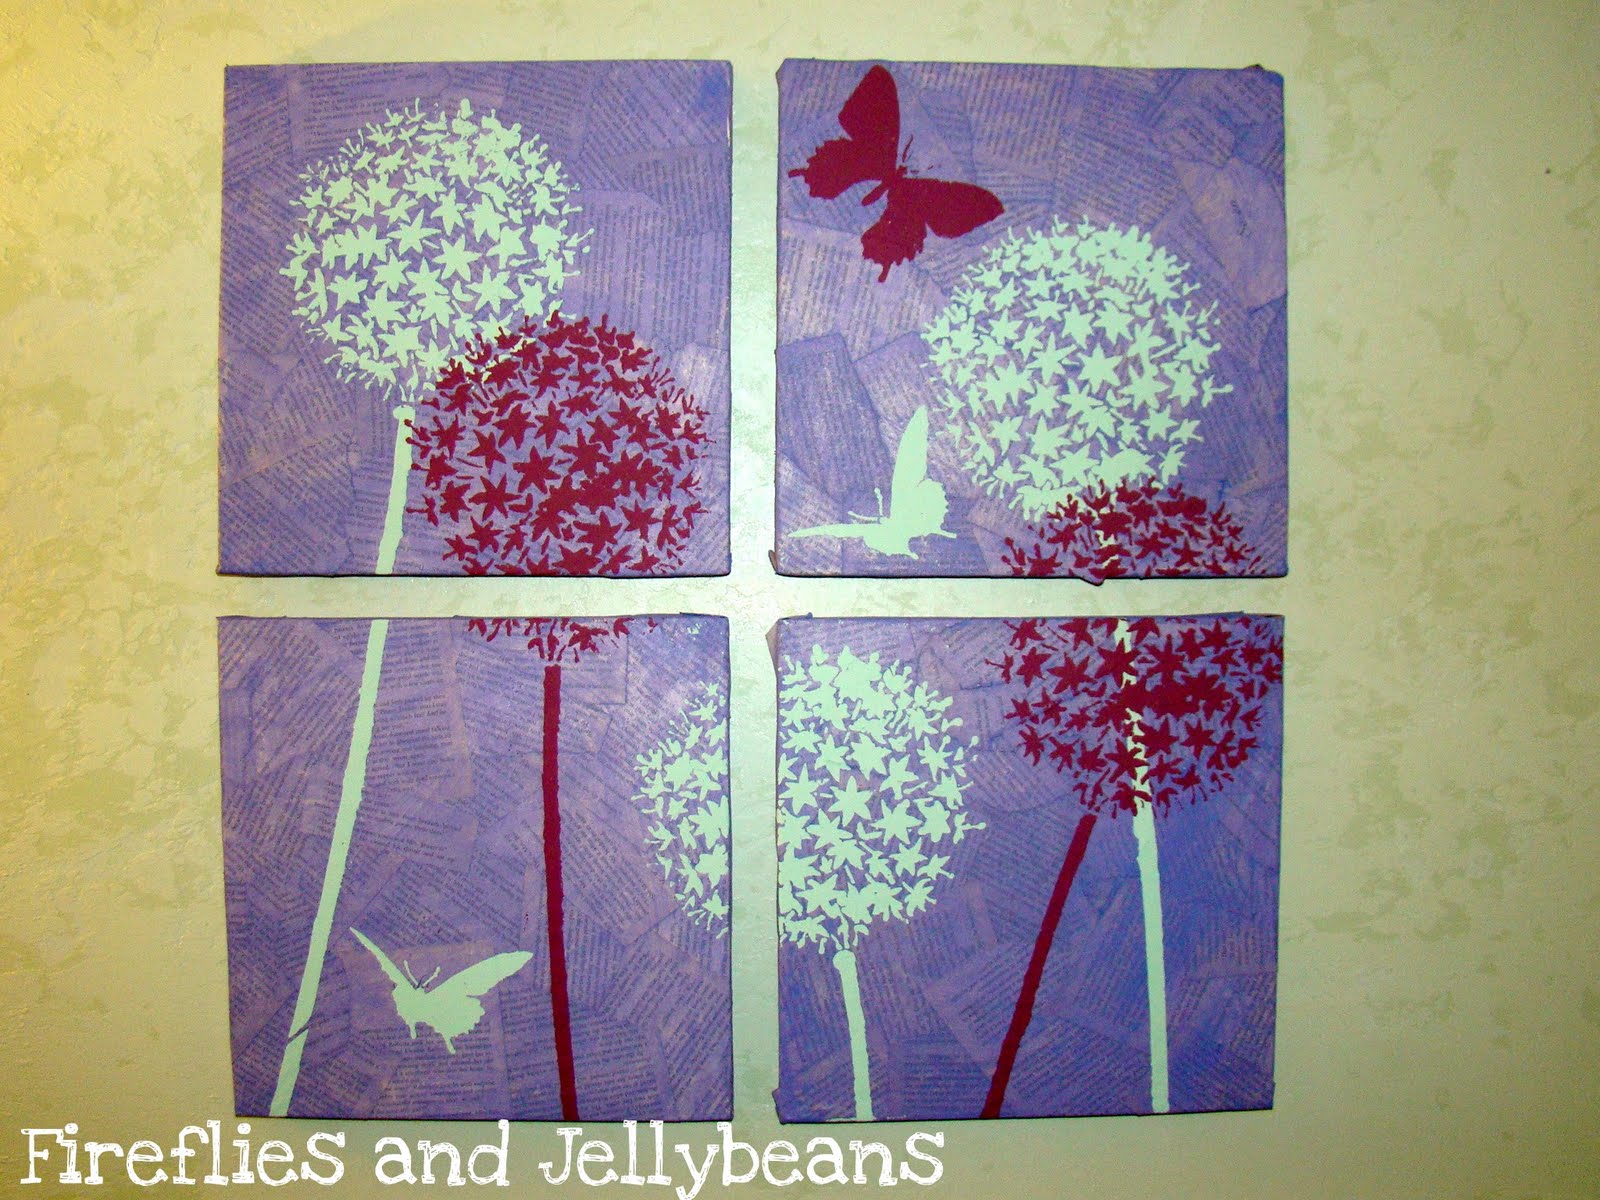
I was sent a big box of crafting supplies from Martha Stewart! It is a crafter's dream come true! I had so much fun creating fun projects that I have deemed this week: Martha Stewart Craft Week!
Craft #3: Art Journal Pages

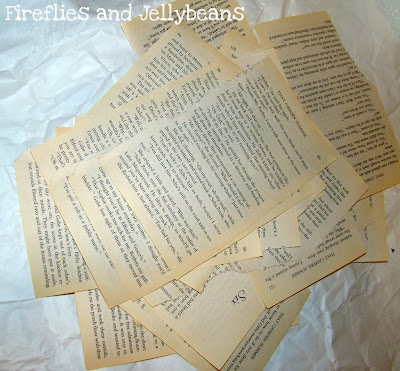
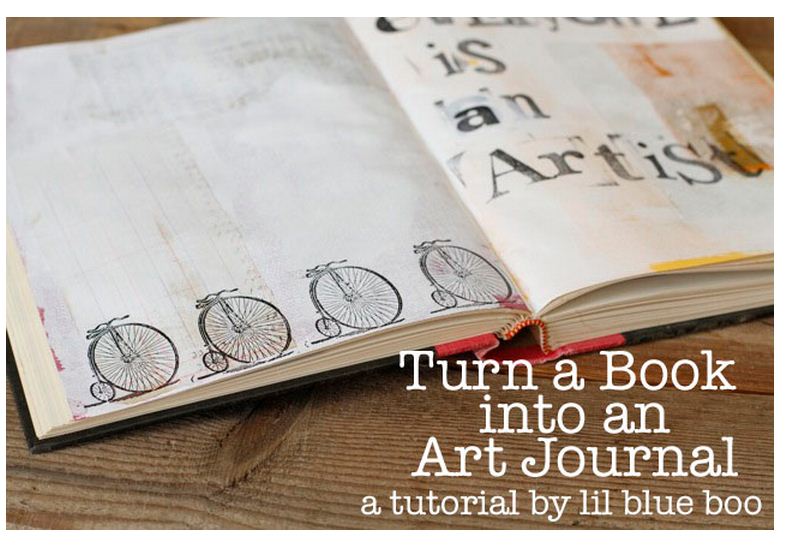
I followed the tutorial on Lil Blue Boo to turn a book into an art journal.
Ashley also has a Time lapse video to show how she creates pages in her art journal here.
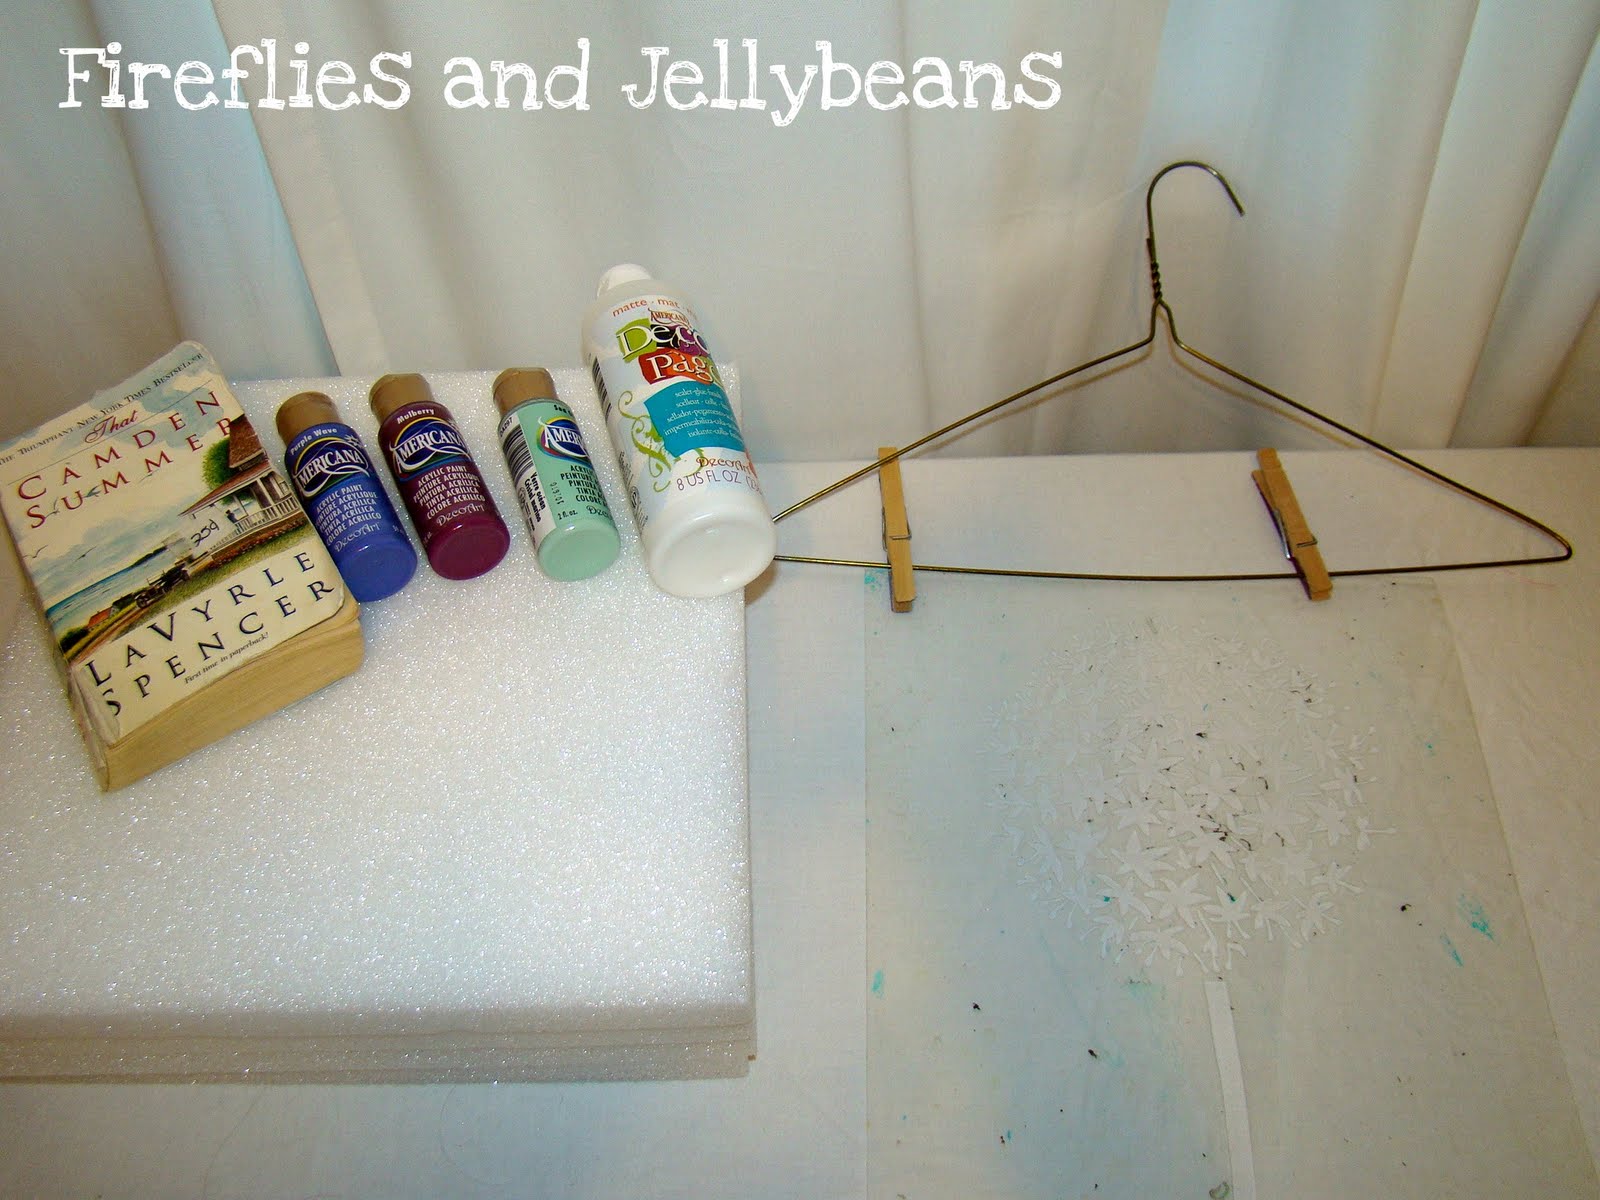
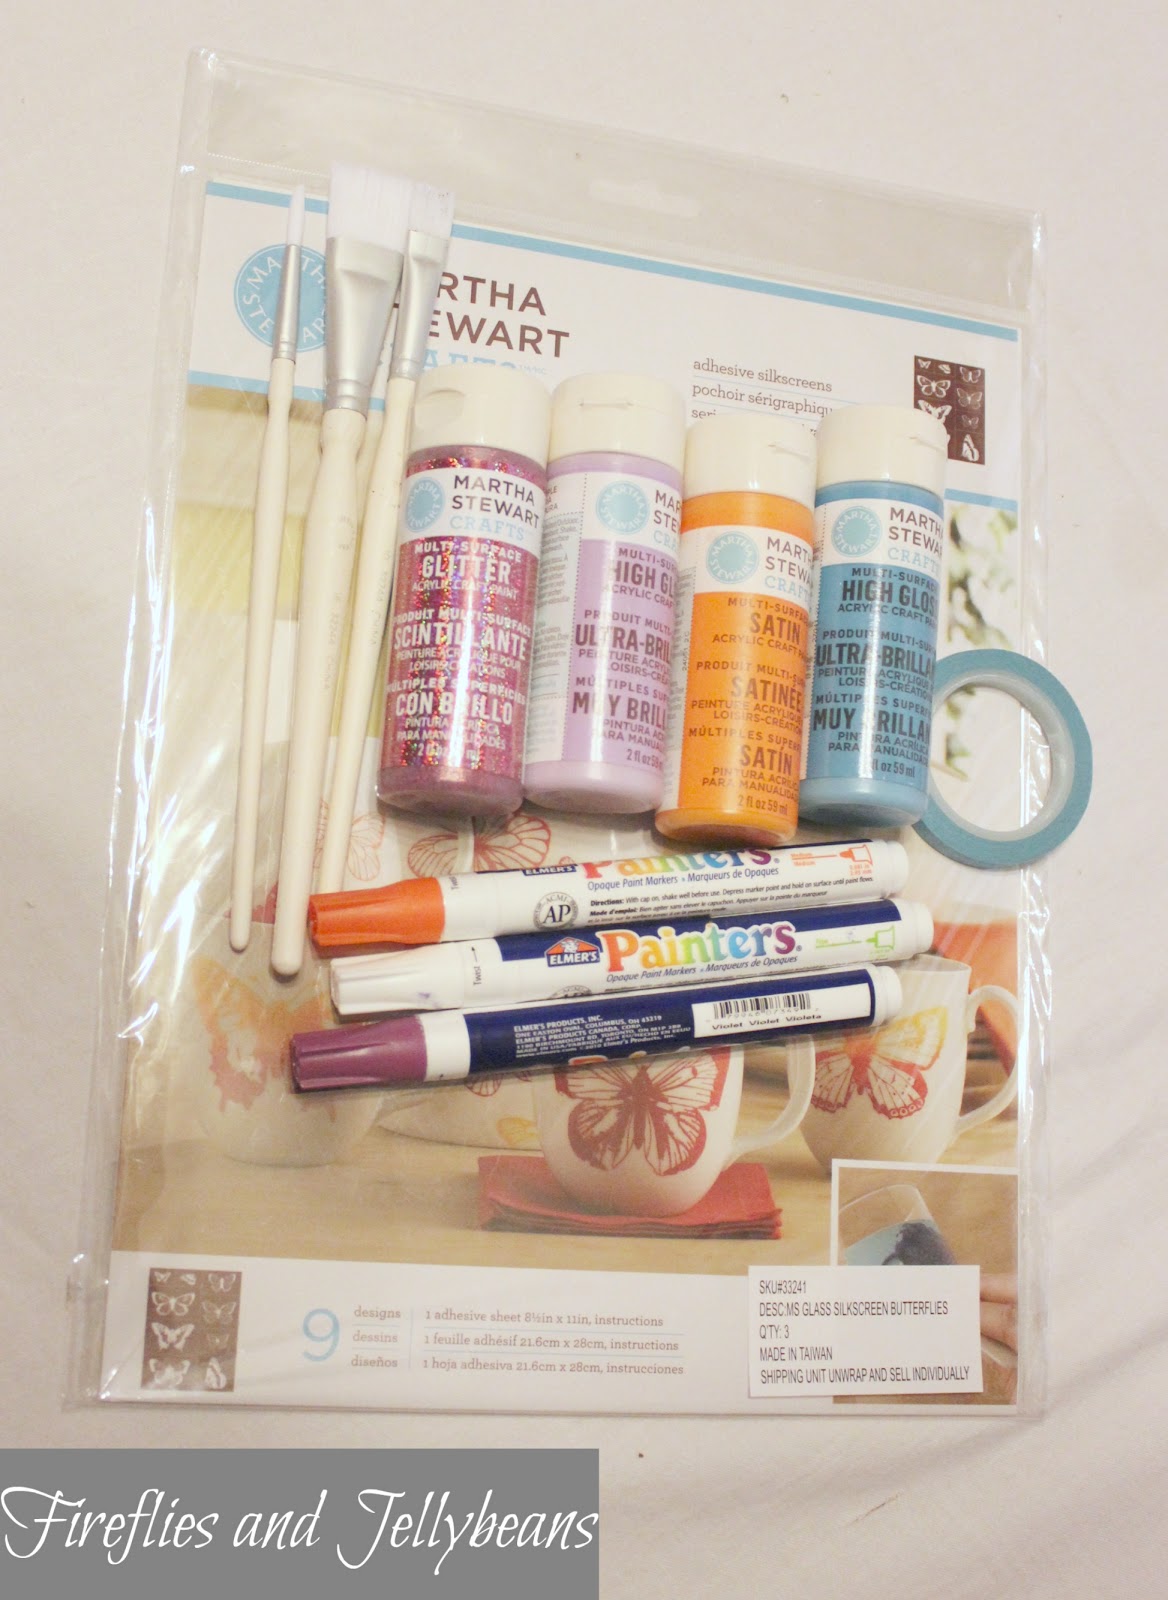
Here are the supplies that I used for this page:
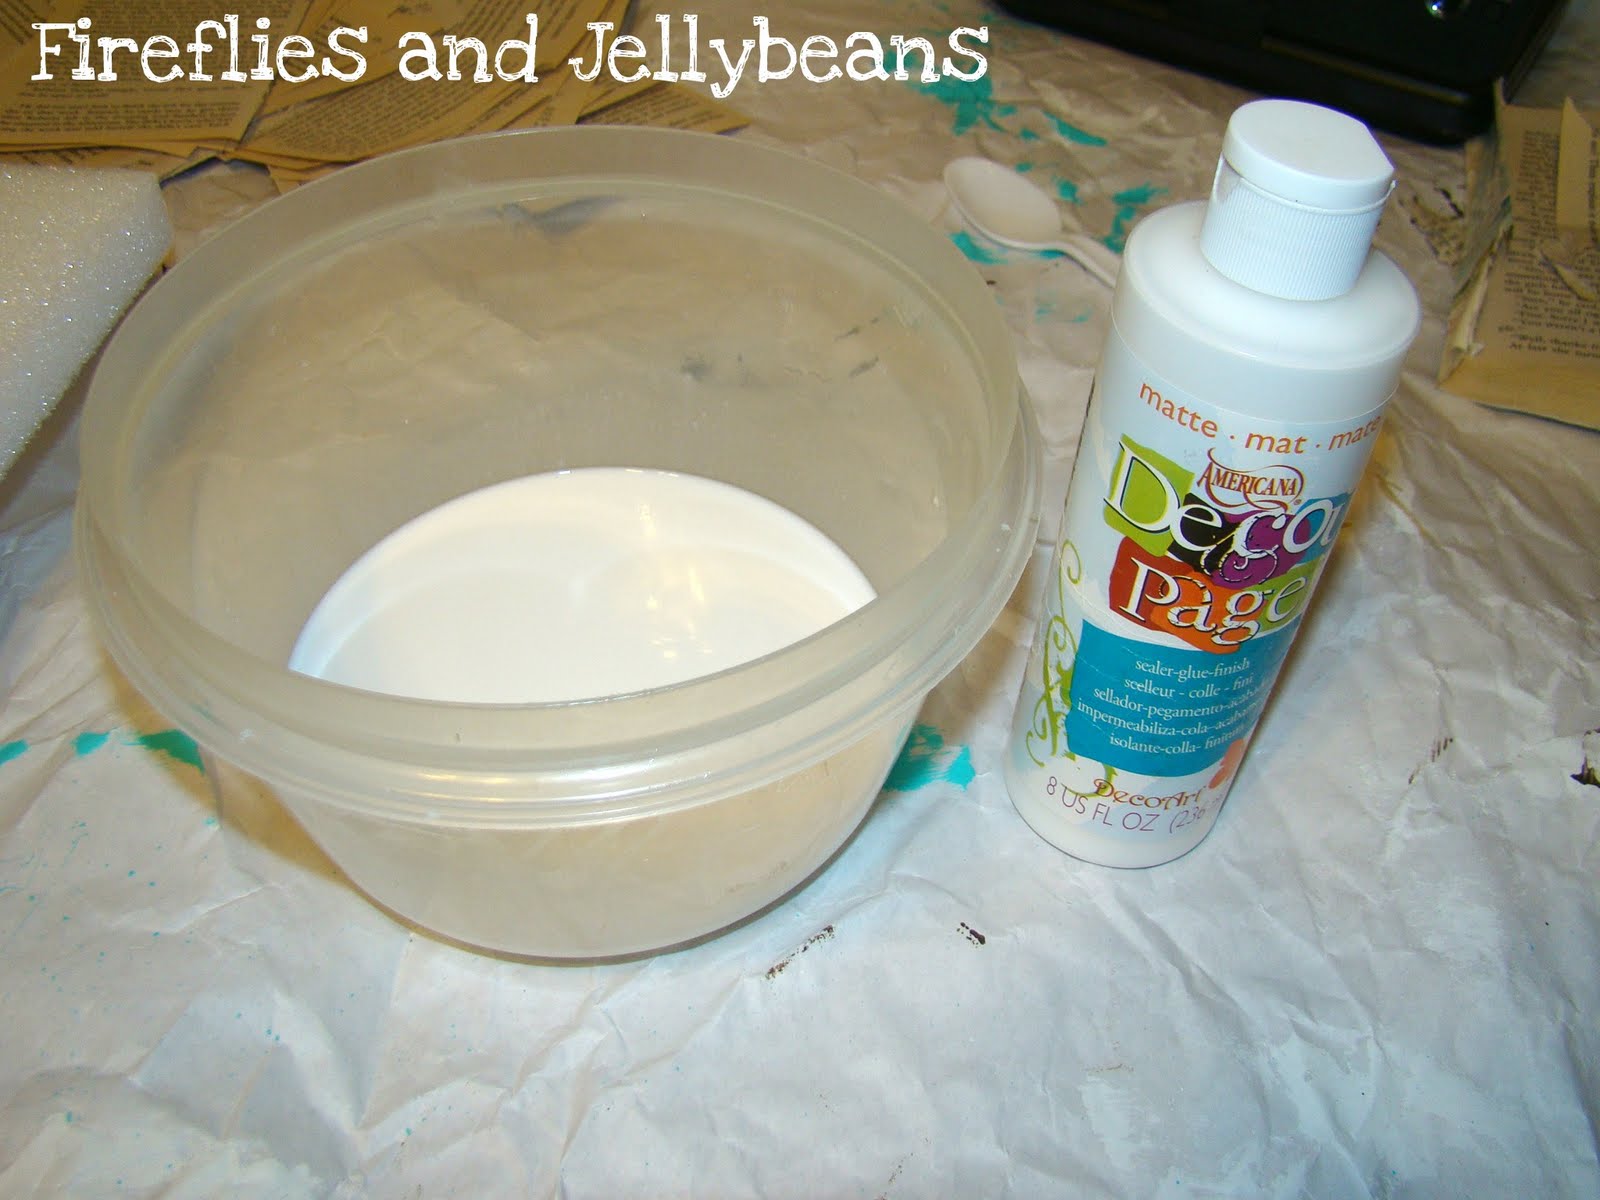
Martha Stewart Craft paint
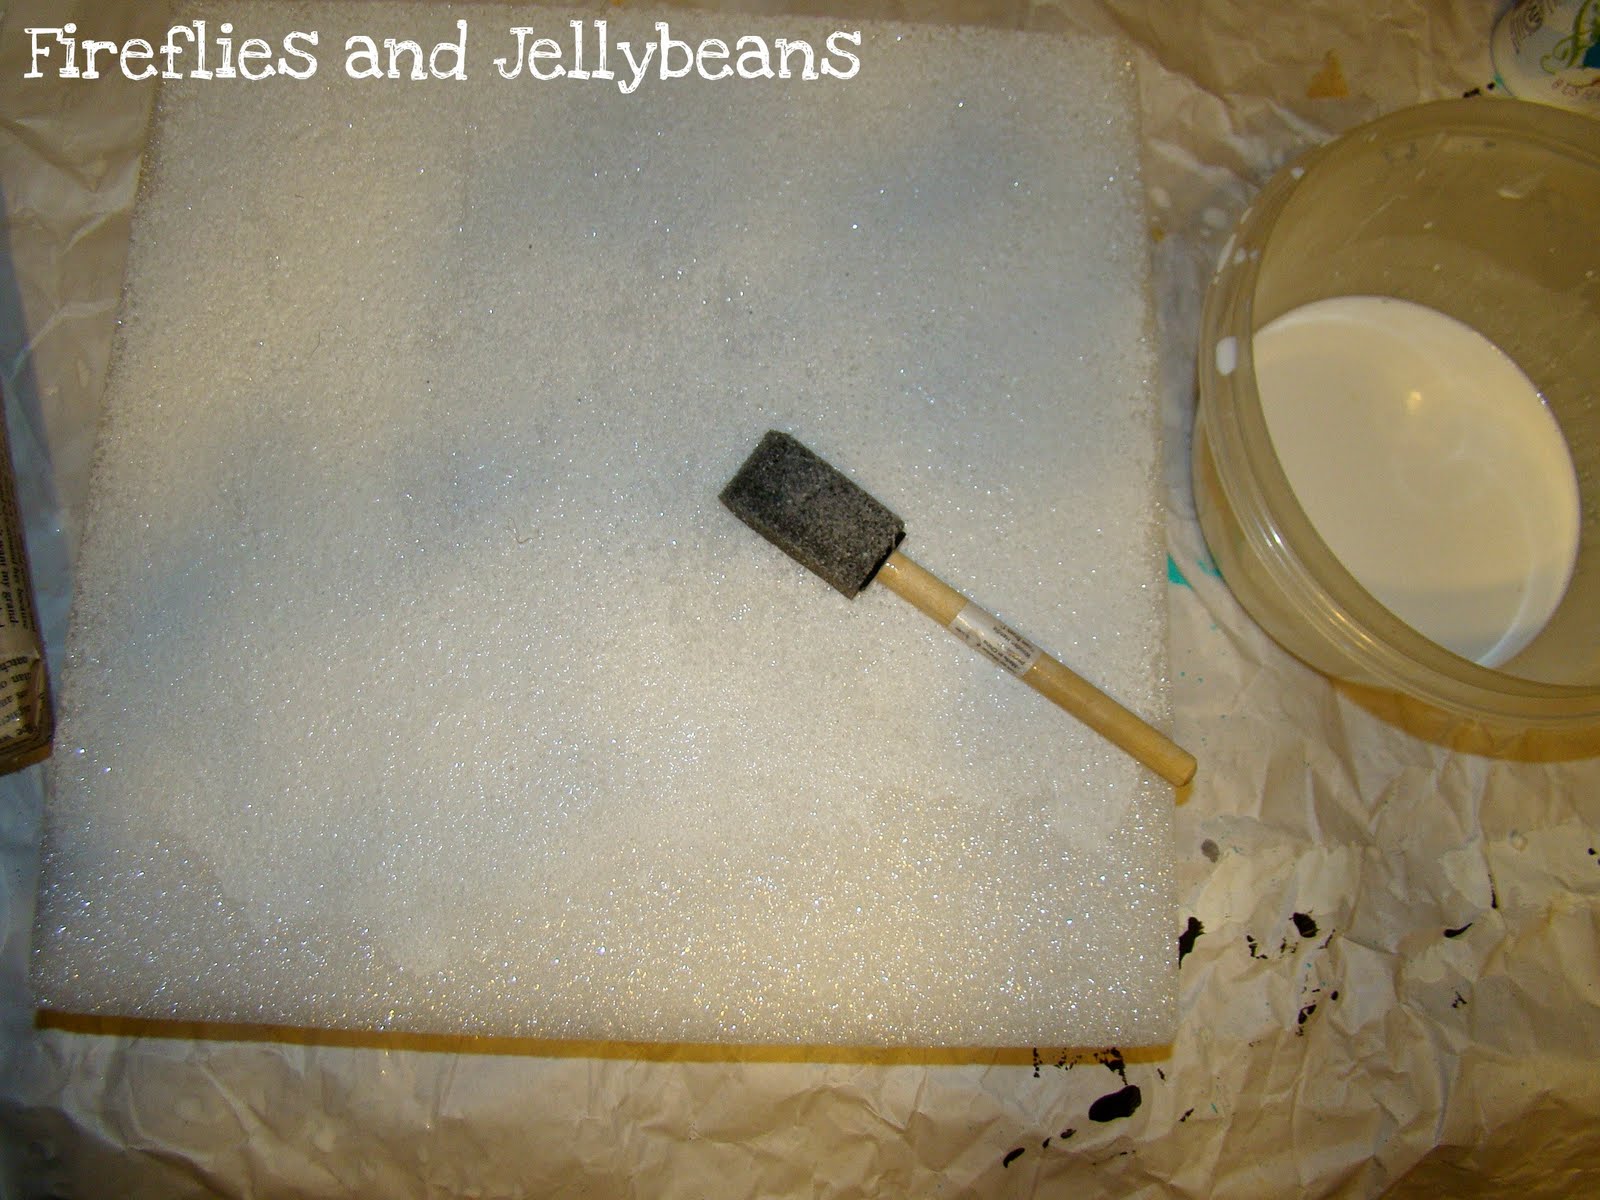
Martha Stewart glitter paint
craft brushes
Martha Stewart stencil tape
Martha Stewart Butterfly silkscreens
Elmer's paint pens
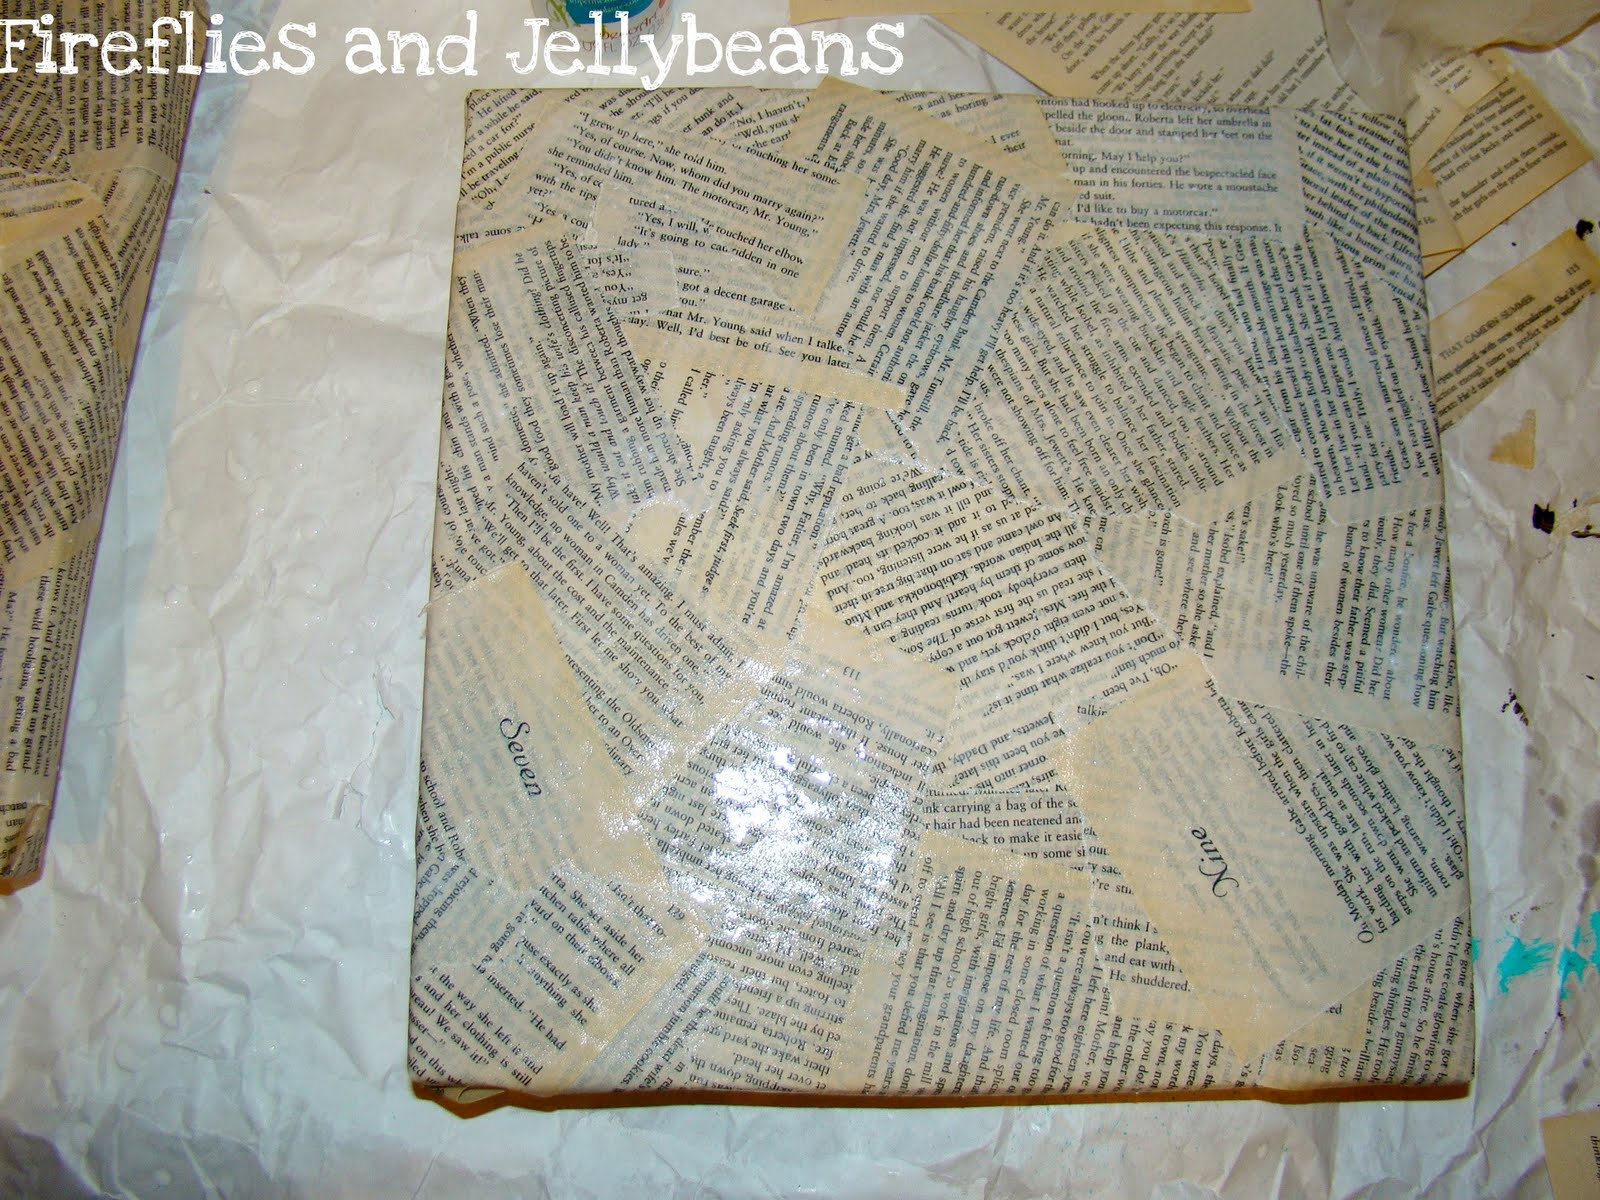
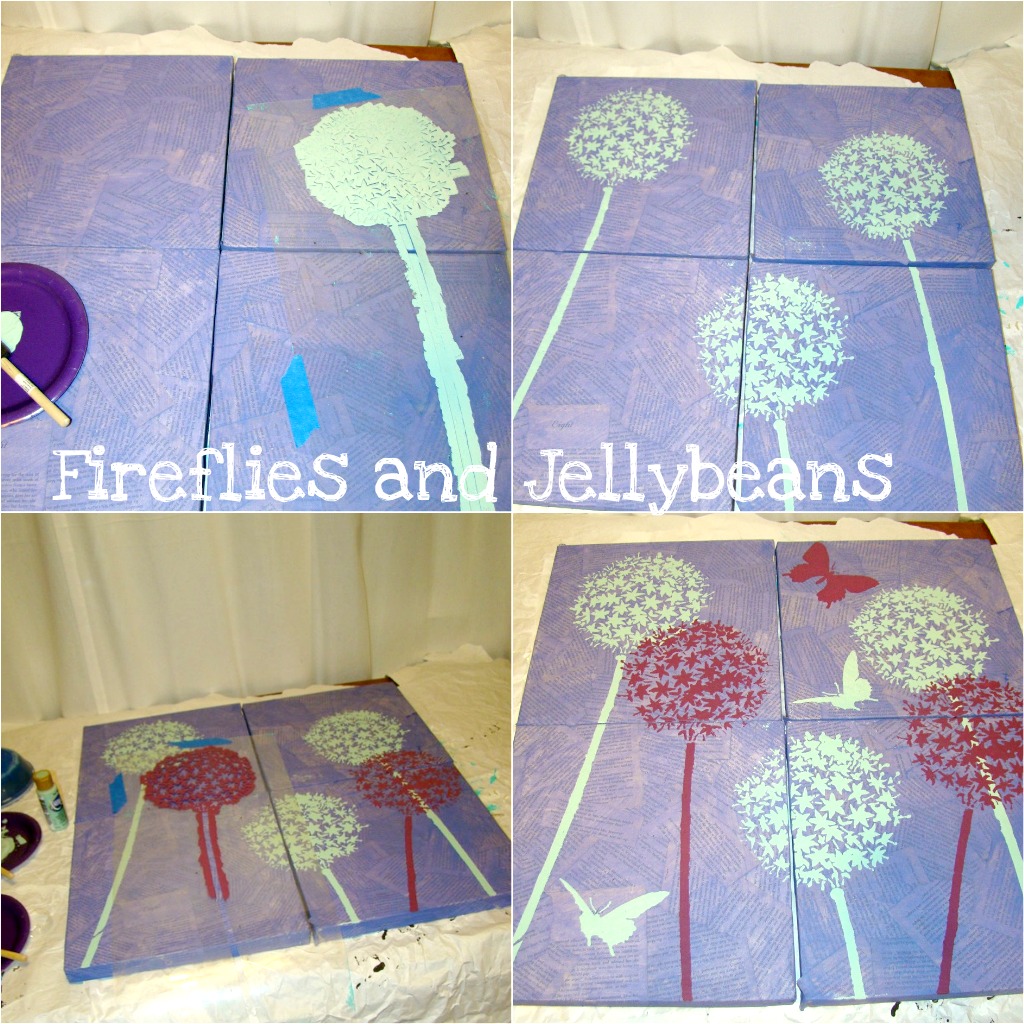
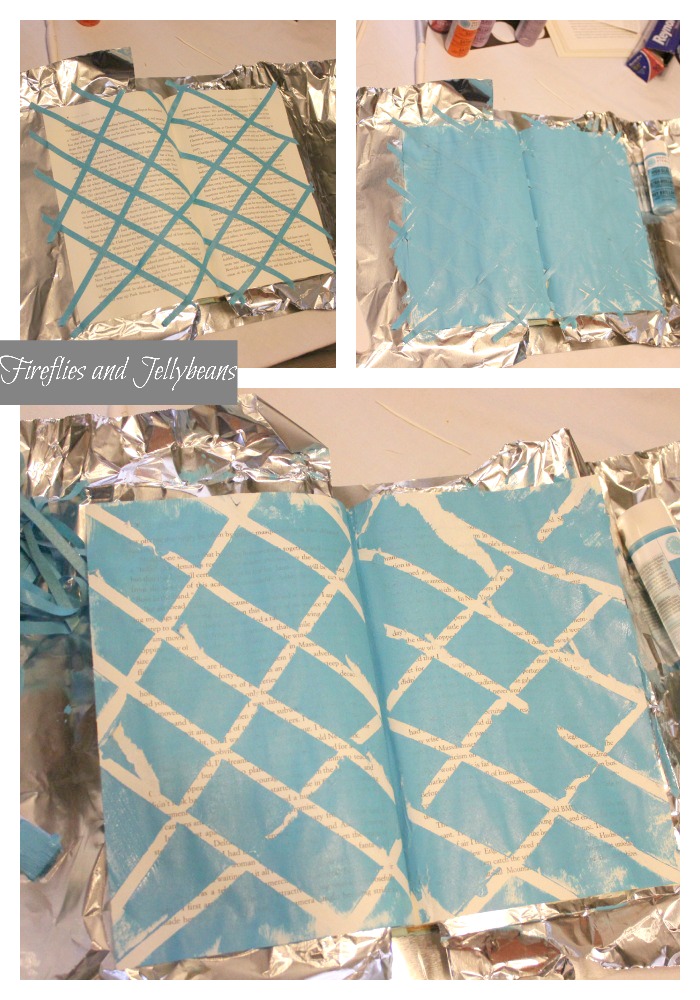
To start out I taped off a lattice pattern with the stencil tape.
Then, I used craft paint and covered the page.
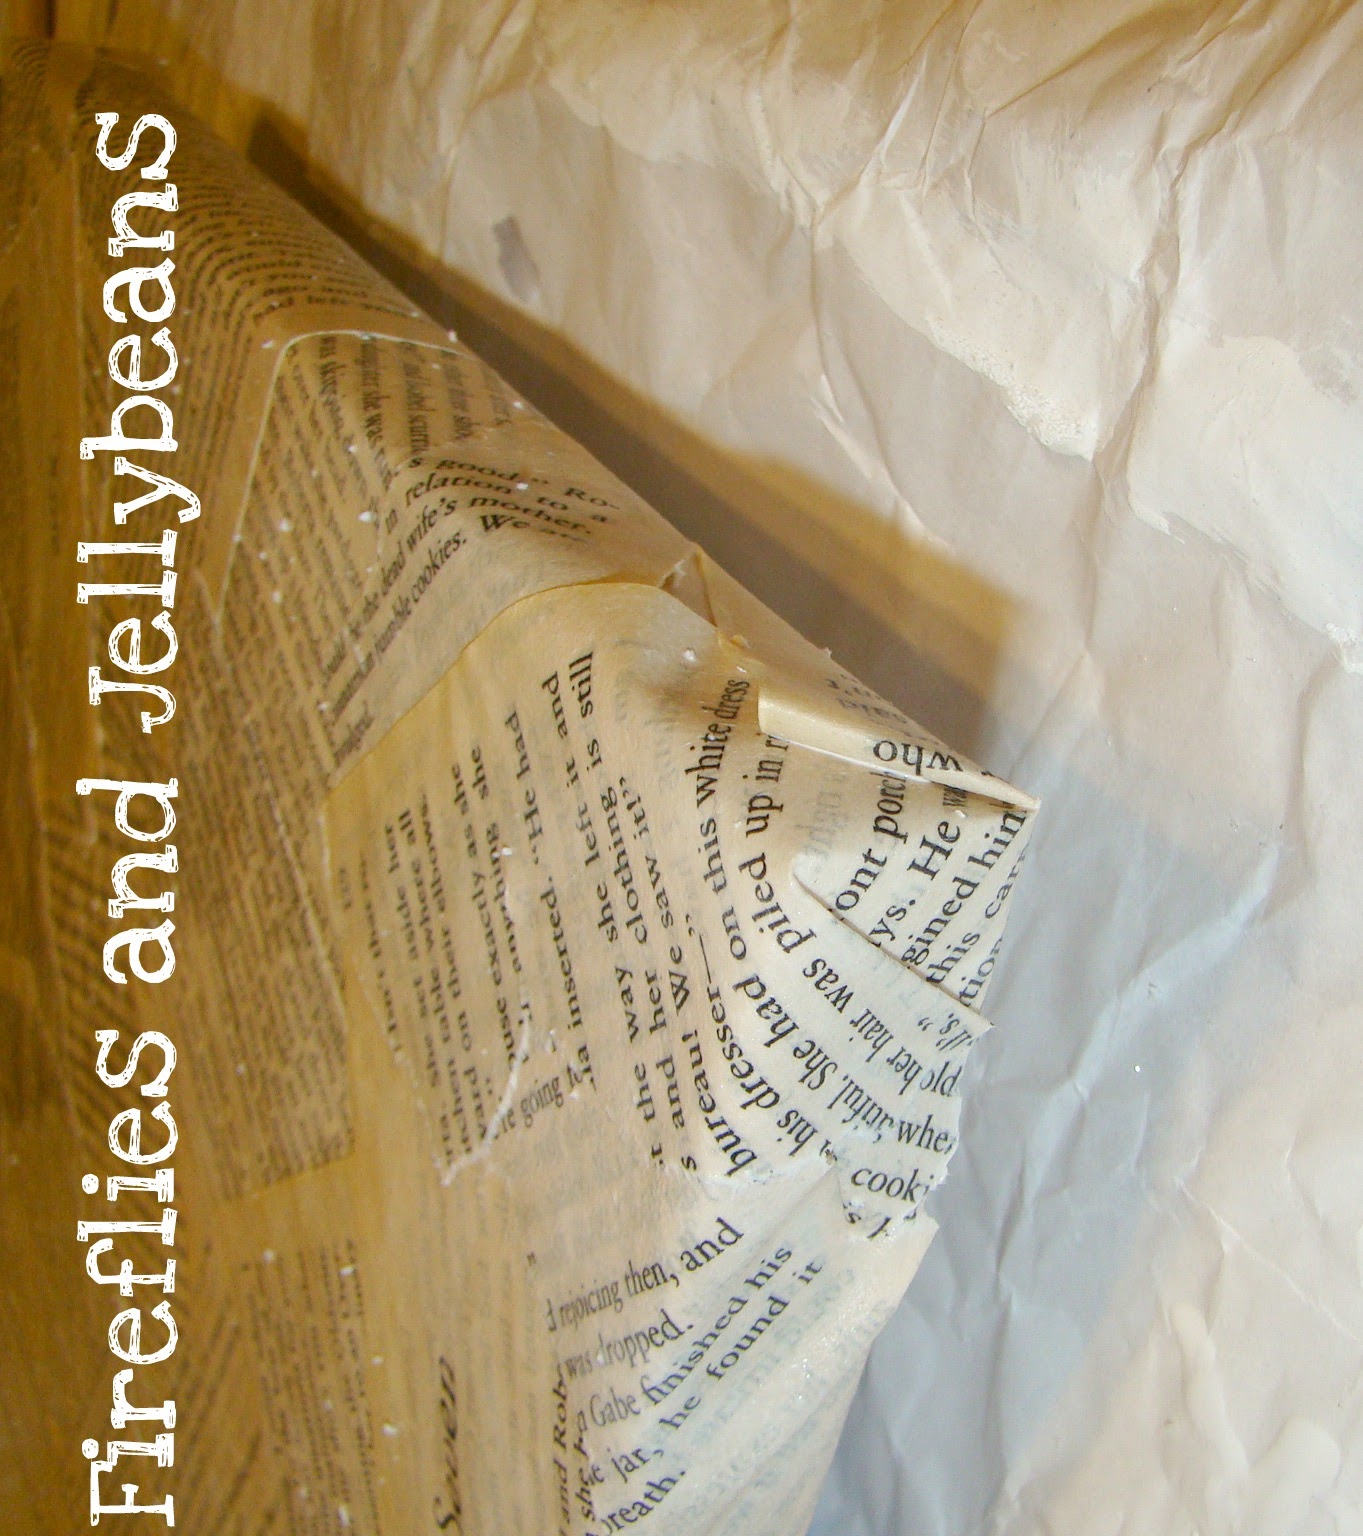
I then peeled off the stencil tape while the paint was still wet. I was ok with the it being messy and having the page rip a little bit.
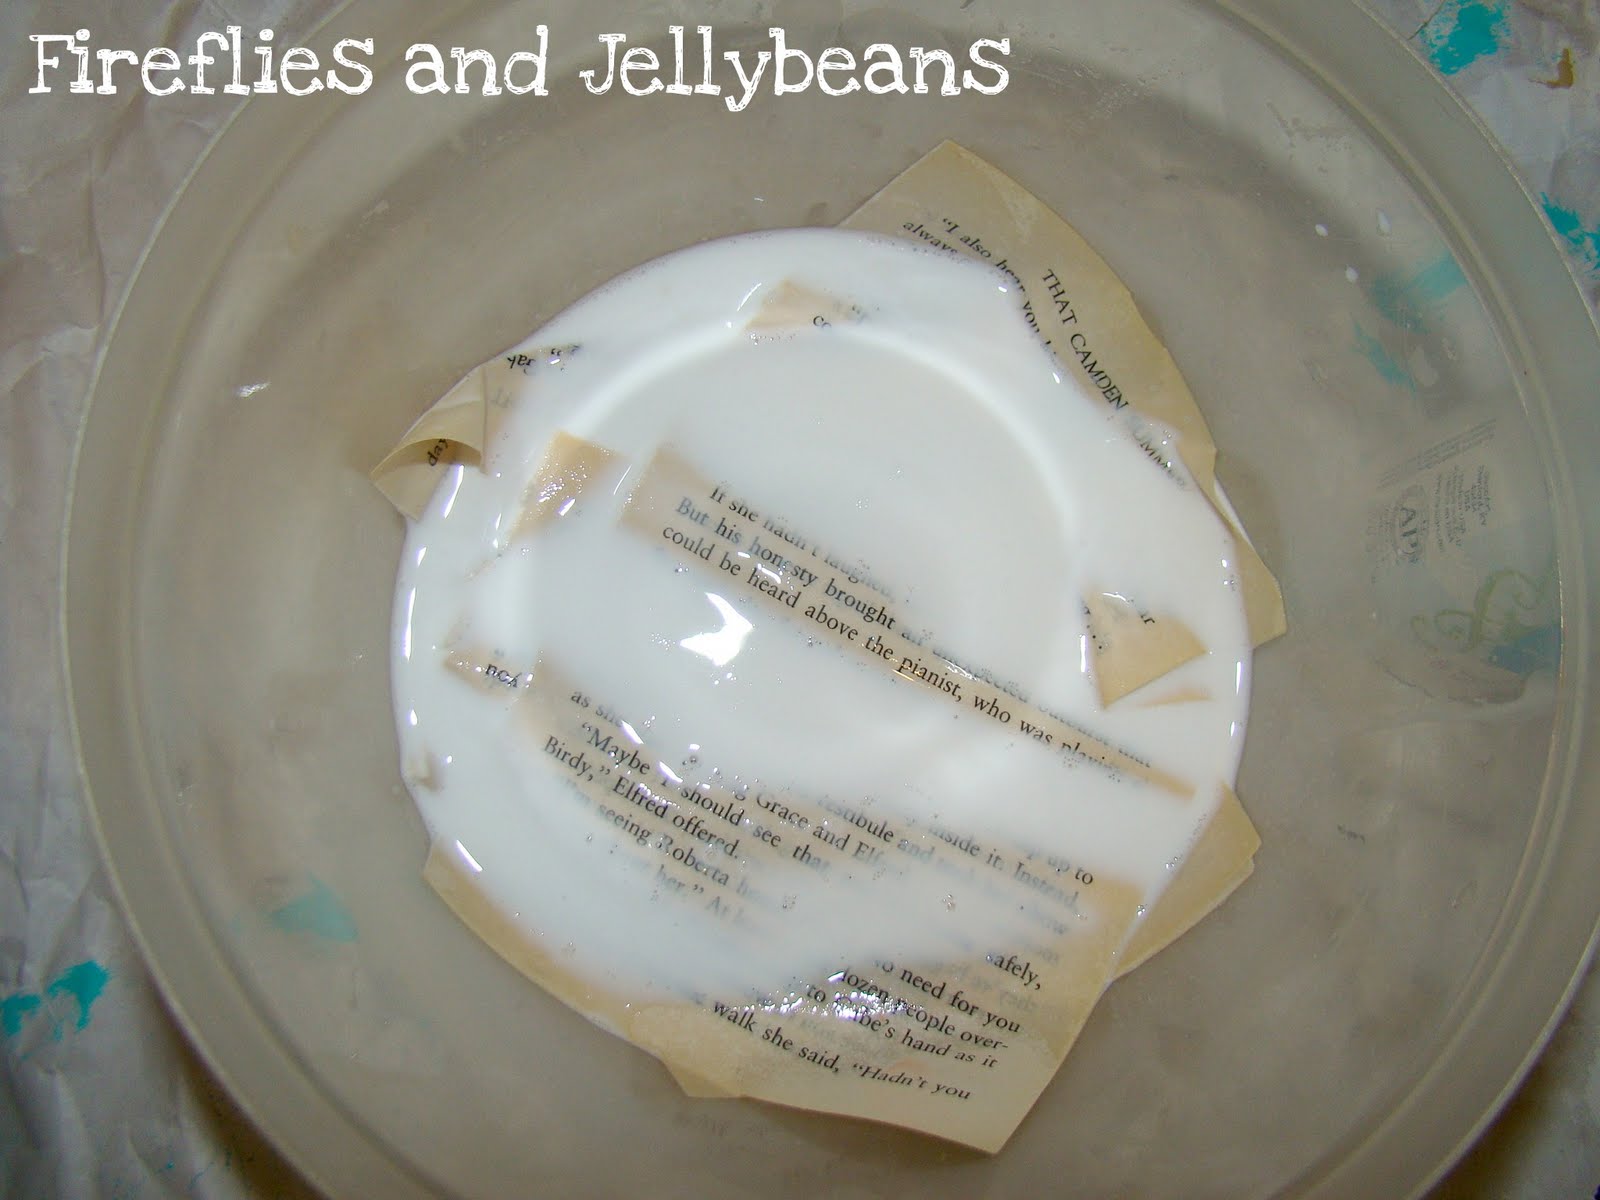
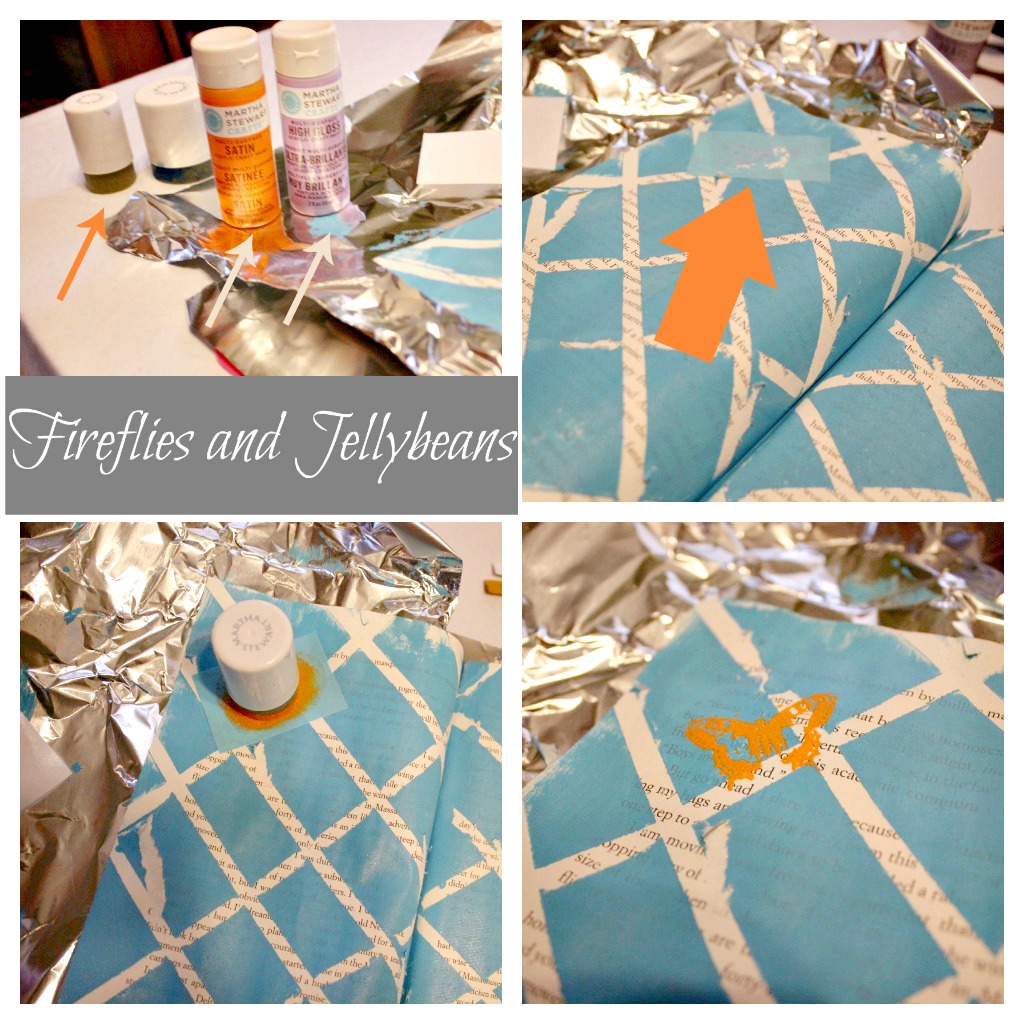
To use the silkscreens I used the craft paint and the sponge dabbers.
I placed the silkscreen where I wanted it on my page. They are adhesive so the stay in place.
Then, dab up and down over the silkscreen.
Peel off and you are set.
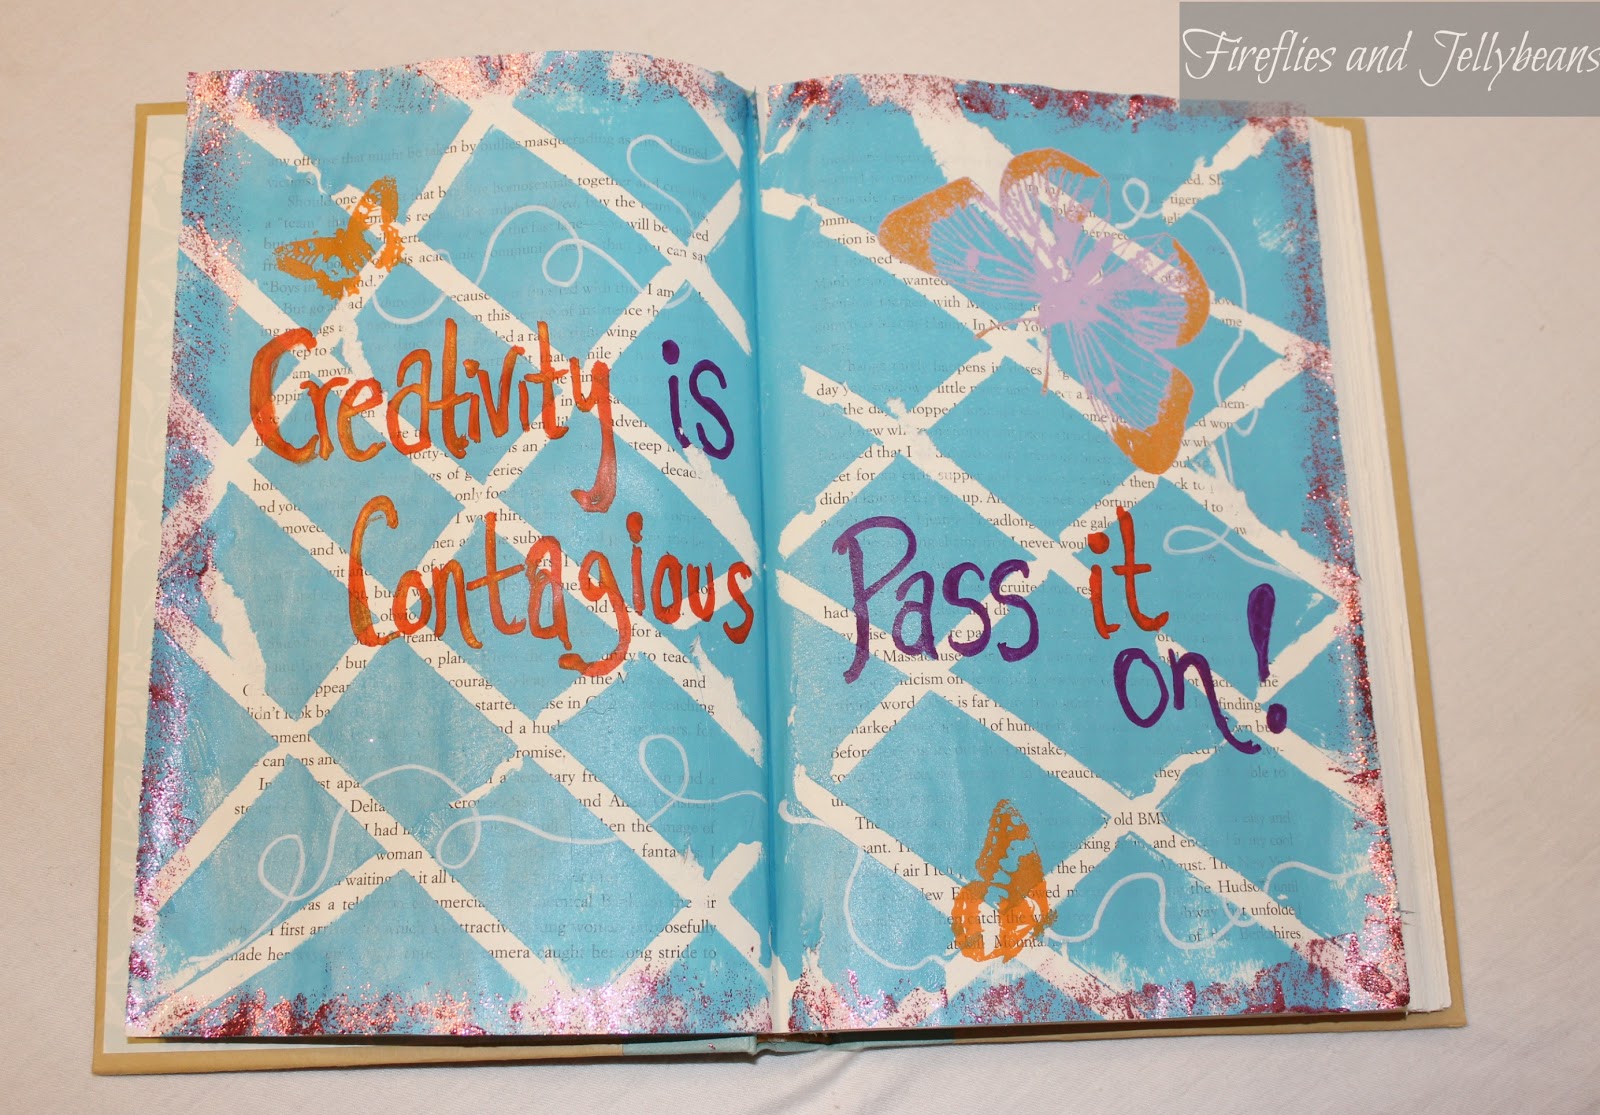
I used the Paint pens to add the text and also the paths behind the butterflies.
I also added glitter paint around the edges of the page.
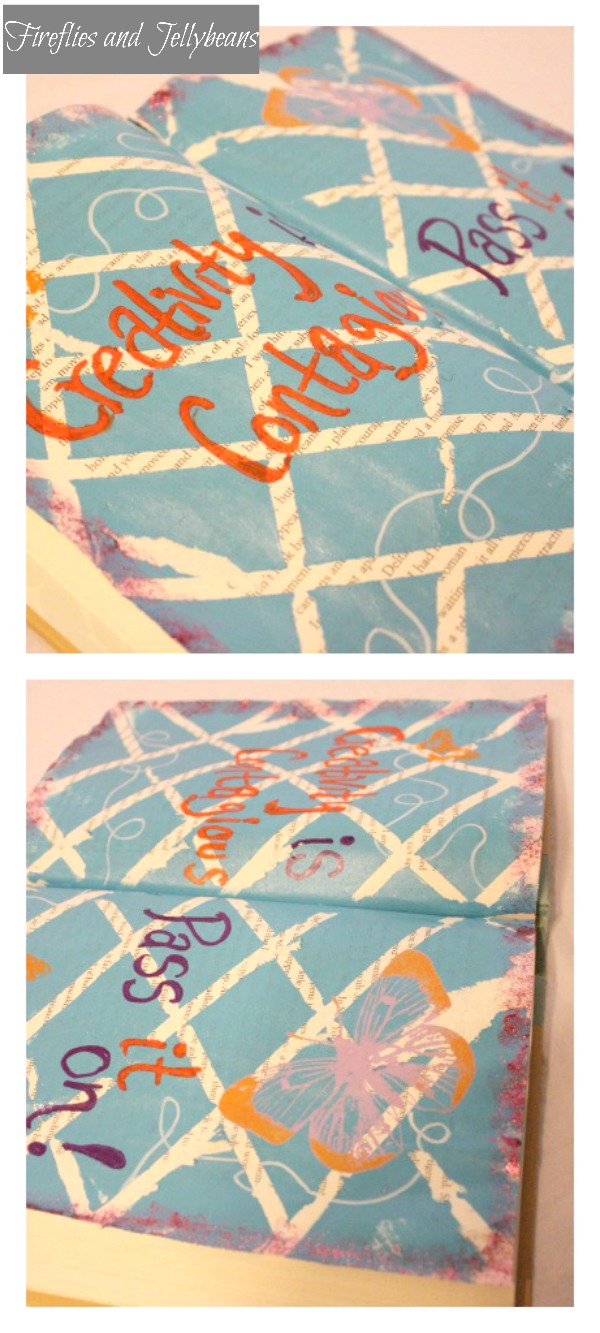
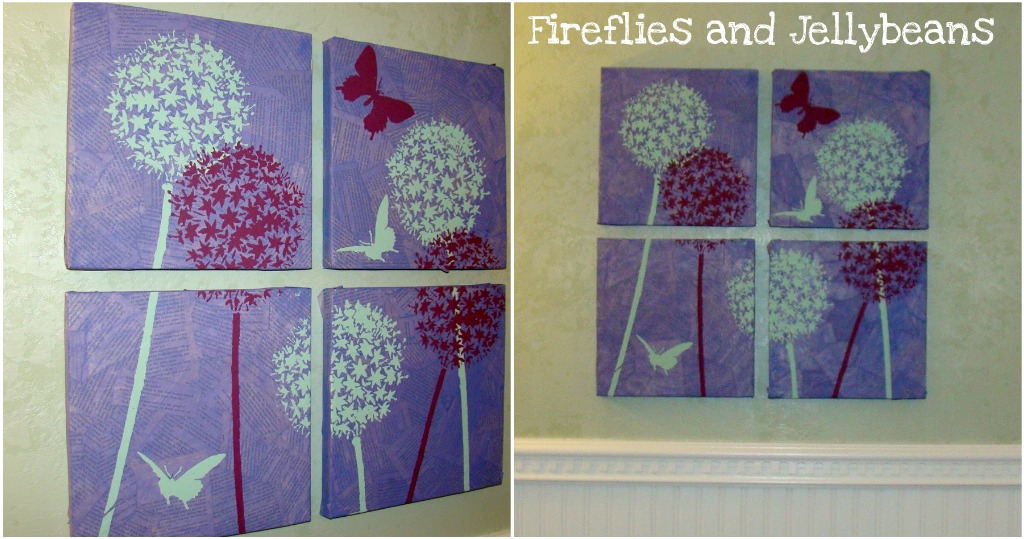
Here is a second page that I did:
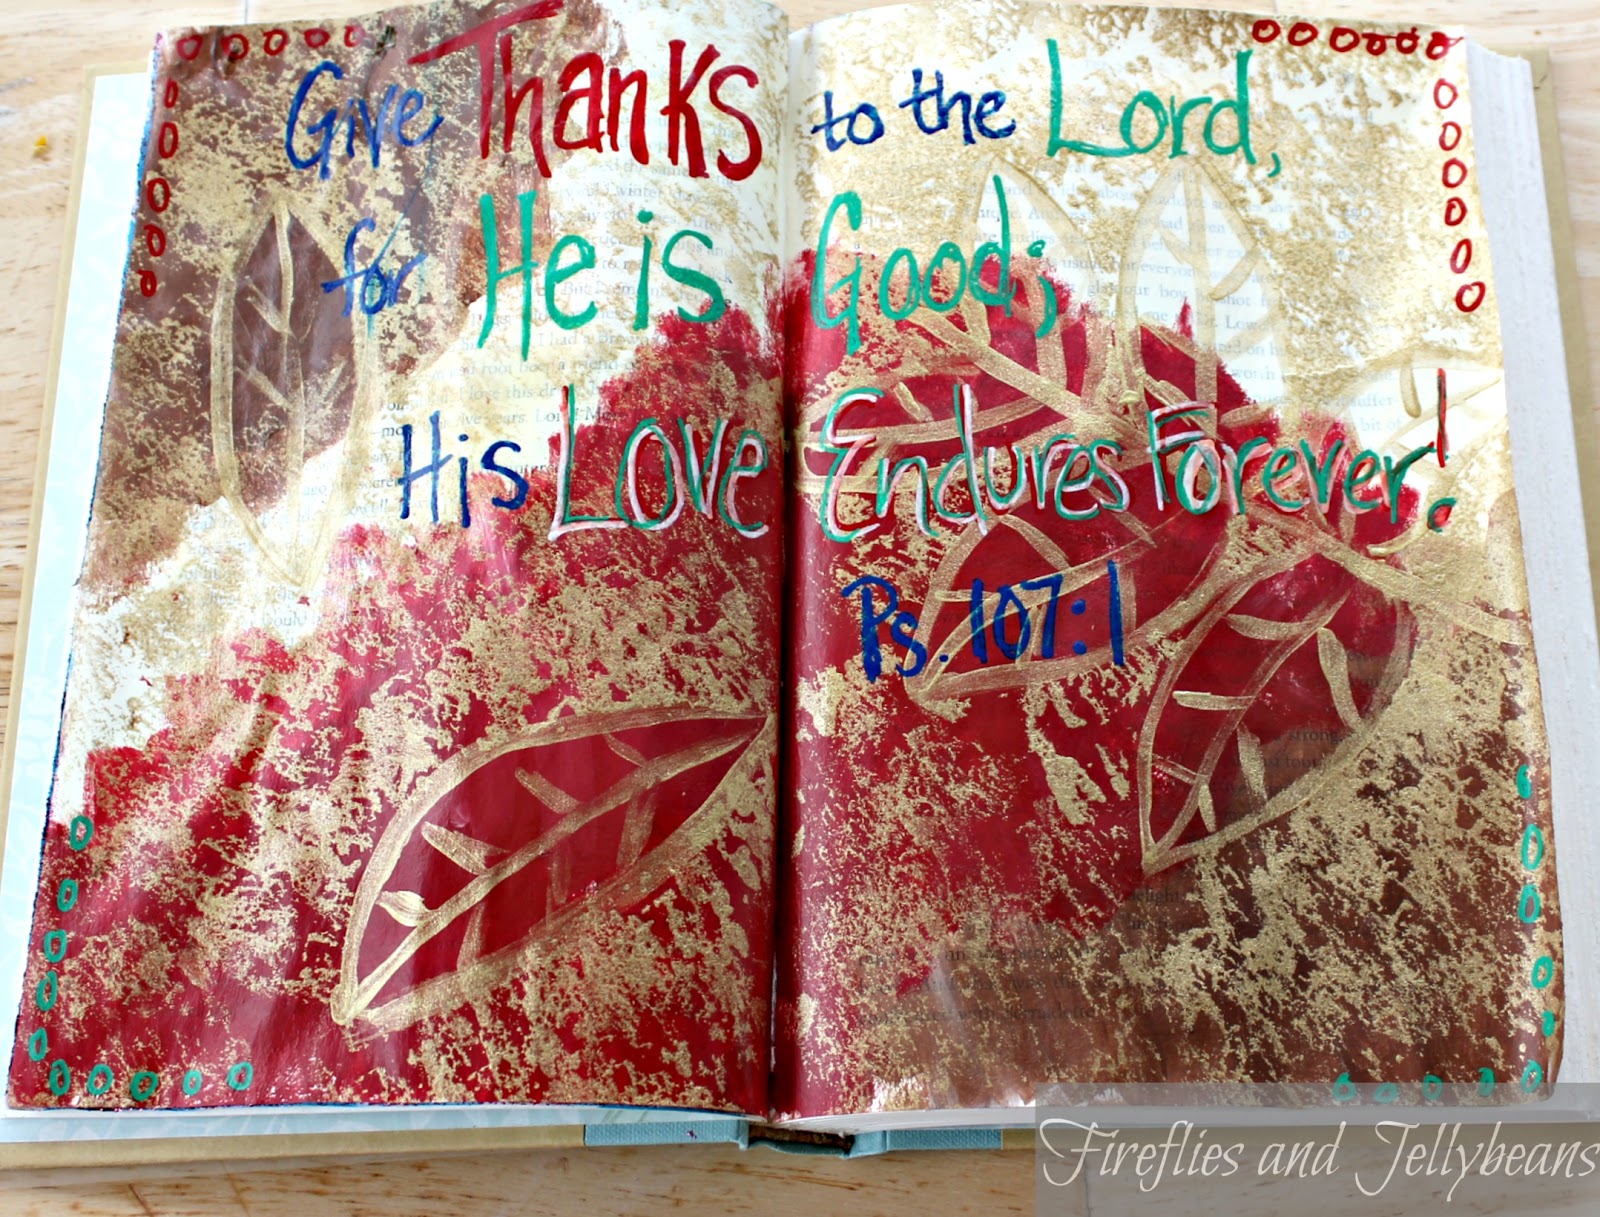
I love working on the the art journal, because I love to paint but I don't want to do a big huge project all the time. These book pages are the prefect size to get our my creativity in one afternoon nap session.
Micheal's has a 50% off coupon of one Martha Stewart Crafts item to help you get started on your crafting!
See my other Martha Stewart Crafts:
Easy Halloween Decor
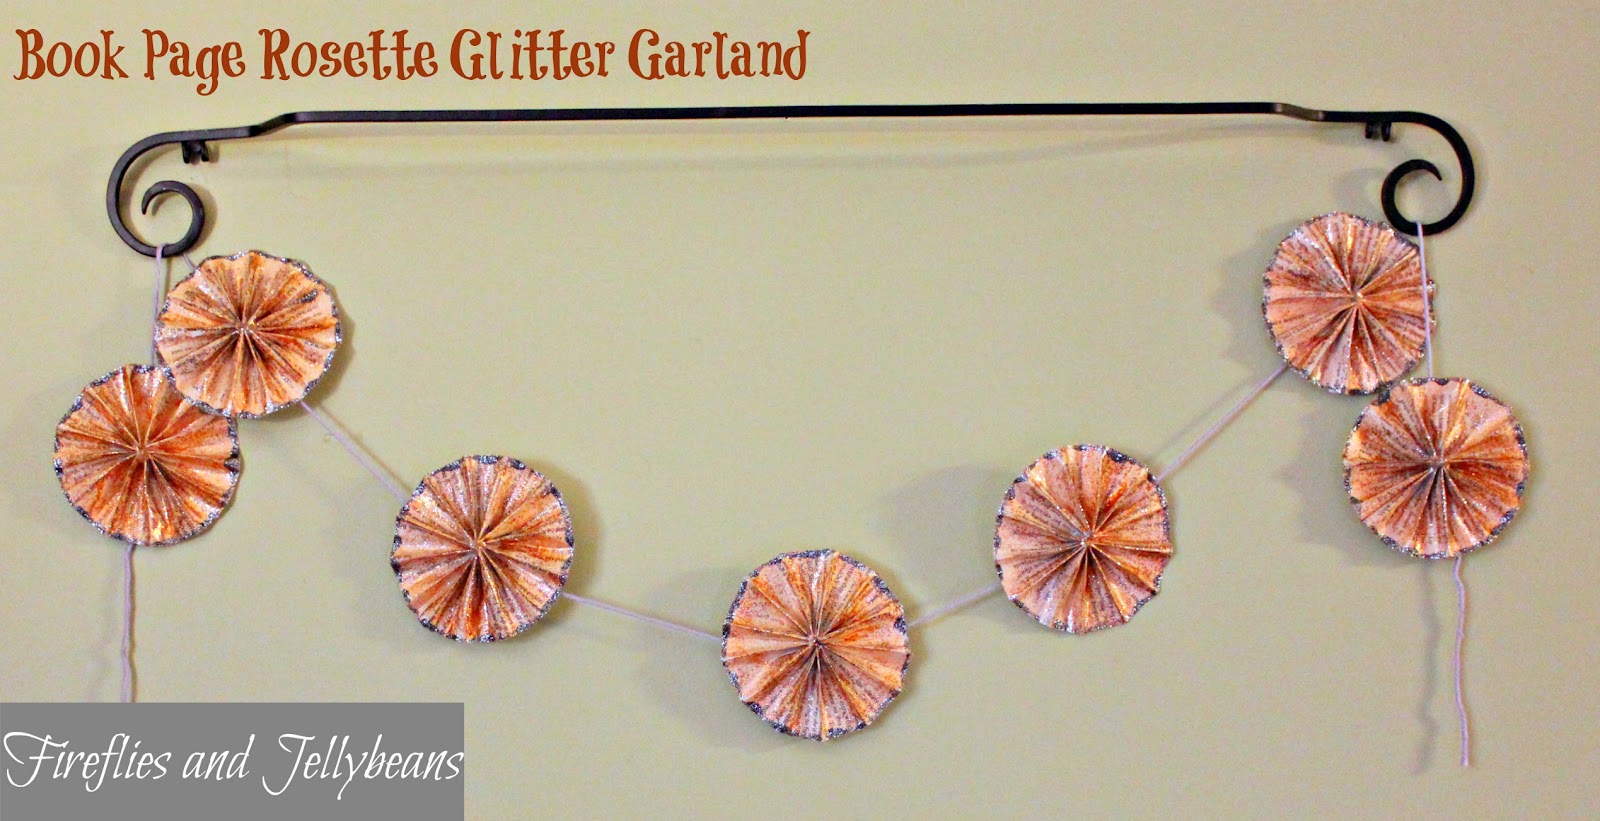
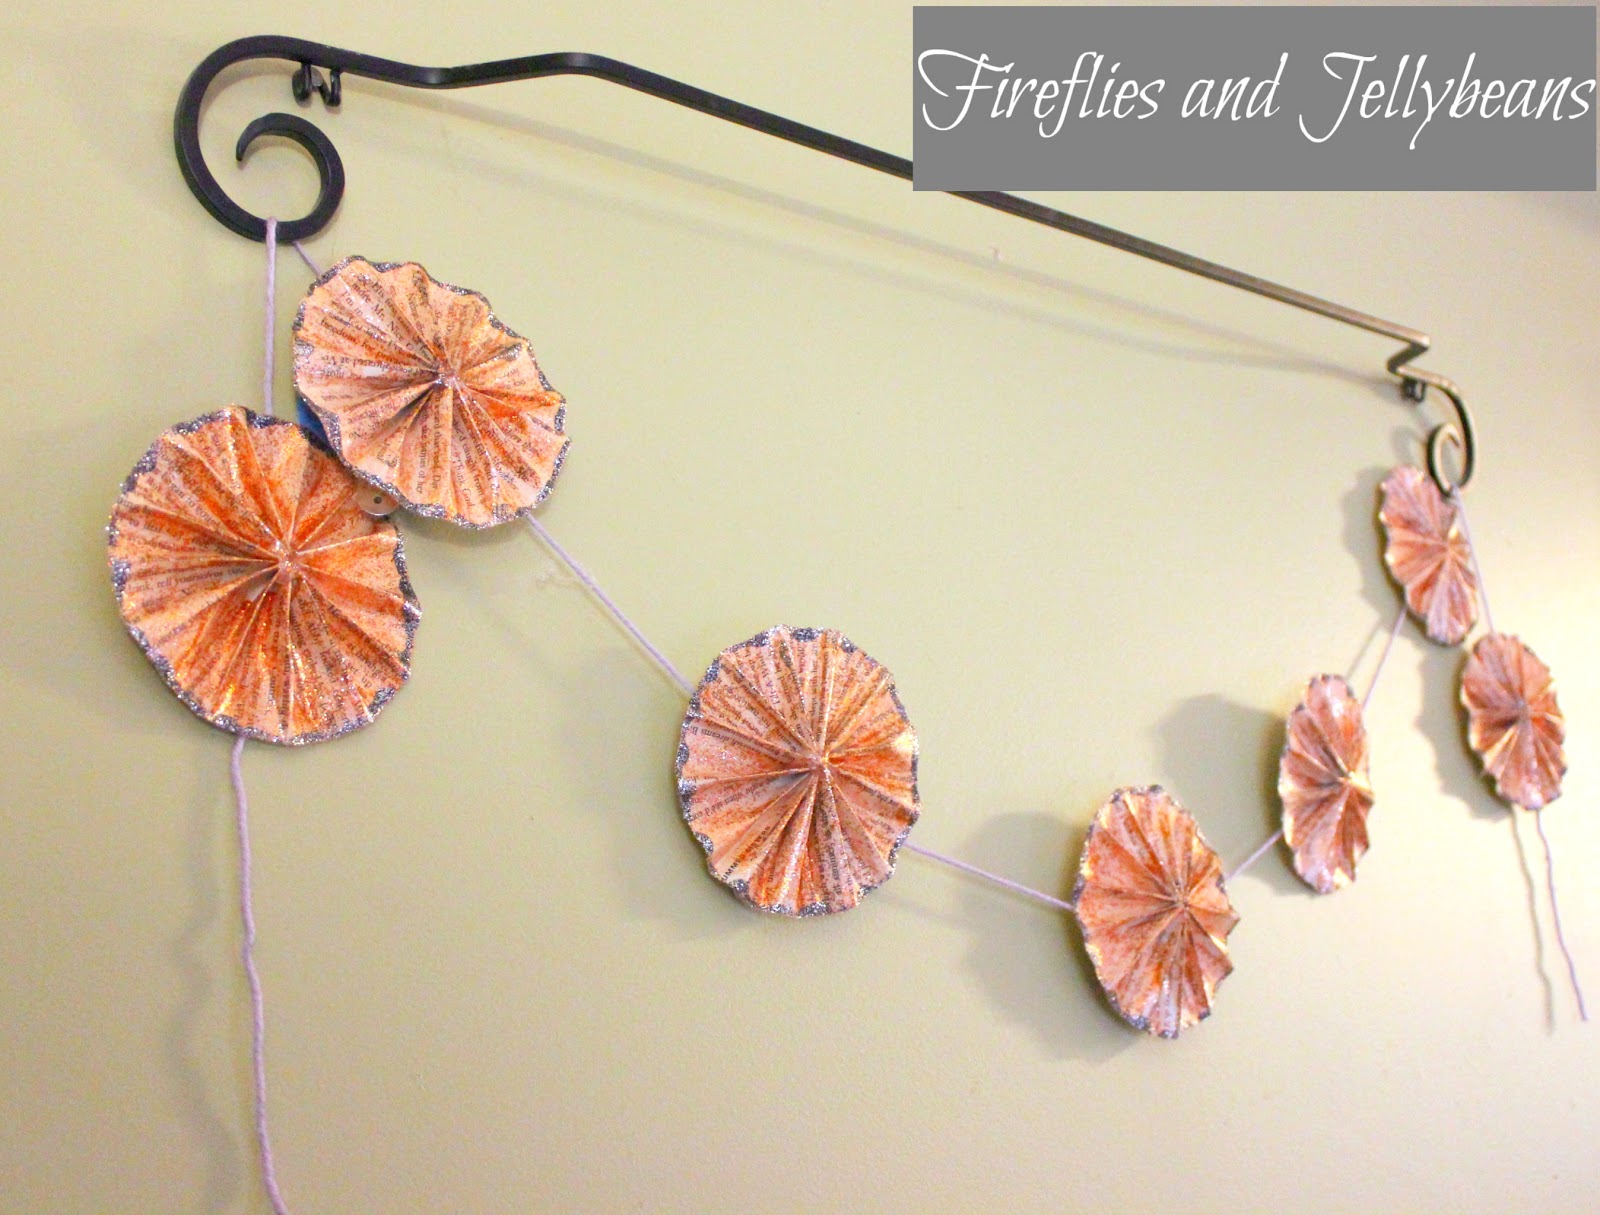
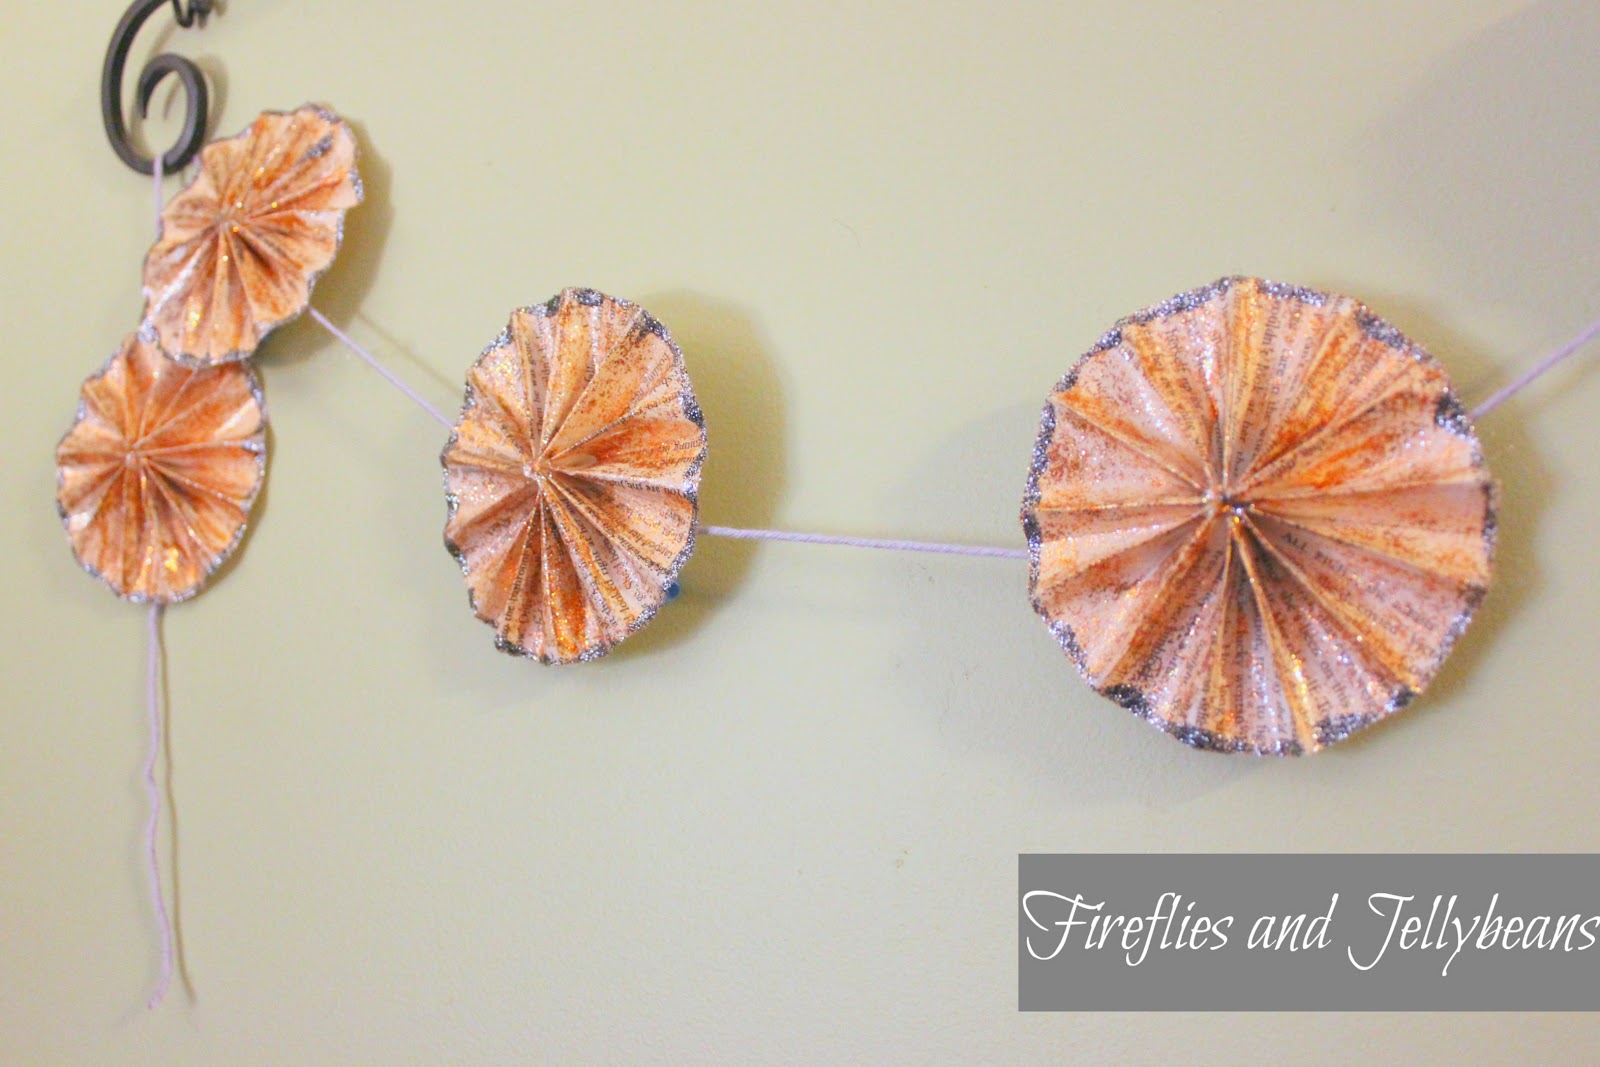
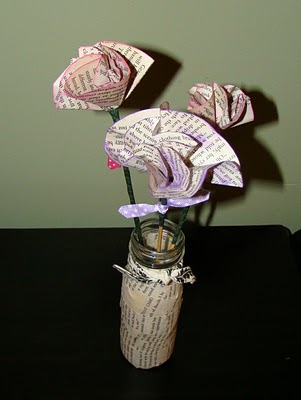
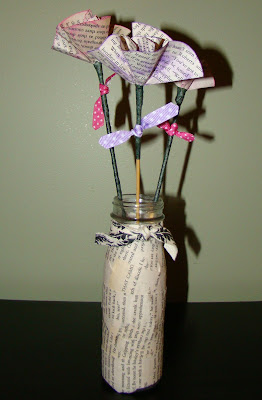
Book Page Rosette Glitter Garland
***Disclaimer: I was provided with the Martha Stewart Craft supplies for free. However, my options and crafts are 100% mine***