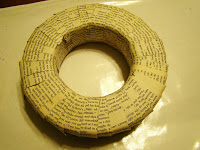
I am finally jumping on the Wreath Band Wagon. Have you seen all the amazing wreath out there in craft blog land?! There are so many amazing wreaths to choose from. So I am adding mine to the mix, hoping that you will like it! I call it the Book Page Wreath
because I used book pages to decorate it (clever, huh?). AND I have 4 ways for you to embellish it!
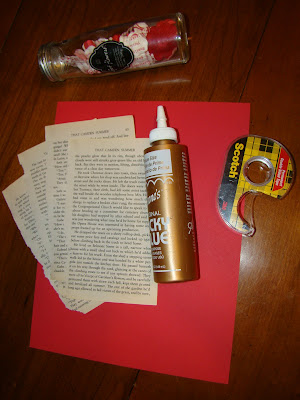
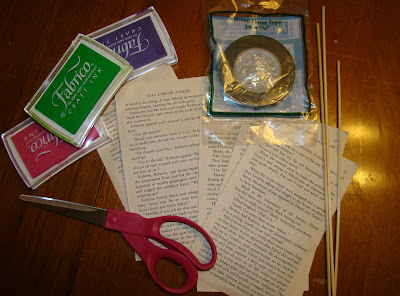
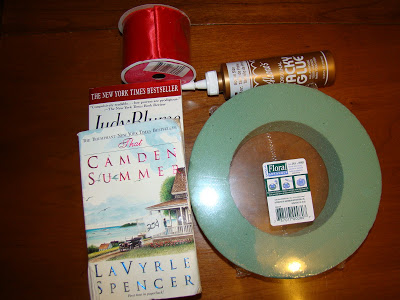
Here is what you will need:
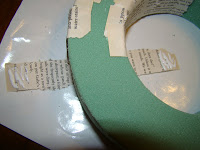
Foam Ring (I got mine from The Dollar Tree)
Ribbon (Also from The Dollar Tree)
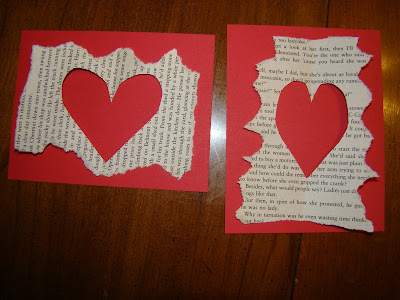
An old book (This is a romance novel so I thought it would be perfect for this valentine craft!)
Craft glue
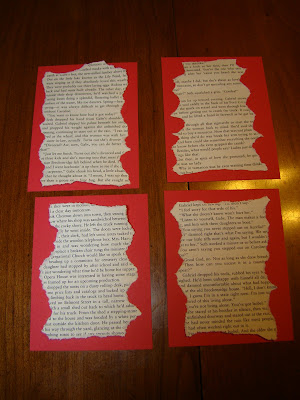
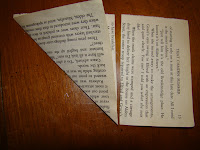
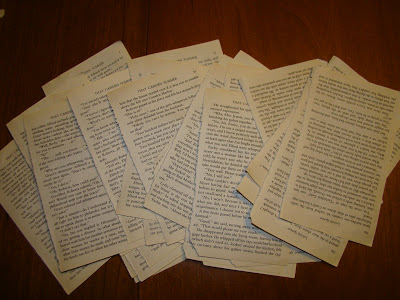
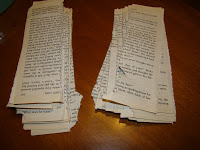
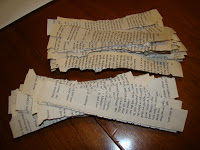
1. Rip out some pages in your book. The ring I used was about 8 inches wide and I used about 25 pages.
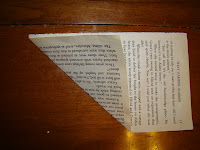
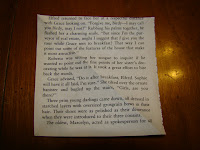
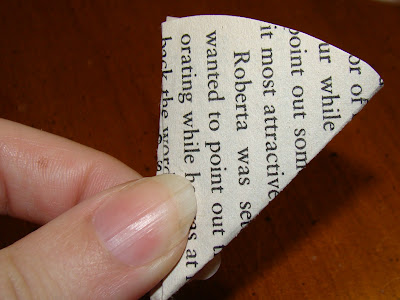
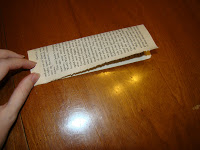
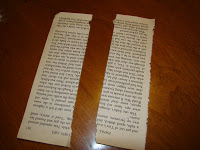
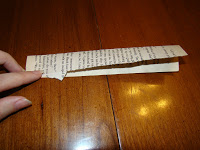
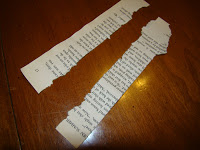
2. Fold your pages in half, make a good crease and rip them in half.
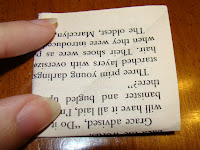
3. Now fold those paper in half, make a good crease and rip them in half.
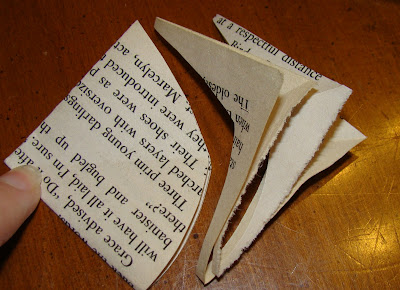
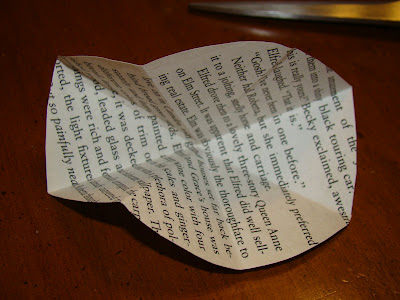
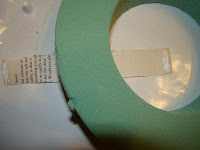
4.place on strip of paper under the foam ring and glue the two edges to the back...
...and keep going all the way around. I found that if you put a little more glue on the ends it holds better.
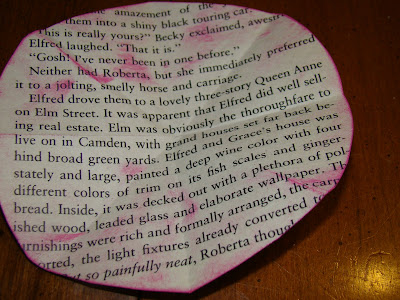
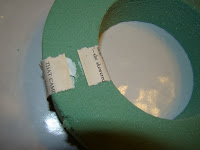
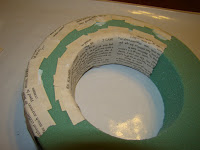
Here is what it look like about half way around from the front.
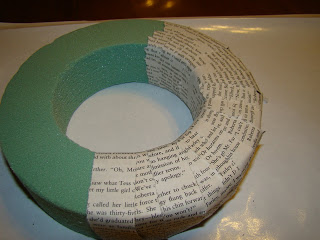
Go all the way around the ring. When you are done make sure that there are no gaps. If there are just put another strip of paper over it to cover it up.
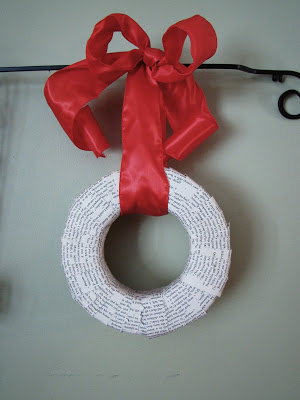
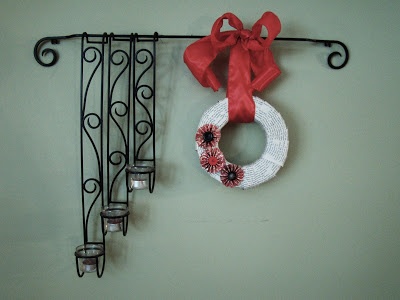
Hang it from your ribbon and you have
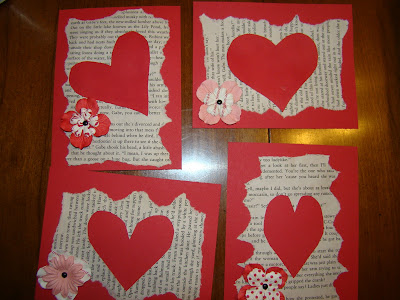
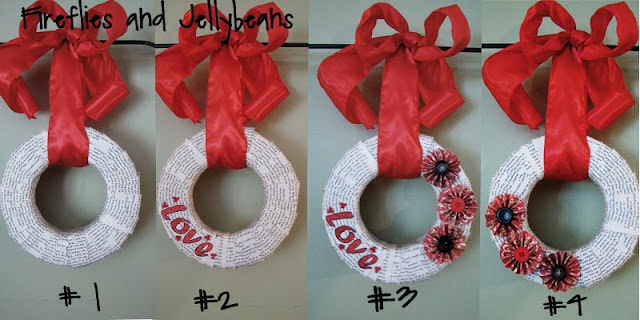
Option #1: Leave it plain
OR...
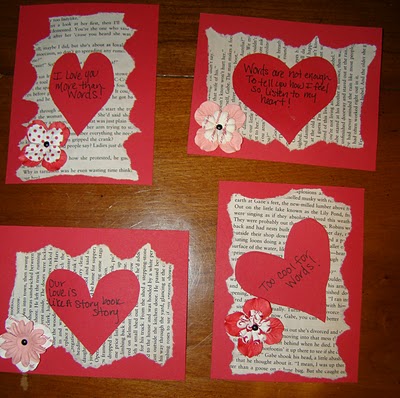
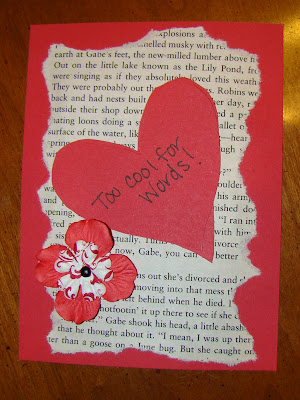
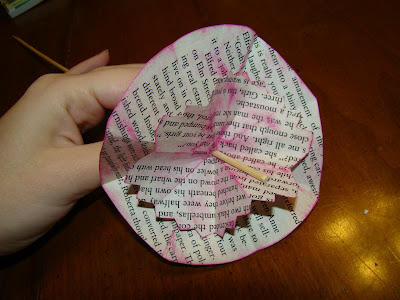
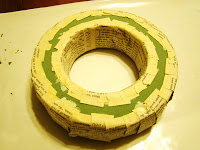
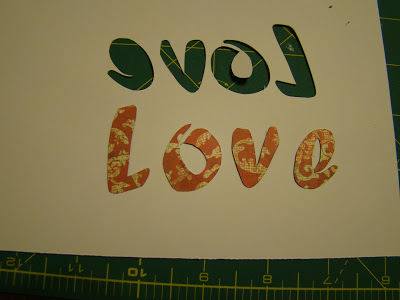
You could print a word on the back side of scrapbook paper (or card stock). Make sure you use the MIRROR IMAGE option! Cut out the letters with an Exacto knife and flip them over.
You can use straight pins to attach the letter to the wreath.... that way if you want to change it later you can!
Hmmmmm, that seem a little hard to read... I think I need to have the letters darker.
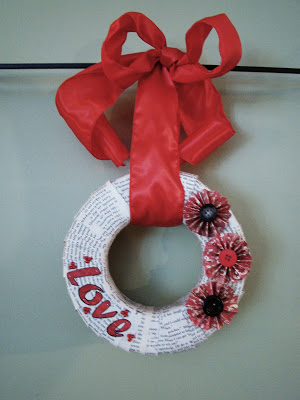
I used markers to color my letters red and I also outlined with black. I add some red ball tipped pins for added bling and I love how it turned out!
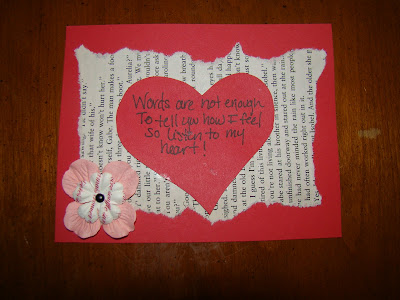
Option #2: Love Letters
OR...
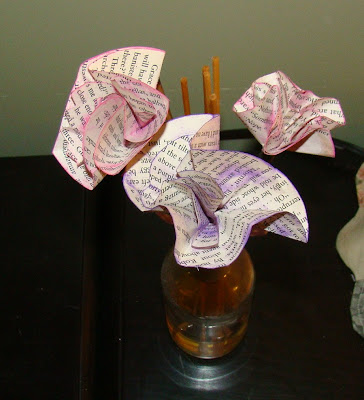
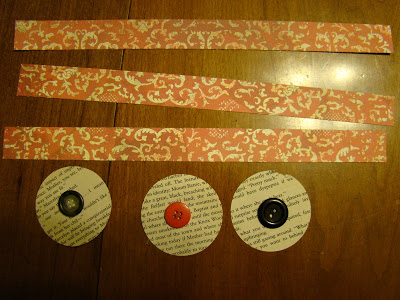
Cut out strips of paper (Mine are 1 inch X 12 inches)
grab some buttons (never mind the Circe book pages... I did not use them)
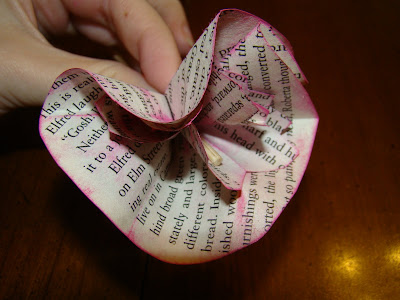
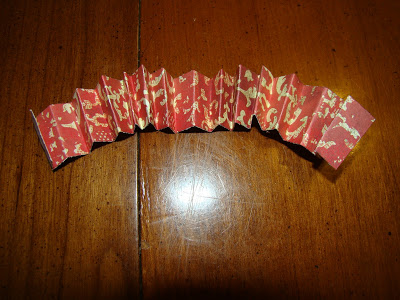
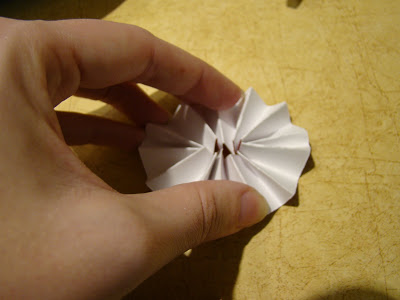
Fold your strips back and forth and back and forth...
Glue the ends together and let the glue dry.
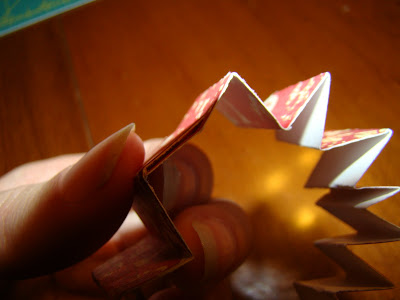
Flip it upside-down and push the sides down to make a circle.
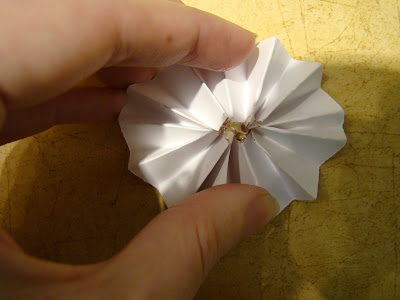
Put a blob of Hot glue in the middle and hold the flower in place until the glue cools.
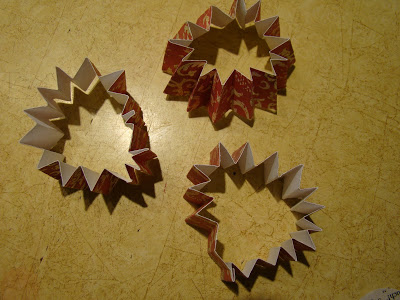
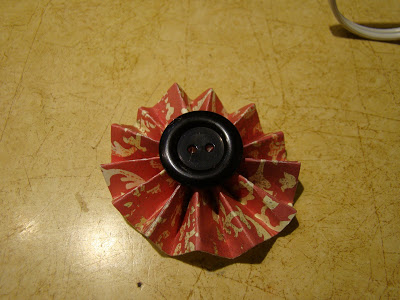
hot glue a button onto the front.
Use a straight pin to attach it on to your wreath and you have
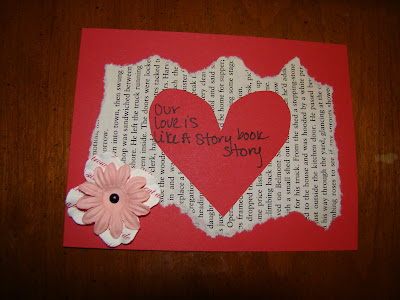
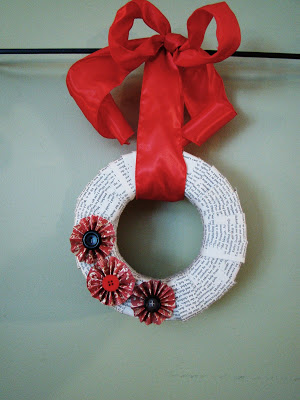
Option#3: Love letters with Flowers!
OR...
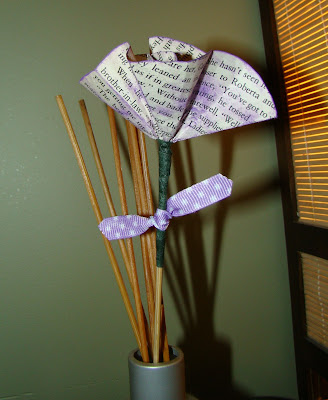
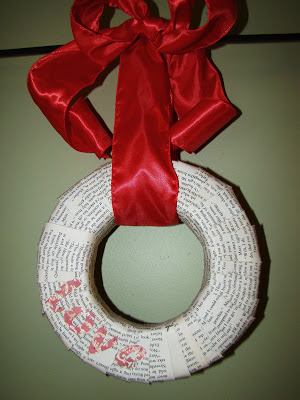
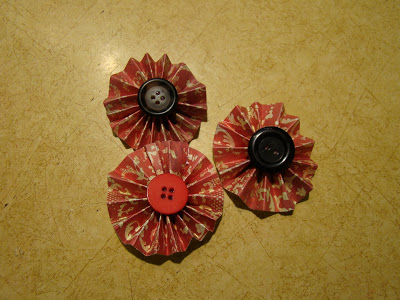
Take off the Love letters and you get option #4: Just Flowers!
I am sure that you can think of even more things to do to change it up! It would be really easy to change with all the different seasons and holidays!
I am linking to these parties!