Showing posts with label Back to School. Show all posts

Thursday, July 9, 2015

Easy DIY Personalized Water Bottles (Back to School Craft Lighting!)

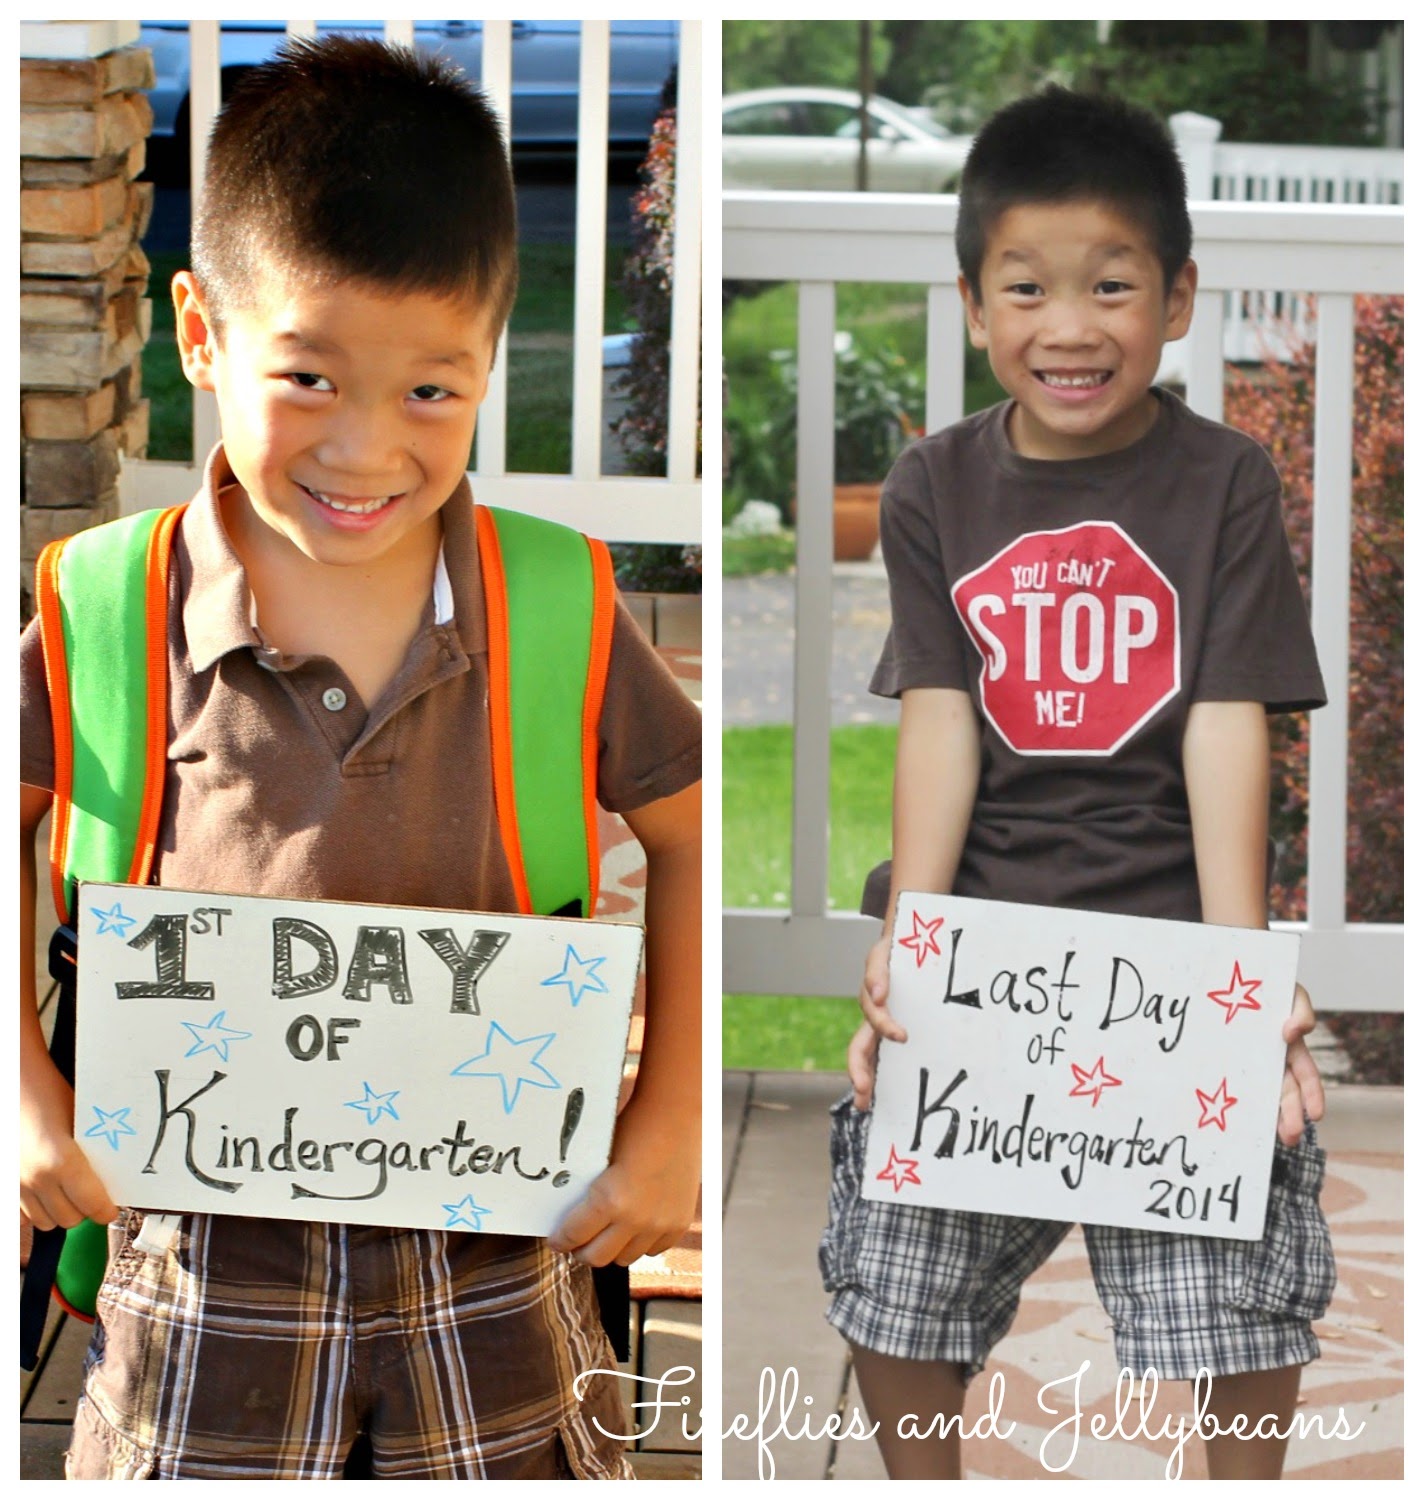
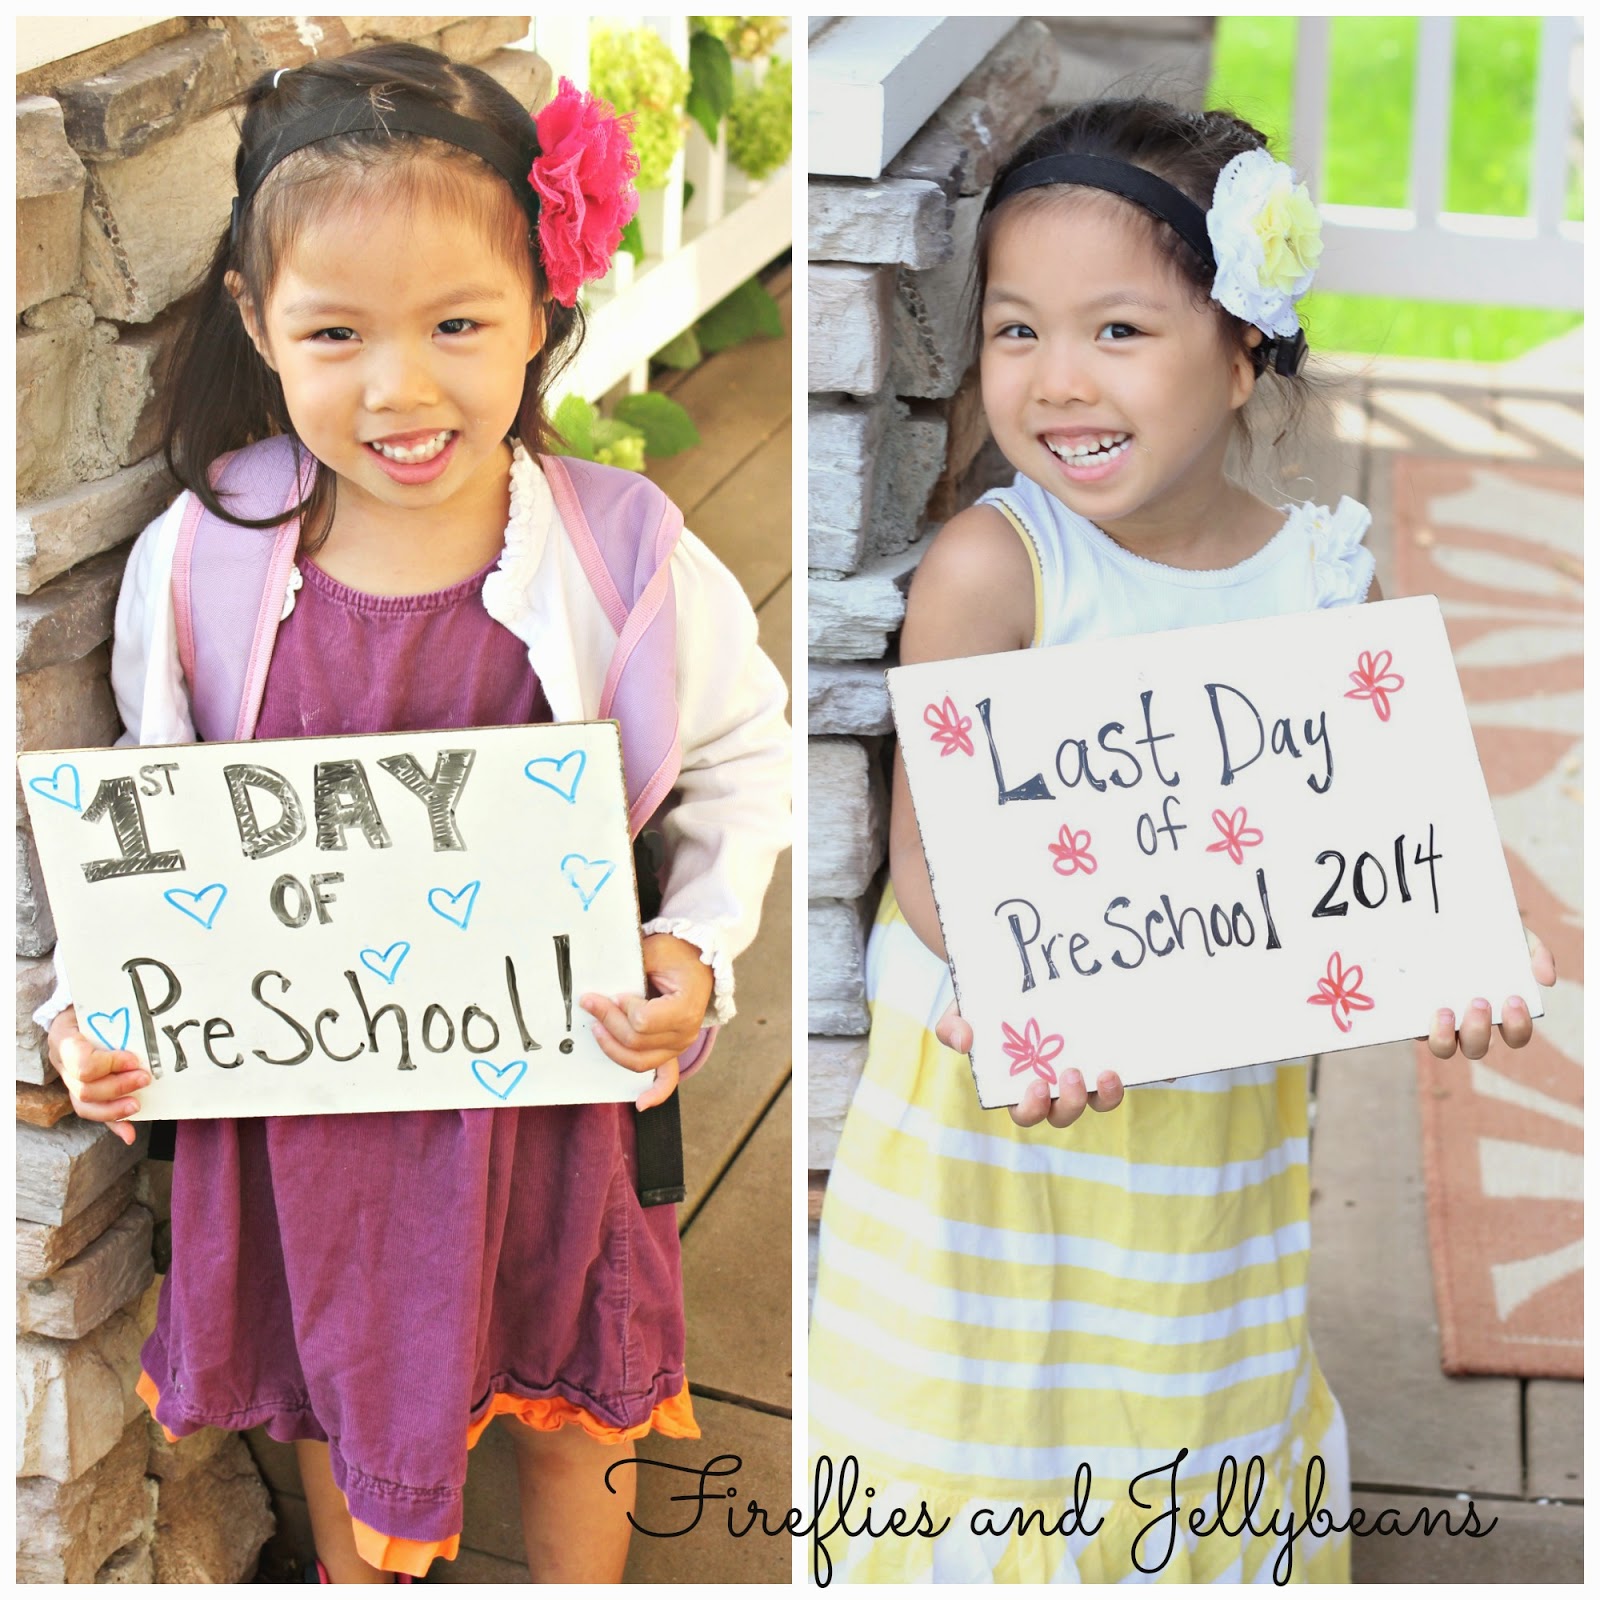
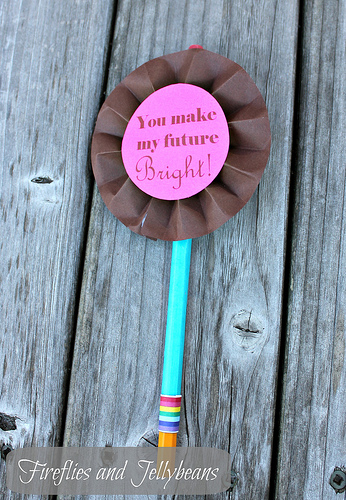
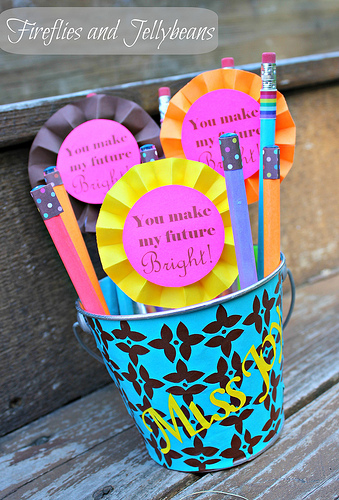
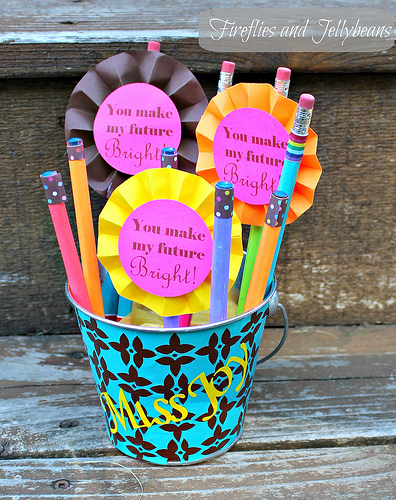
 After the 4th of July- Target switches their seasonal aisle to Back-To-School... so it is time to start getting ready to send those kids back!  This month's Craft Lighting theme is Back-To-School!  

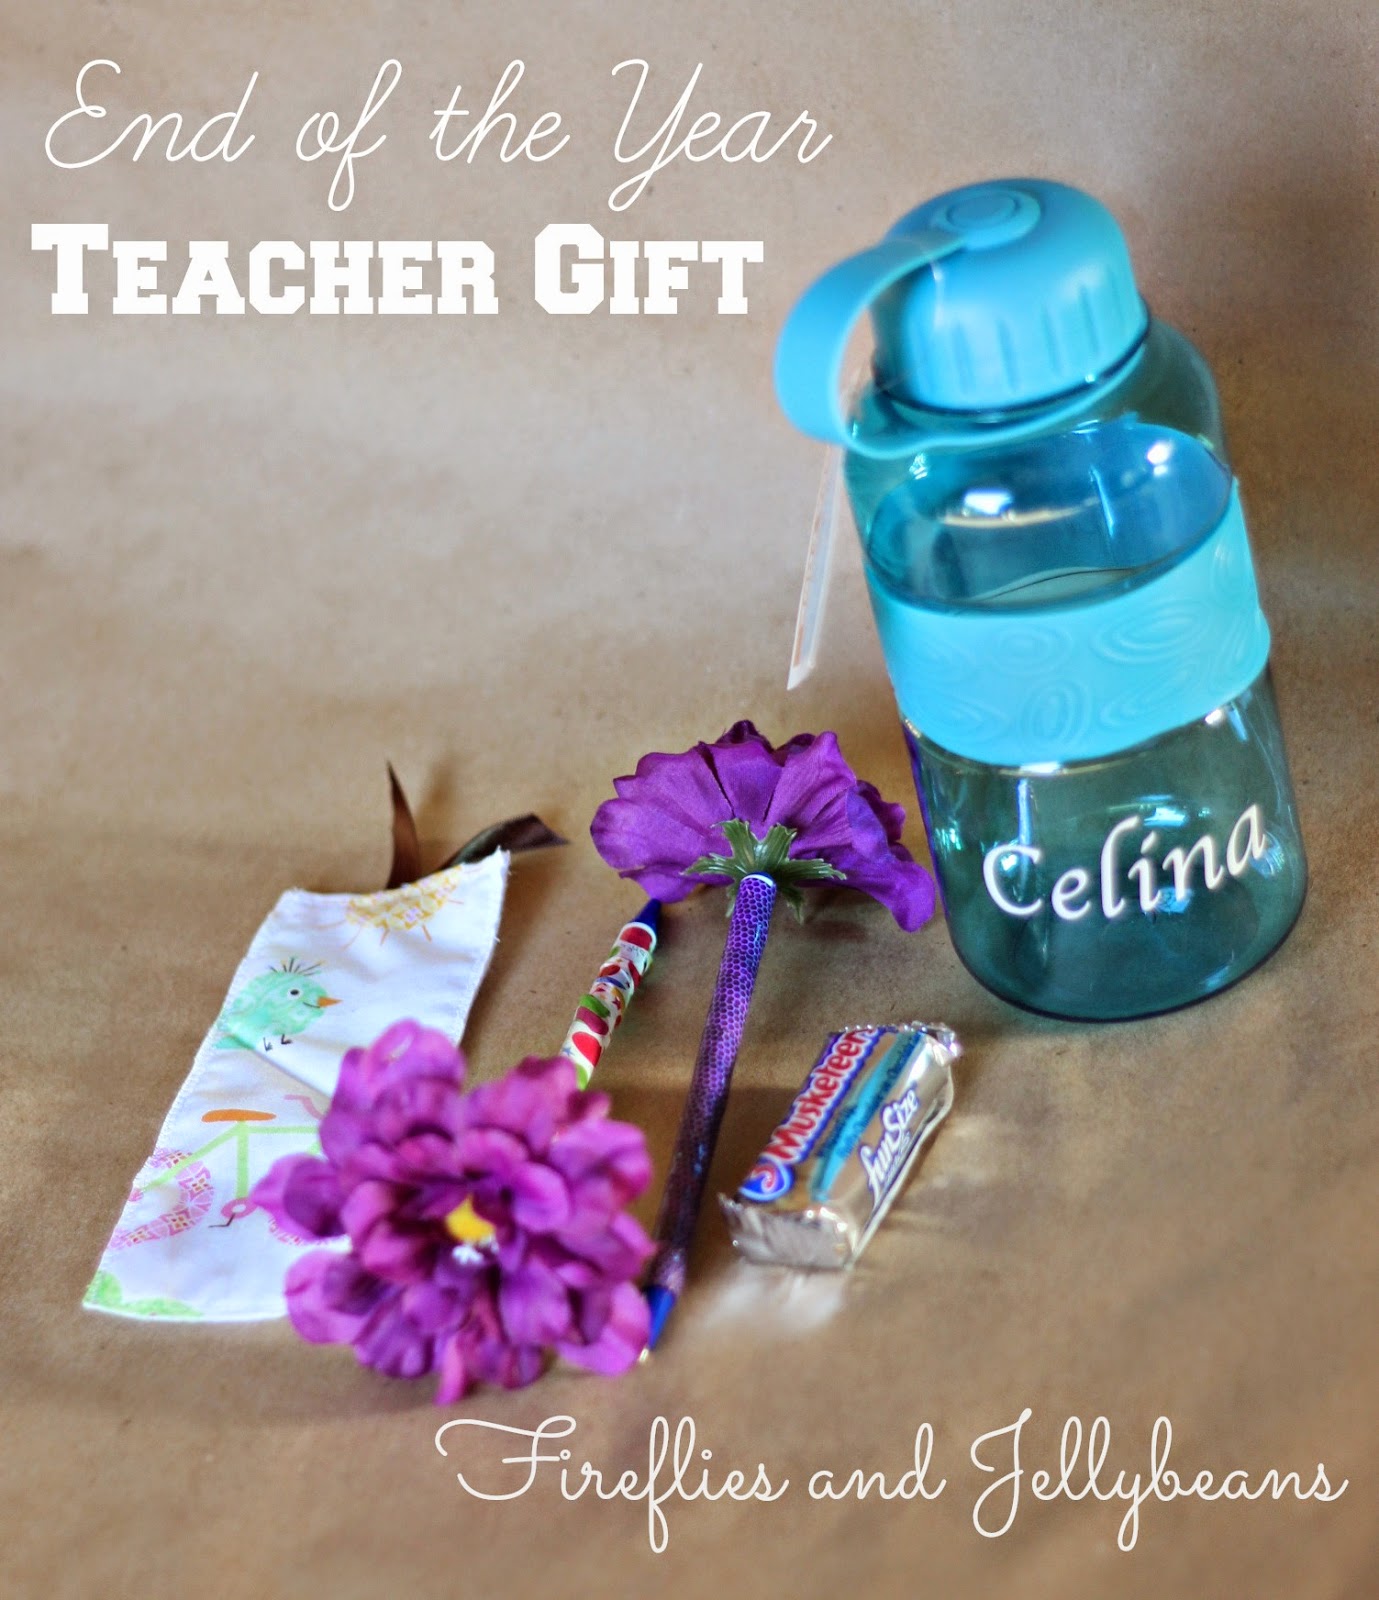
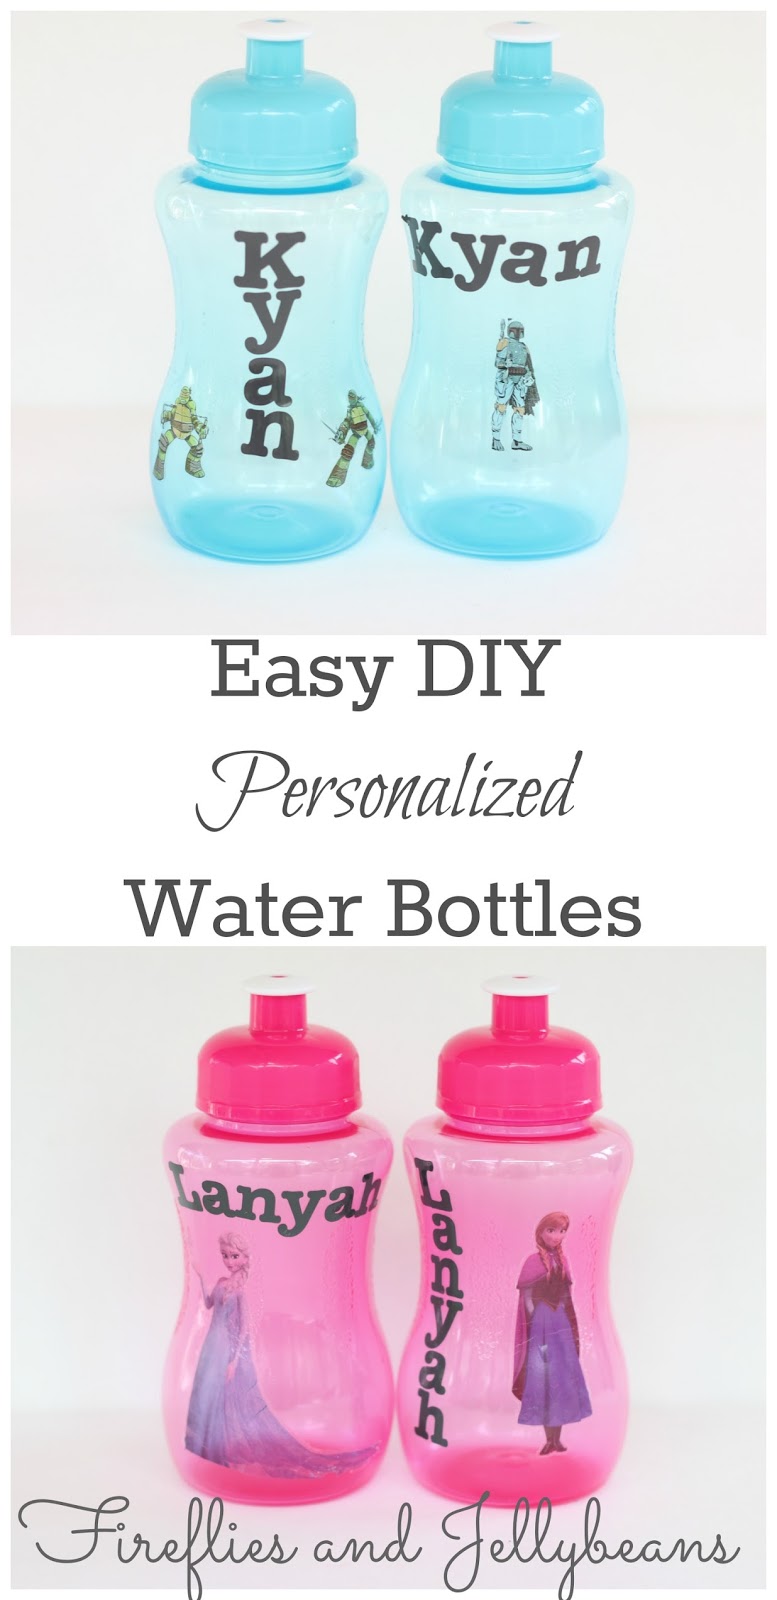
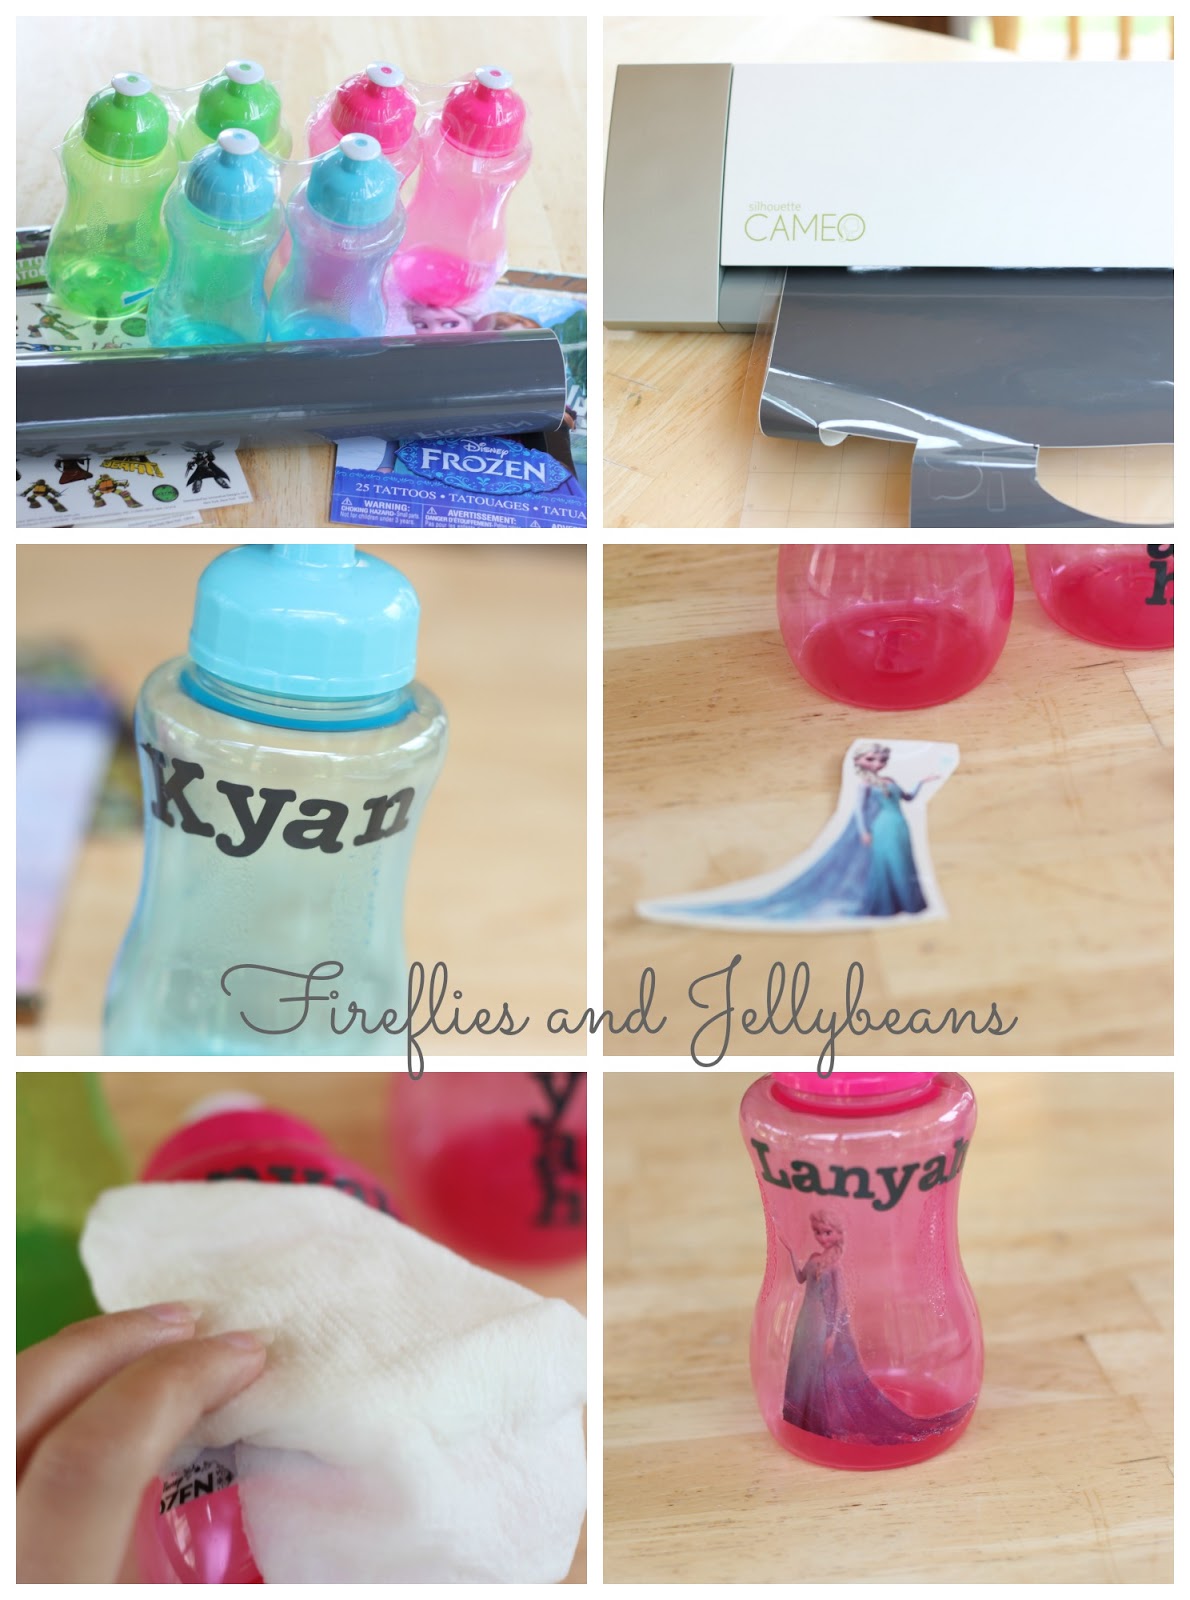
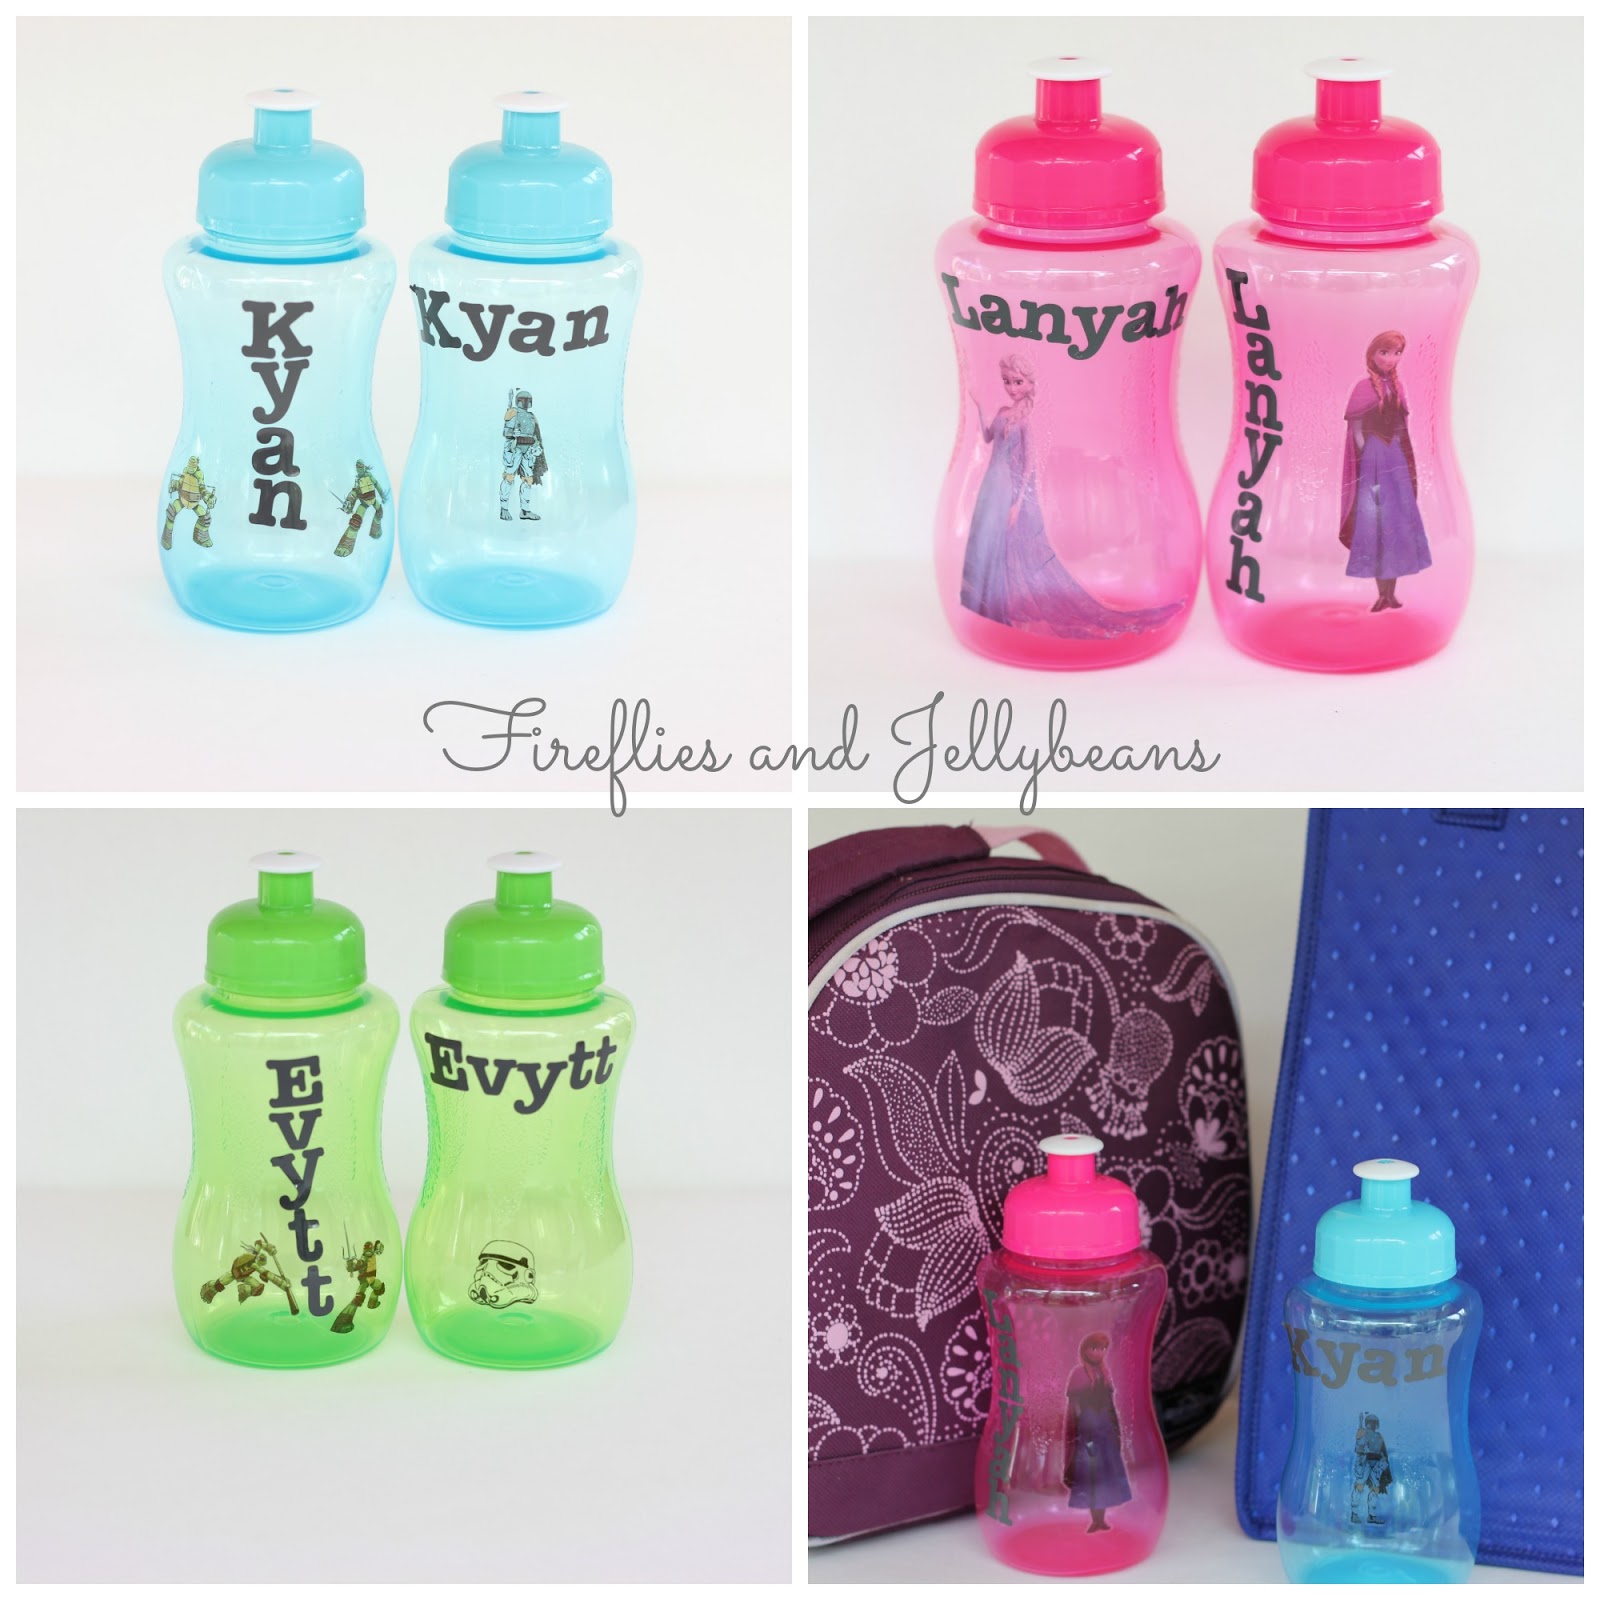
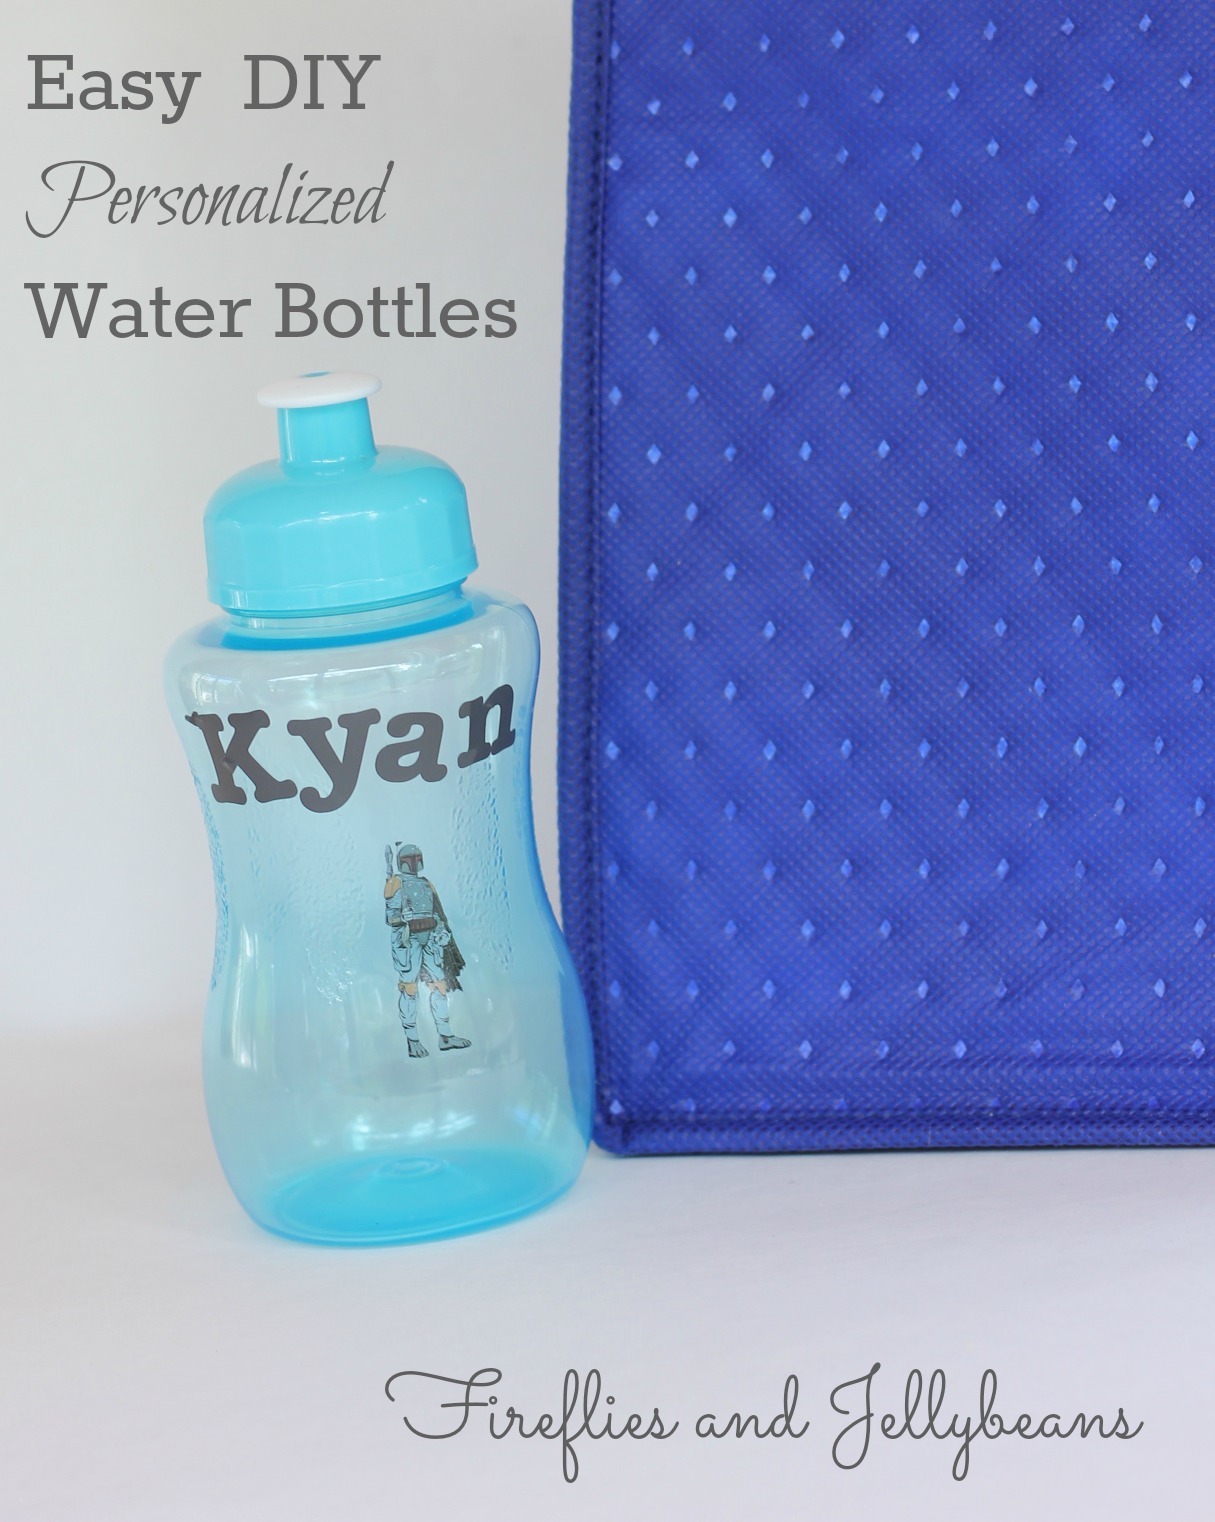
I pack a lunch for my kids everyday and I like to put a water bottle in it.  I found these little water bottles in a 2 pack at the Dollar Store -two for a dollar- yay! But I also know that my kids are forgetful and I would like there to be a chance they could get their water bottle back if they forgot it so I personalized it with their names and a favorite character!   It is SUPER EASY! 

Here is how you can make your own. 
1. Gather your supplies: Water bottles, Temporary Tattoos, Outdoor Adhesive Vinyl (I get mine from Expressions Vinyl)
2. Cut out your letters.  I use my Silhouette Cameo.
3. Place the letters on the water bottle.
4. Cut out the Temporary Tattoo
5. Use a wet, warm paper towel to adhere the Tattoo to the water bottle. and you are done!

I got the water bottles and the temporary tattoos from the dollar store and I already had the vinyl form other projects.  So, I was able to make these for $1 per bottle.  

The Tattoos totally stick to the water bottles!  They will wash off in the dishwater though... which I am ok with.  The letters stay on.  I got a pack of 28+ Temporary Tattoos at the Dollar store and I just stick on a new one once I wash it.  The kids like that it changes.  I usually use a bottle for a week in their lunch bag and then wash it.  


Glad to be part of:

Friday, May 8, 2015

Teacher Appreciation/End of the Year Teacher Gift


For Teacher Appreciation week, I though hard about what a teacher would really want as a gift.  I could have made something cute or got a gift card (both are good options) but I remember that when I was a teacher the end of the year was tough... it made me question if I even wanted to be a teacher the next year.  Standardized testing combined with crazy kids is enough to drive any one into madness! :)

So I thought I would like to be told I was doing a good job and that my students (and parents of those students) appreciated all the work I had done.   So I decided to make a video for my kids teachers.  So they could watch it any time they needed a reminder that they are GREAT!  This also works great as an end of the year gift so you still have time to make one!

I came up with some questions, some silly some more serious, all about the teachers.  Since my daughter was in preschool (and therefor has several teachers) and my son is in 1st grade and has one main teacher I came up with different questions for each kid.

Elementary questions:
Why do you think [enter Teacher Name here] became a teacher?
What do you think [enter Teacher Name here] does when she is not at school?
What is your favorite thing about [enter Teacher Name here]?
What is your favorite part of being in [enter Teacher Name here]'s class room?
If [enter Teacher Name here] was not a teacher, what job do you think she would do?
Tell me what makes [enter Teacher Name here] special.

Preschool questions:
Tell me what you love about your teachers.
Tell me about your class room.
What is your favorite part about your school.

Here are the videos:


I just video-ed the kid on my phone and then used imovie (on my mac) to edit them.. uploaded them to youtube and sent the links to the teachers.


Thursday, June 5, 2014

Last day of school 2014

Today was the last day of school for my kids (not the baby, he's not in school yet!) :) 

I thought it would be fun to take last day of school pictures to see how much they have changed.  And even though I knew they would look older it still surprised me! 
Here is my oldest.  Just starting our elementary school journey.  We had his end or the year party and I couldn't stop crying.  Because, this year he went from looking like a "little boy" to "boy"- as in calling me "mom" now instead of "mommy"  

And this little girl finished her first full year of Preschool.
She is turning into a little beauty.  And we found out, at her end of the year party, that all the boys at her preschool are in love with her... I mean- this is preschool - is that even supposed to happen?  Good thing this girl has 2 brothers! 


Here are the teacher gifts I gave this year.  I kept it pretty simple.  I was able to get most of my supplies at the dollar store and use what I had on hand. 
Each teacher got the following:
Water bottle with outdoor vinyl using my Silhouette Cameo
And a little snack

I was able to use the bottle as the wrapping and add a cute tag to it!  

I cannot believe that the school year is done... bring on summer! 

Wednesday, August 14, 2013

Back to School DIY Teacher Plaque (#12MonthsOfMartha)

***This post is written as part of the 12 months of Martha program.  I get craft supplies from Martha Stewart Crafts for free to create fun crafts with.  All my projects and opinions are 100% mine.***

This month our 12 months of Martha box came with a bunch of glass paint, glass etching and tools!  Fun!  

So I created a fun back to school gift for my son's kindergarten teacher... it is my first time sending a child to school so I want to get on the teacher's good side! :) 

Here is what you will need:
Martha Stewart glass paint
Martha Stewart adhesive screen print Stencils
Frame (with glass)
Craft paint
Paint brushes. 

1. Paint the frame and the backing pieces to the color of your choice (forgot to take a picture).

2. Clean your glass and then place your stencil on it. 
3. Use a bush or a squeegee to put your paint on over the stencil with the glass paint.
4. Carefully remove the stencil.  Let dry completely. 

5. Trace around your glass and write out your phrase/quote.
6. Place your glass over your quote, and trace over it with your glass paint. 

Put it all back together for a great gift! 

I also used  the glass paint to make this wine bottle luminary


Check out more fun projects on the 12 Month of Martha Pinterest board!


***Disclosure: I was supplied with the Martha Stewart craft supplies but my opinions are always honest!***


Tuesday, August 28, 2012

Back to School Round Up

We have been very busy enjoying our last few days of summer around here... sorry to have such sparce posting.  I hope to get back on schedule soon!

School starts next week here in Minnesota so I thought I would a round up of the back-to-school crafts we have done here on F&J to get us all ready!


  &

Monday, August 6, 2012

You Make My Future Bright! Teacher Gift {Tutorial!}

This is a Sponsored post written by me on behalf of Astrobrights Papers by Neenah Paper for SocialSpark. All opinions are 100% mine.


Back-to-school is here... can you believe it?!  I bet most of you moms are ready for school, but if you are a teacher you want to relish in the last days of summer!   
I have a fun and easy back to school  teacher gift brought to you by AstroBrights papers:
Bright Teacher gift 1
AstroBrights Paper is SUPER bright paper that is very high quality!  The colors are vibrant and would be great for any school project that you want to get noticed (in a good way!) 

Here is what you will need:
AstroBrights papers, Pencils, pens, Mod Podge, Tin buckets (from Target $1 spot)
Bright Teacher gift 2
1. To create the pens:
You cut a piece of paper that is 5"X1.5"
Cover the strip of paper with Mod Podge
Roll the paper on to the pen.
Cover again with Mod Podge and let dry.Bright Teacher gift 3
Optional- add some cute washi tape for decoration! Bright Teacher gift 4
You can create the pencils the same way, but use a 6.5"X 2" piece of paper.Bright Teacher gift 5
2. To cover the bucket:
"trace" your bucket by rolling it on your paper.Bright Teacher gift 6
Here is the shape I came up with.  I only covered the front of my bucket.  Bright Teacher gift 7
I cut out a background using my silhouette cutting machine to make a cool textureBright Teacher gift 8
I used my front paper as a template on the background shape to cut it the right size.
Then use Mod Podge to attach the front paper
cover the front paper with more Mod Podge and add your texture on top
Cover with more Mod Podge and push out any wrinkles or bubbles.  Let DryBright Teacher gift 9
I also cut out the teacher's name (using my silhouette).  I used Mod Podge to attach it to the front.Bright Teacher gift 10
3. How to make the "You Make My Future Bright" flowers:
Cut out a strip of paper that is 11"X 1.5" and a circle that is 2".  (I used my Silhouette's print and cut option for my circles)
Accordion fold your strip of paper all the way across the strip.
Glue together the ends to make it a ring
Push the middle down to create the flower.
Use a blob of hot glue in the middle of the flower to get it to stay.Bright Teacher gift 11
Glue on your circle to the front of the flower.Bright Teacher gift 12
Use hot glue to attach it to your pencils and/or pensBright Teacher gift 13
Add to your bucket to make a super cute teacher gift!! Bright Teacher gift 14
Bright Teacher gift 15
What will YOU create with AstroBright Papers?  Be sure to enter  The GIVE a BRIGHTER YEAR sweepstakes!  You could win $30,000 worth of supples for the school of your choice!  Just hop on over to the AstroBrights papers facebook page and "like" it for your chance to enter!
Astrobrights 2
You can also enter their "Make Something AstroBright" Design challenge.  Submit your AstroBright ideas for your chance to win!   
Astrobrights 1


Visit Sponsor's Site

Linking to:
Today's Creative Blog

Saturday, September 12, 2009

September Challenge Project #2- Notebook Purse and Matching Pen


For the September monthly challenge on Somewhat Simple, the second project was to make an altered notebook purse.


You can find the tutorial for making the purse at Sister's Stuff,

I added the matching pen! Here is how:

Materials:
Mod Podge
pen (I got mine free from Fleet Farm)
Scrapbook paper
Paper flower with brad (or any other embellishment)
1.) Cut your paper to be the height of your pen and about 2 inches for the width.


2.) Cover your paper with Mod Podge.

Front and back


3. Set your pen on the edge of the paper and roll as tightly as you can. Pushing and holding the edge until the mod podge is dry (it only take a few seconds... you won't be standing there all day!)
Voila! Almost done!

4.) Put some Mod Podge on the bottom of the pen

and on the bottom of your flower
5.) Put the flower on the pen and hold until it dries.


SO CUTE!


Wouldn't this be the cutest gift?!?

Thanks Stephanie for another great idea, I can't wait to see what next week's project is!
Check out some more creative projects at Poppies At Play!


See other DIY projects at A Solf Place To Land!
Visit thecsiproject.com


Content Ad