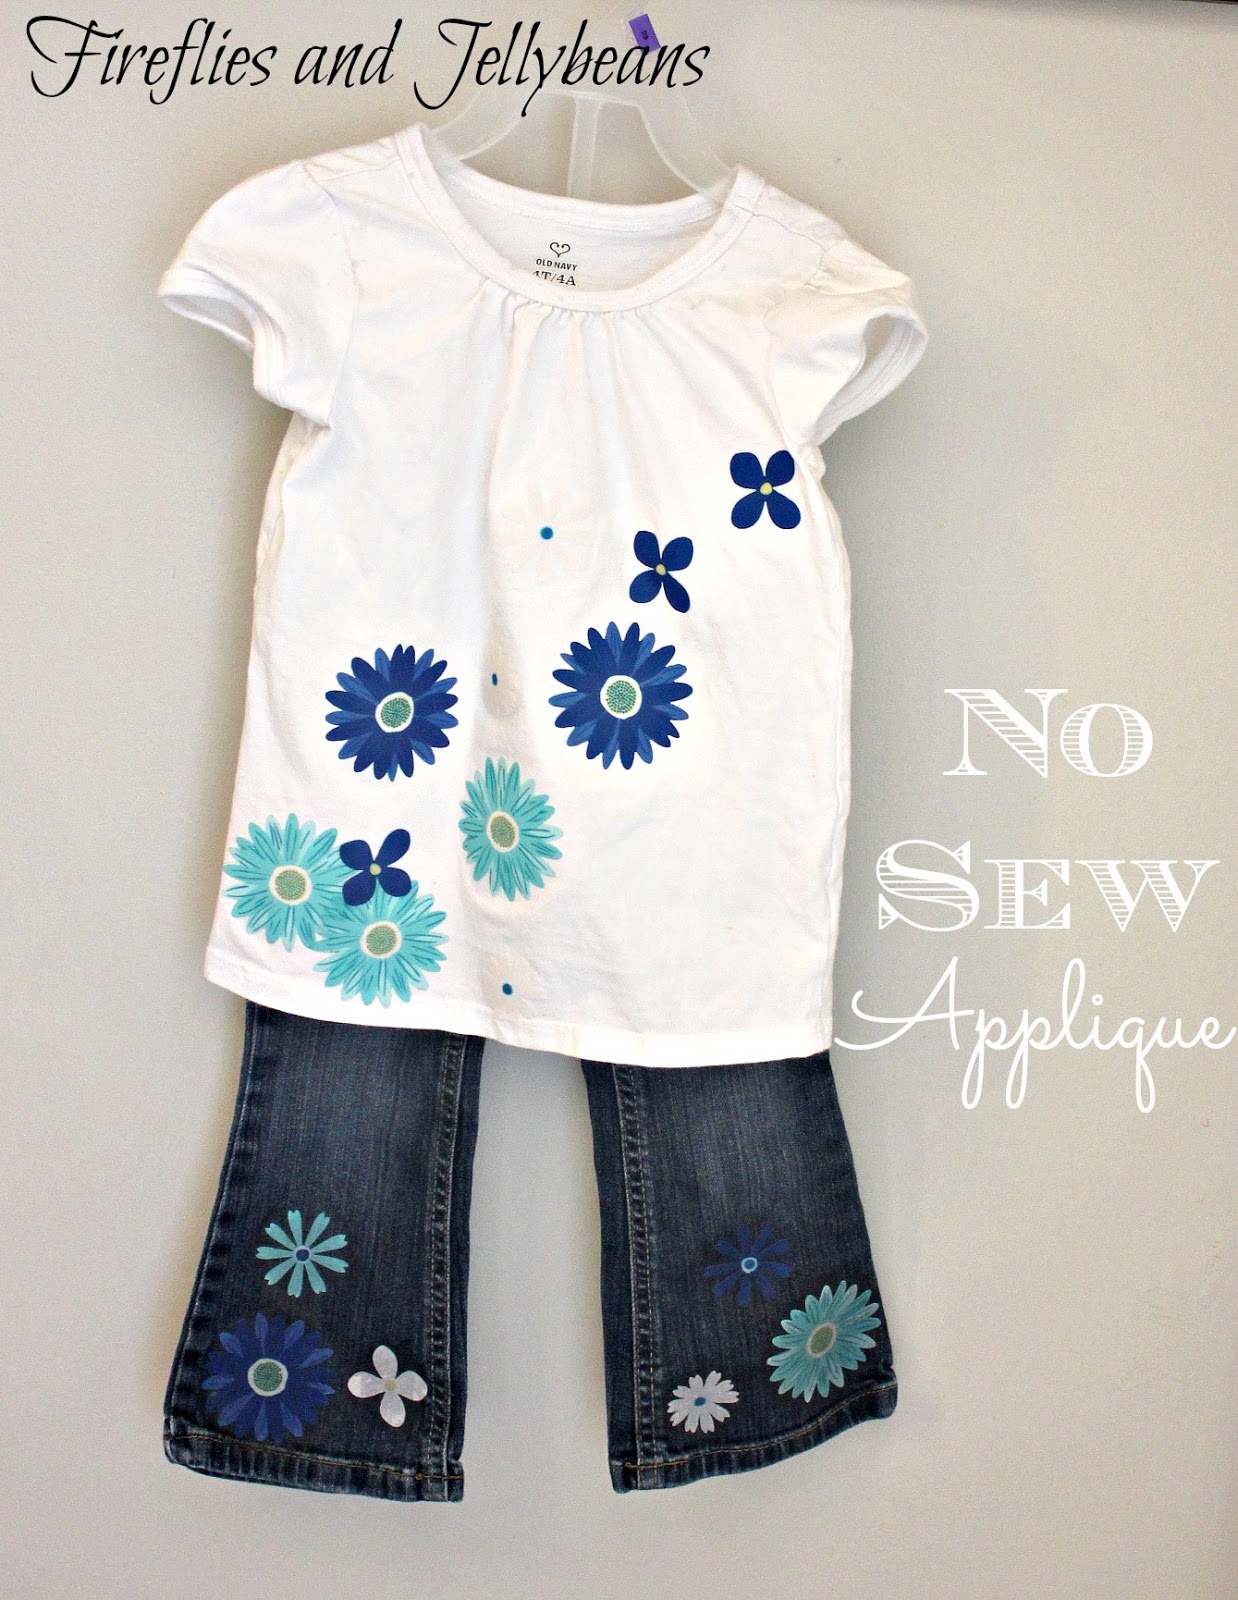
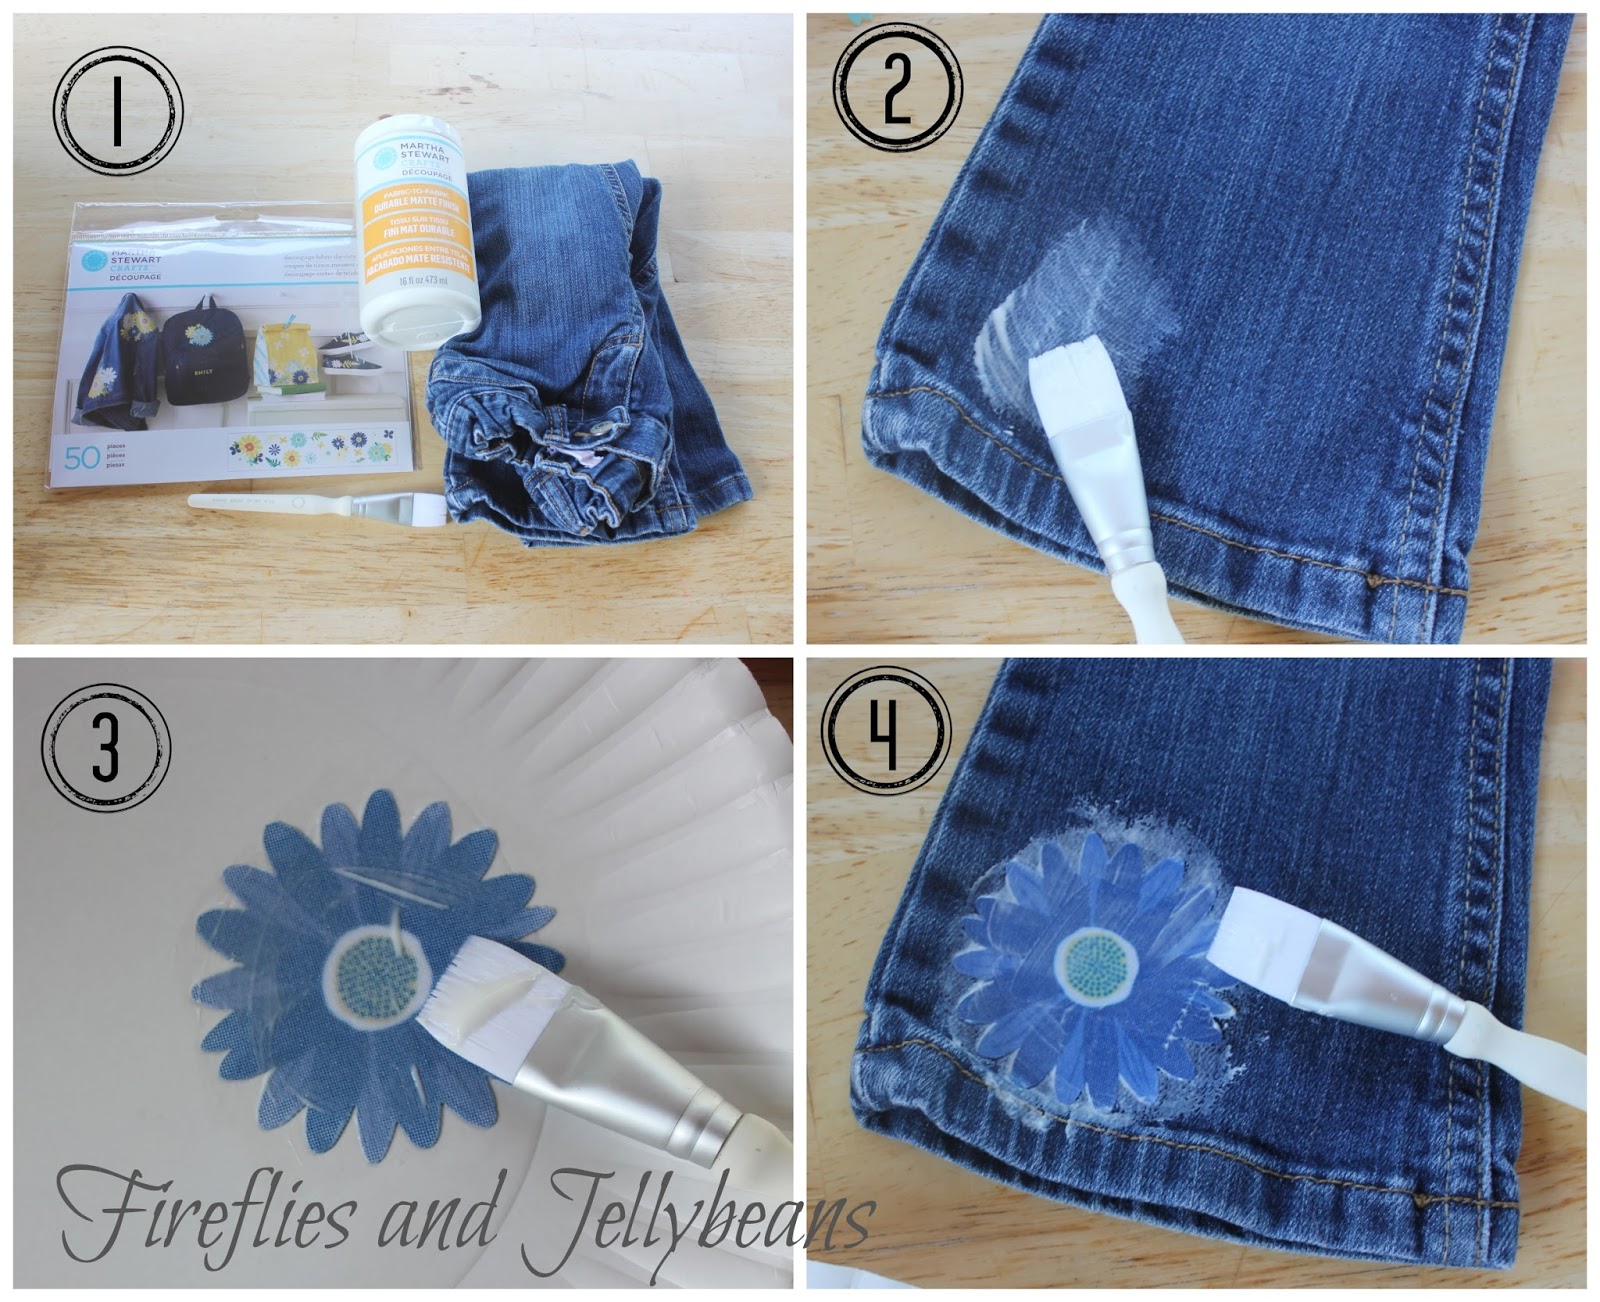
***This post is written as part of the 12 months of Martha program. I get craft supplies from Martha Stewart Crafts for free to create fun crafts with. All my projects and opinions are 100% mine.***
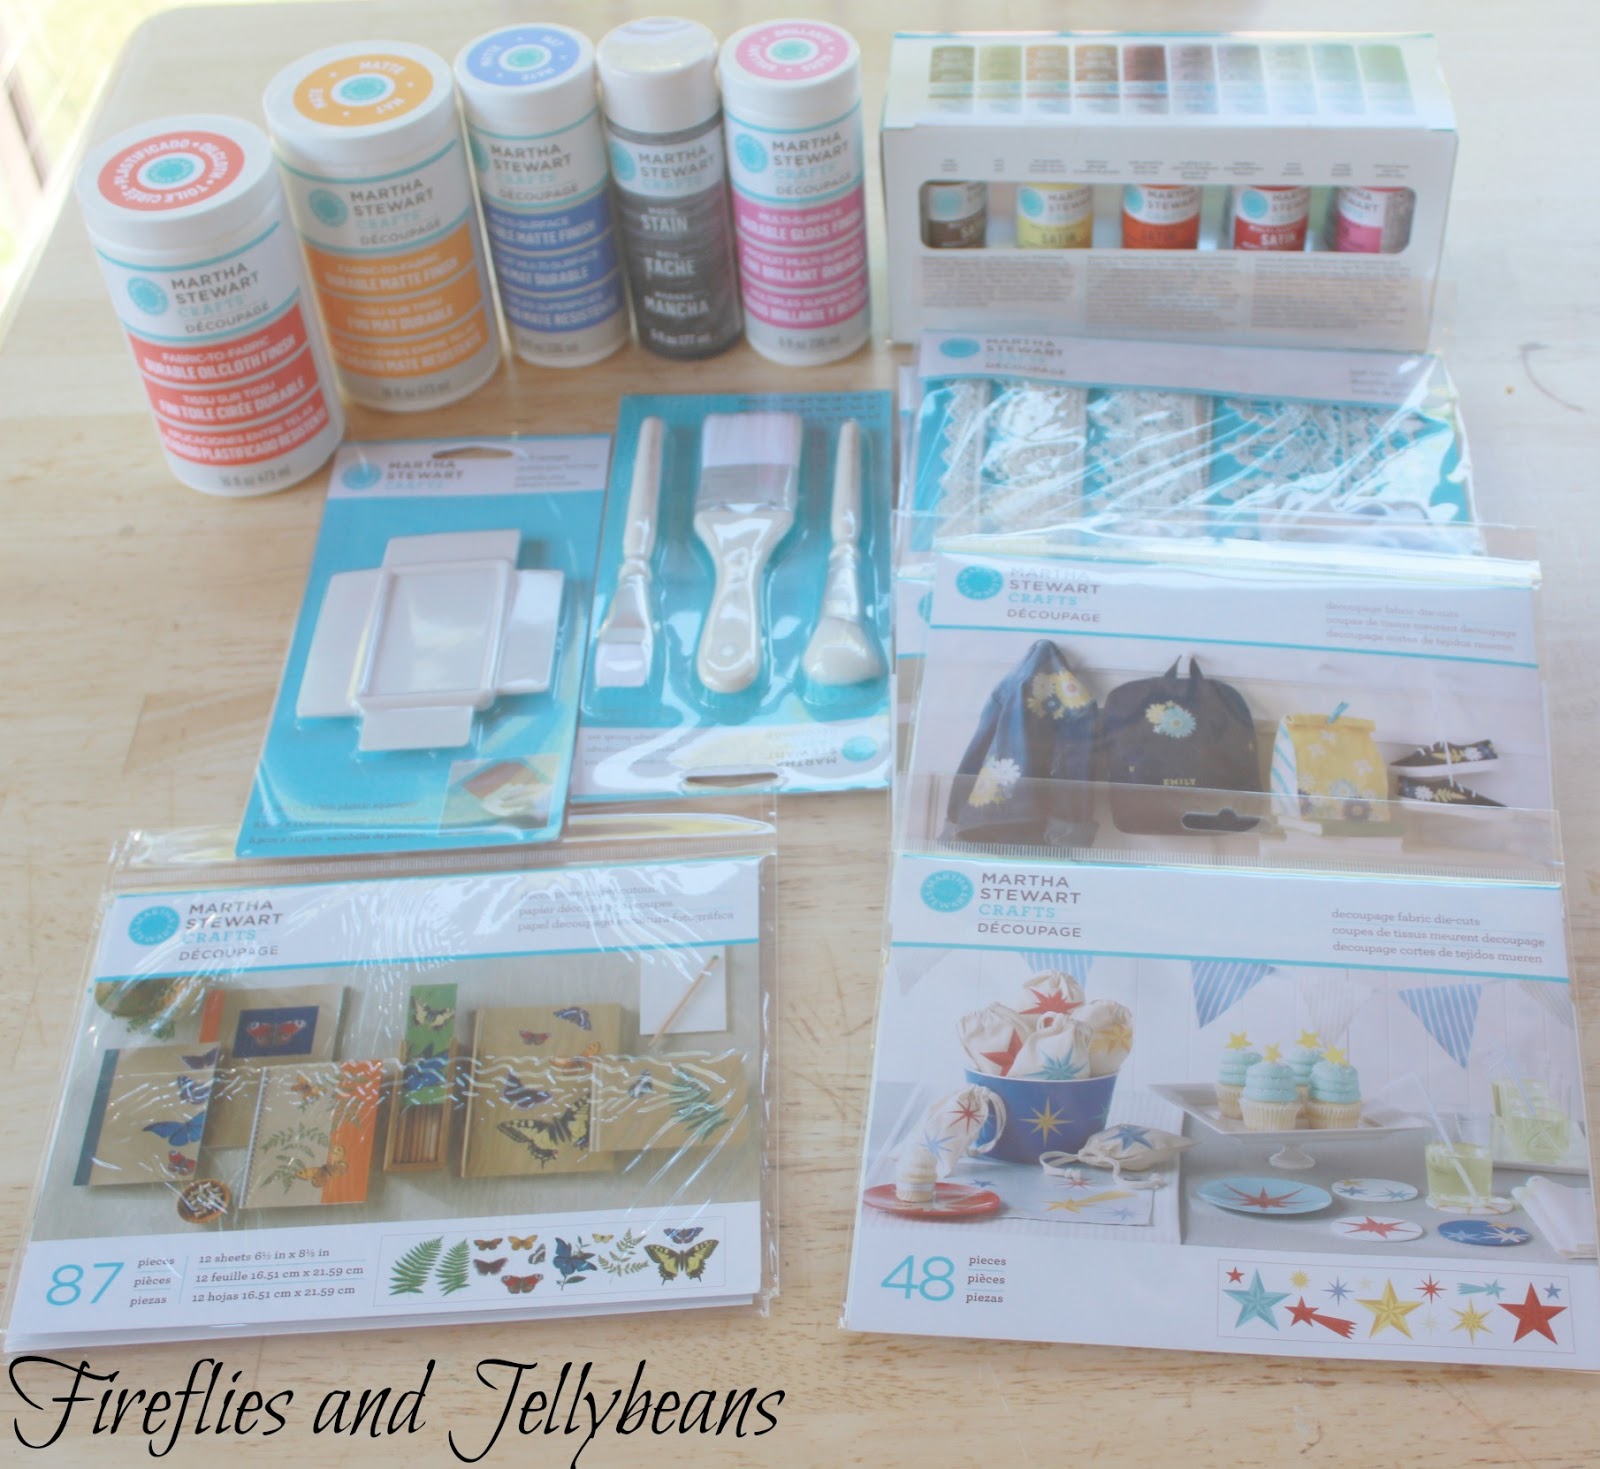
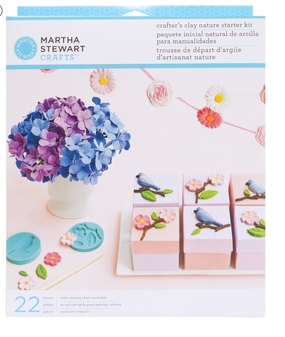
It is time for another 12 months of Martha post! This month we got Crafter's clay kits! This stuff is so fun to work with! As you can see from above I could not stop at just one project! It just shows how versatile it is! The crafter's clay kits and supplies are available at Michael's crafts stores, Joann's, and on Amazon.
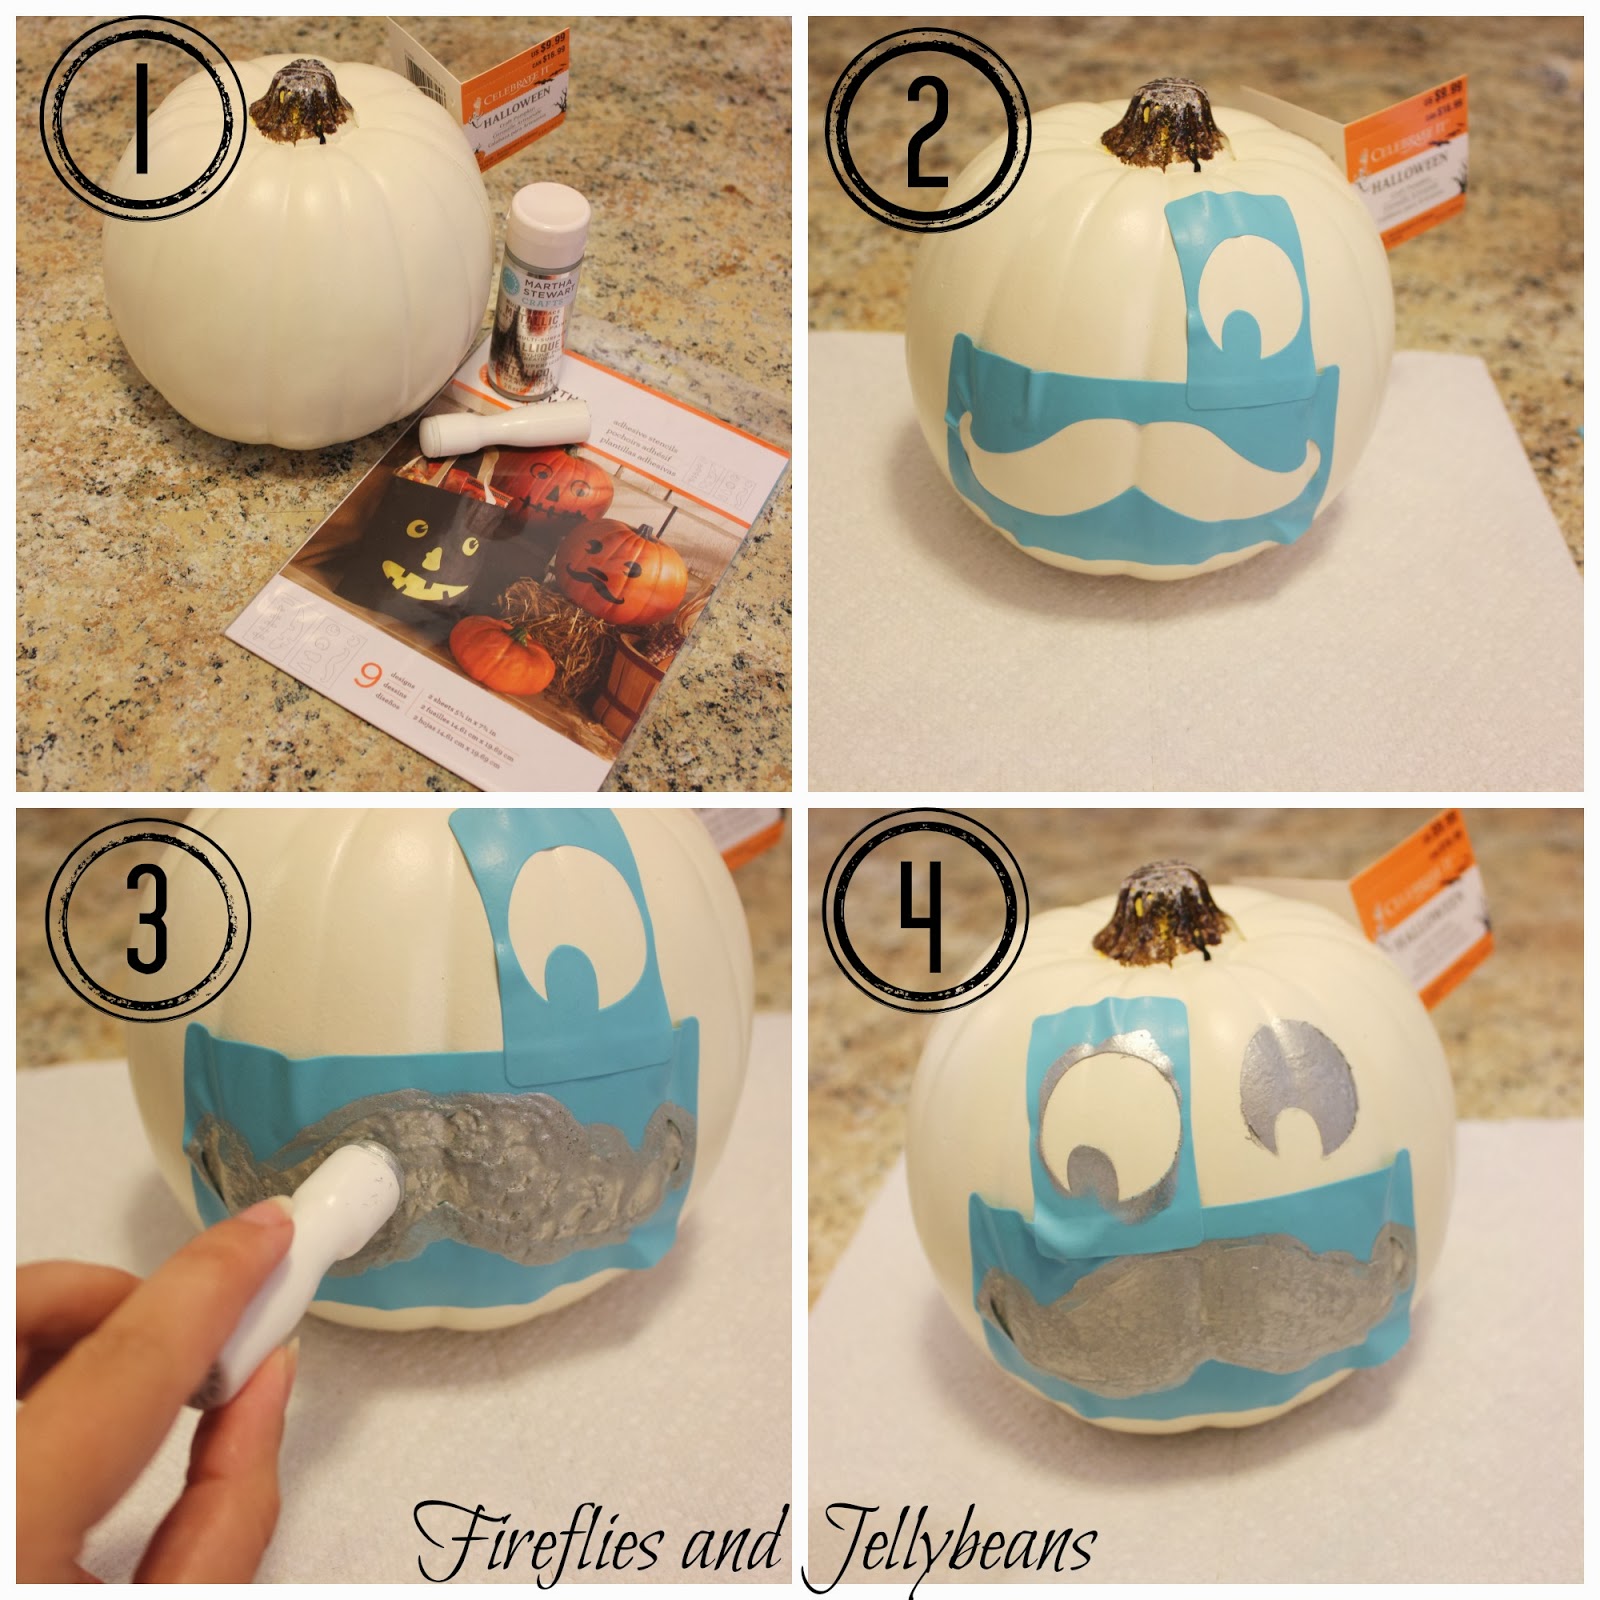
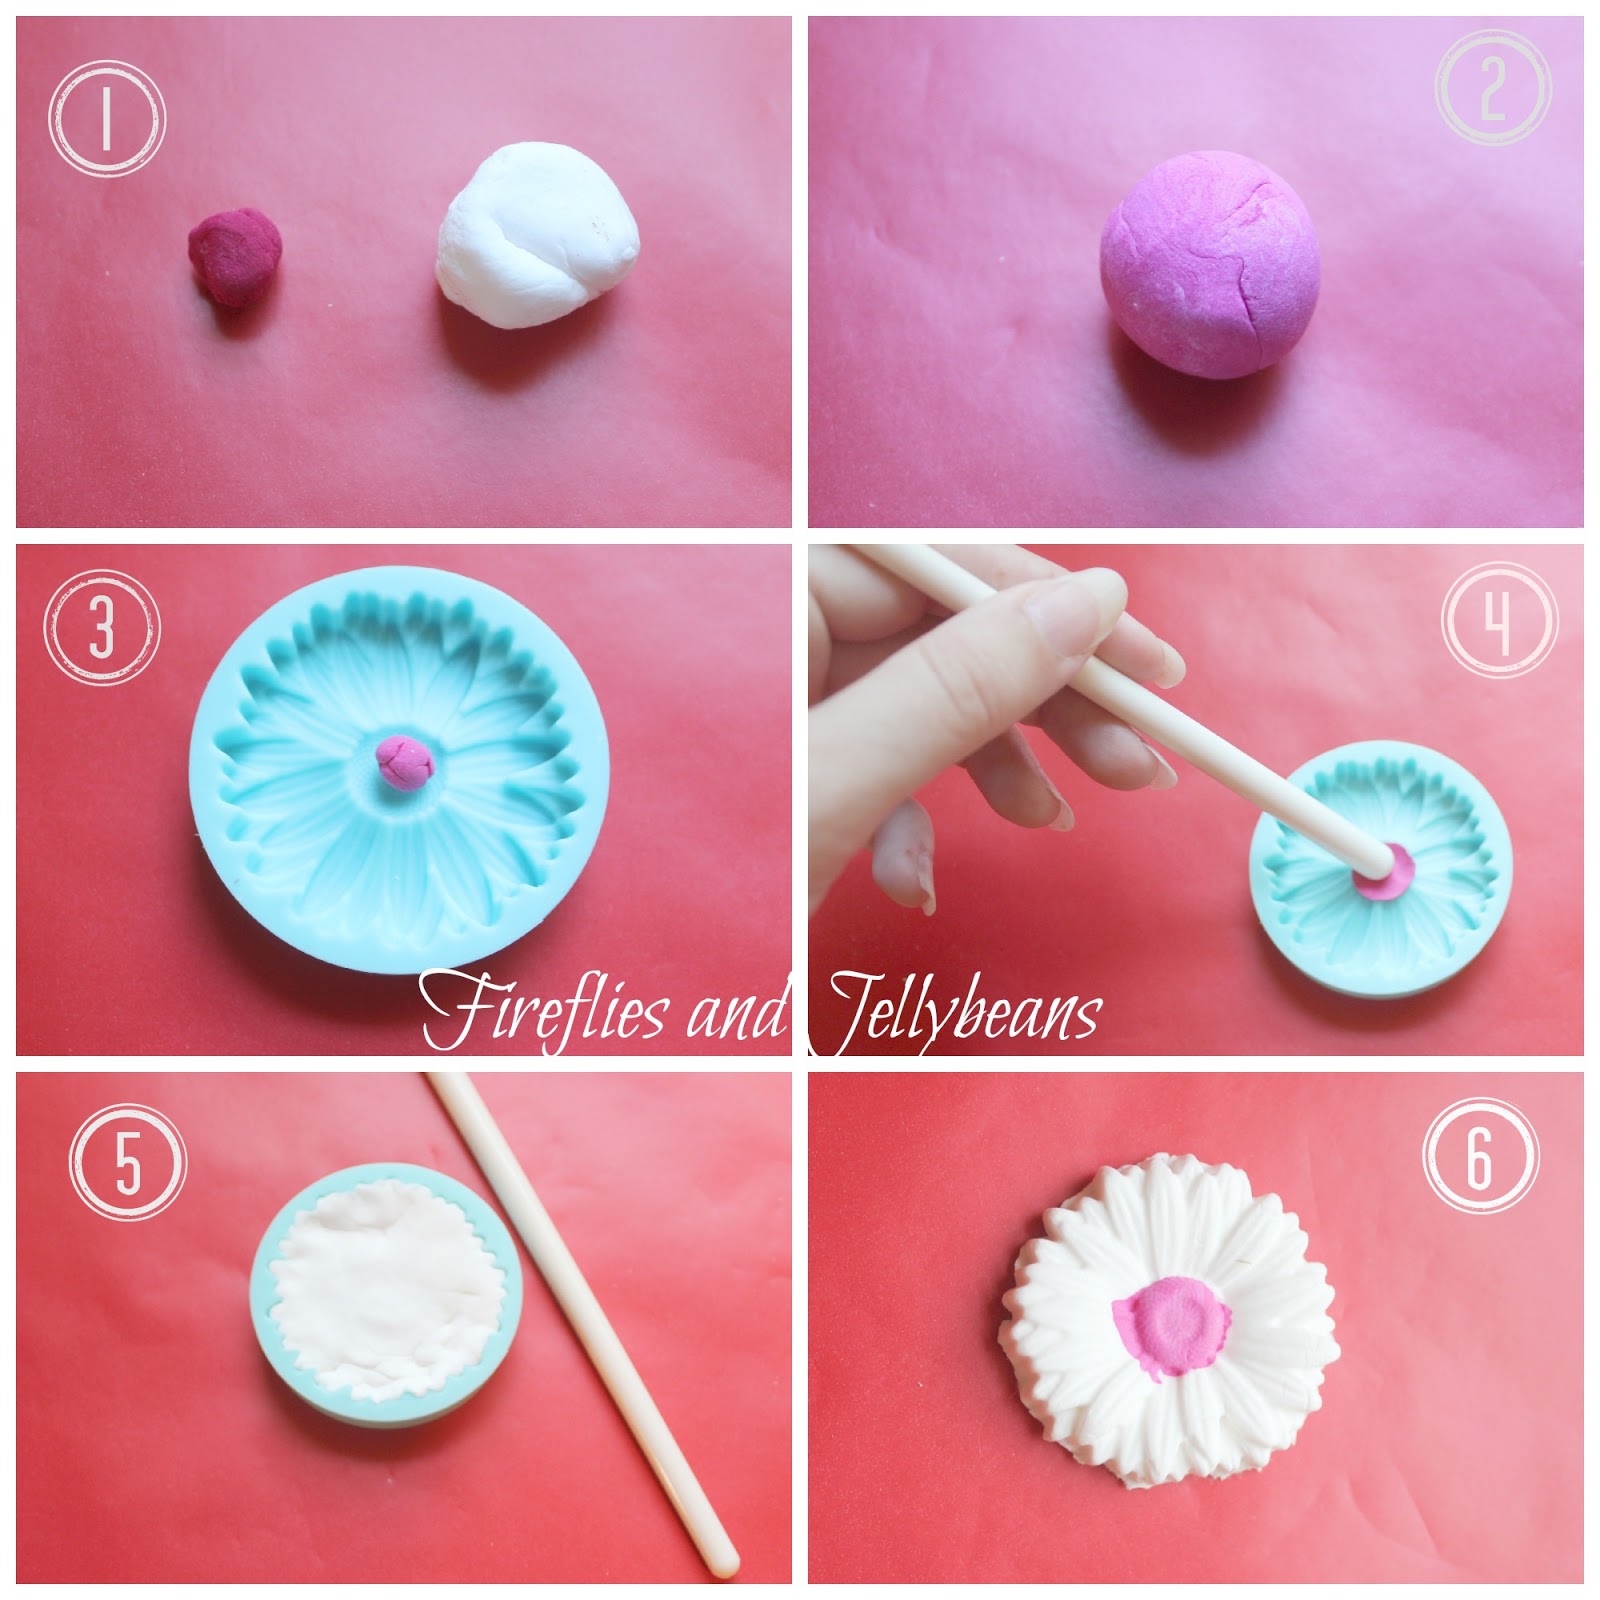
Here is how you can work with the clay and the molds.
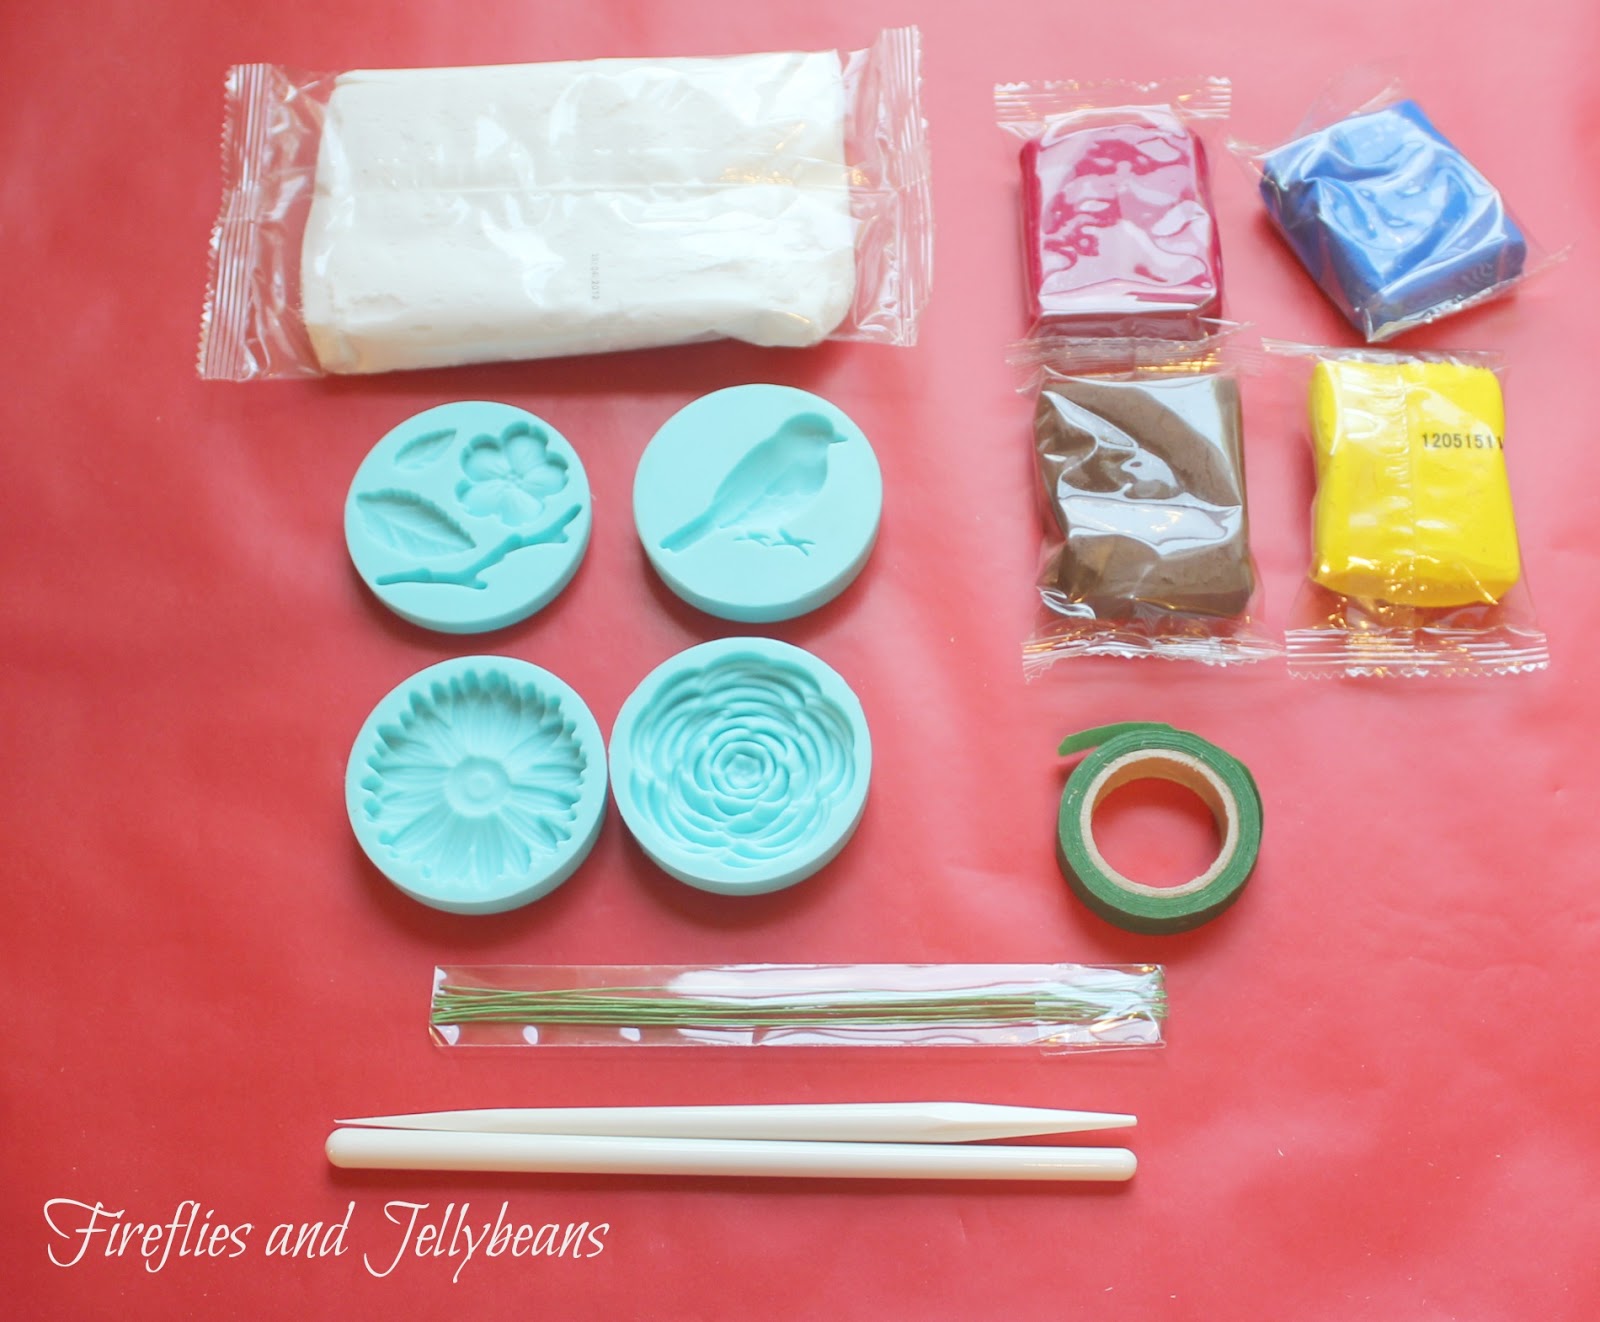
The kits comes with everything that you need, and it has plenty of clay to work with to make lots and lots of things! It also comes with a color chart to show you how to create a bunch of different colors by mixing the clays together.
1. Use the chart to mix a color of clay
2. Mix your clay together and make a small ball
3. Choose a color for the center and place a small ball in the center of the mold.
4. use the tool to press it in place.
5. choose another color and fill the rest of the mold. Make sure to press it into all the edges.
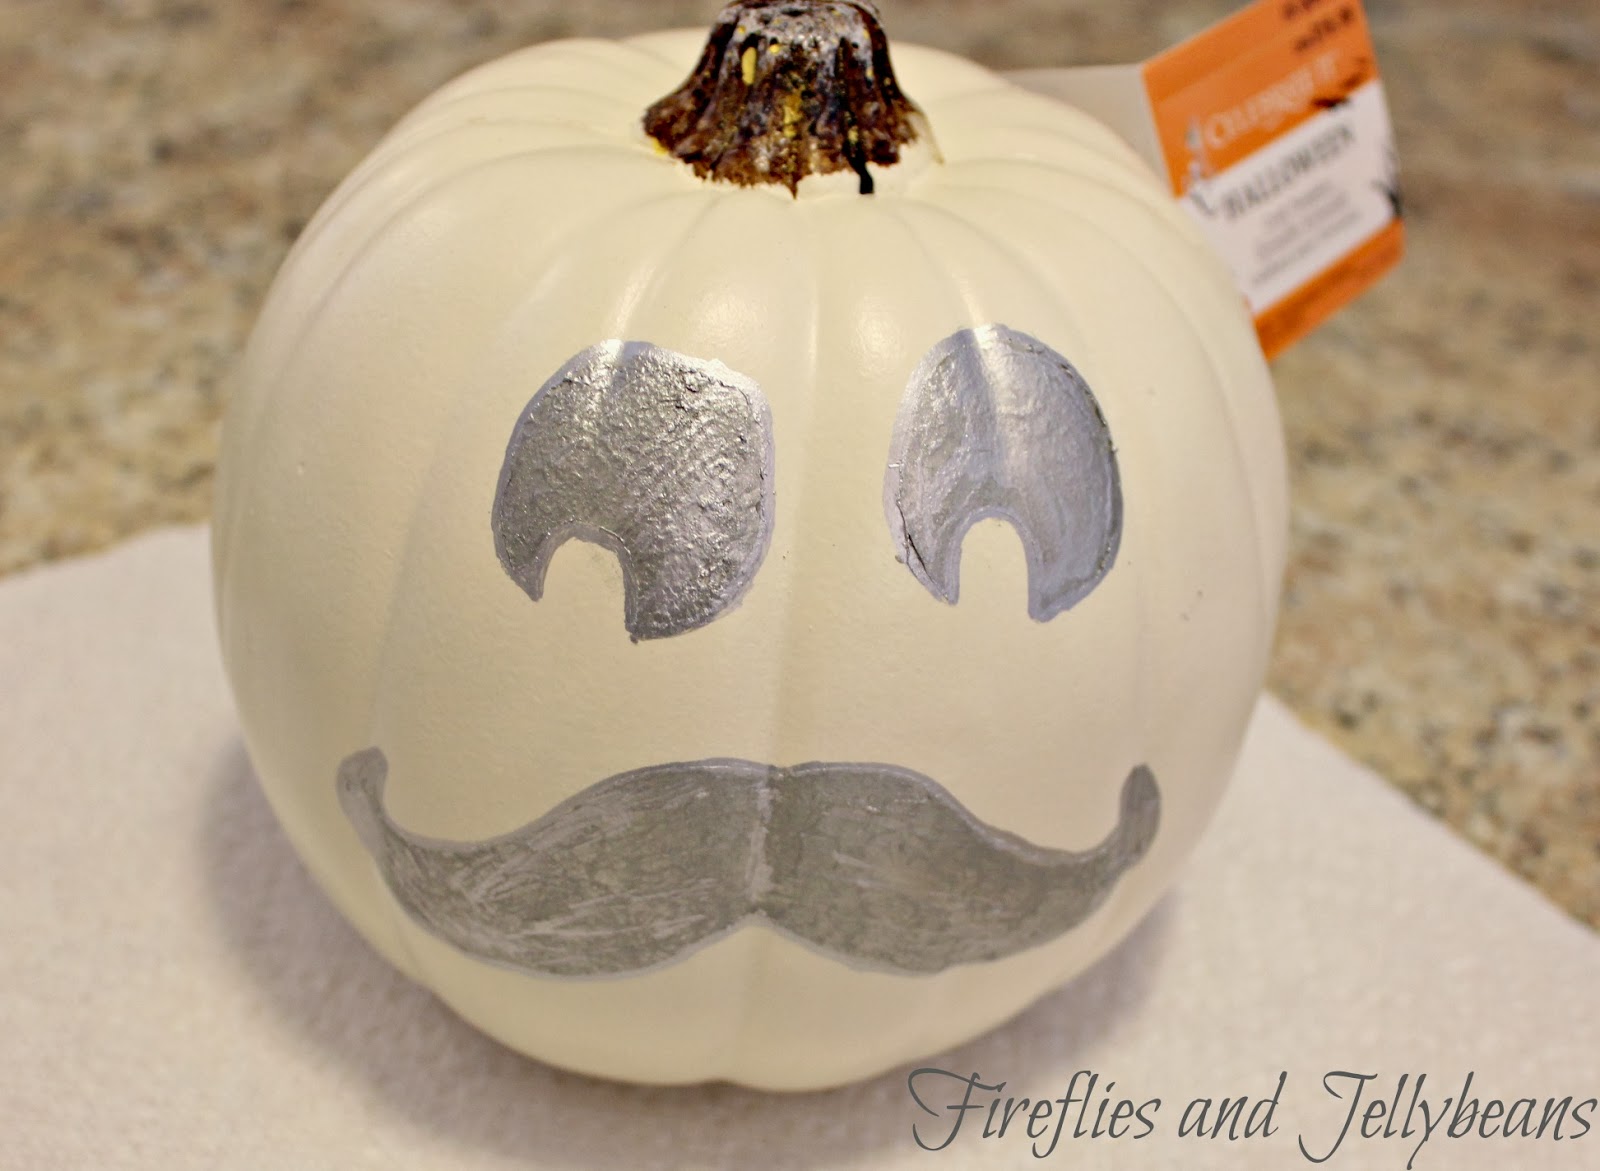
6. Pop it out of the mold and let it dry for 24 hours.
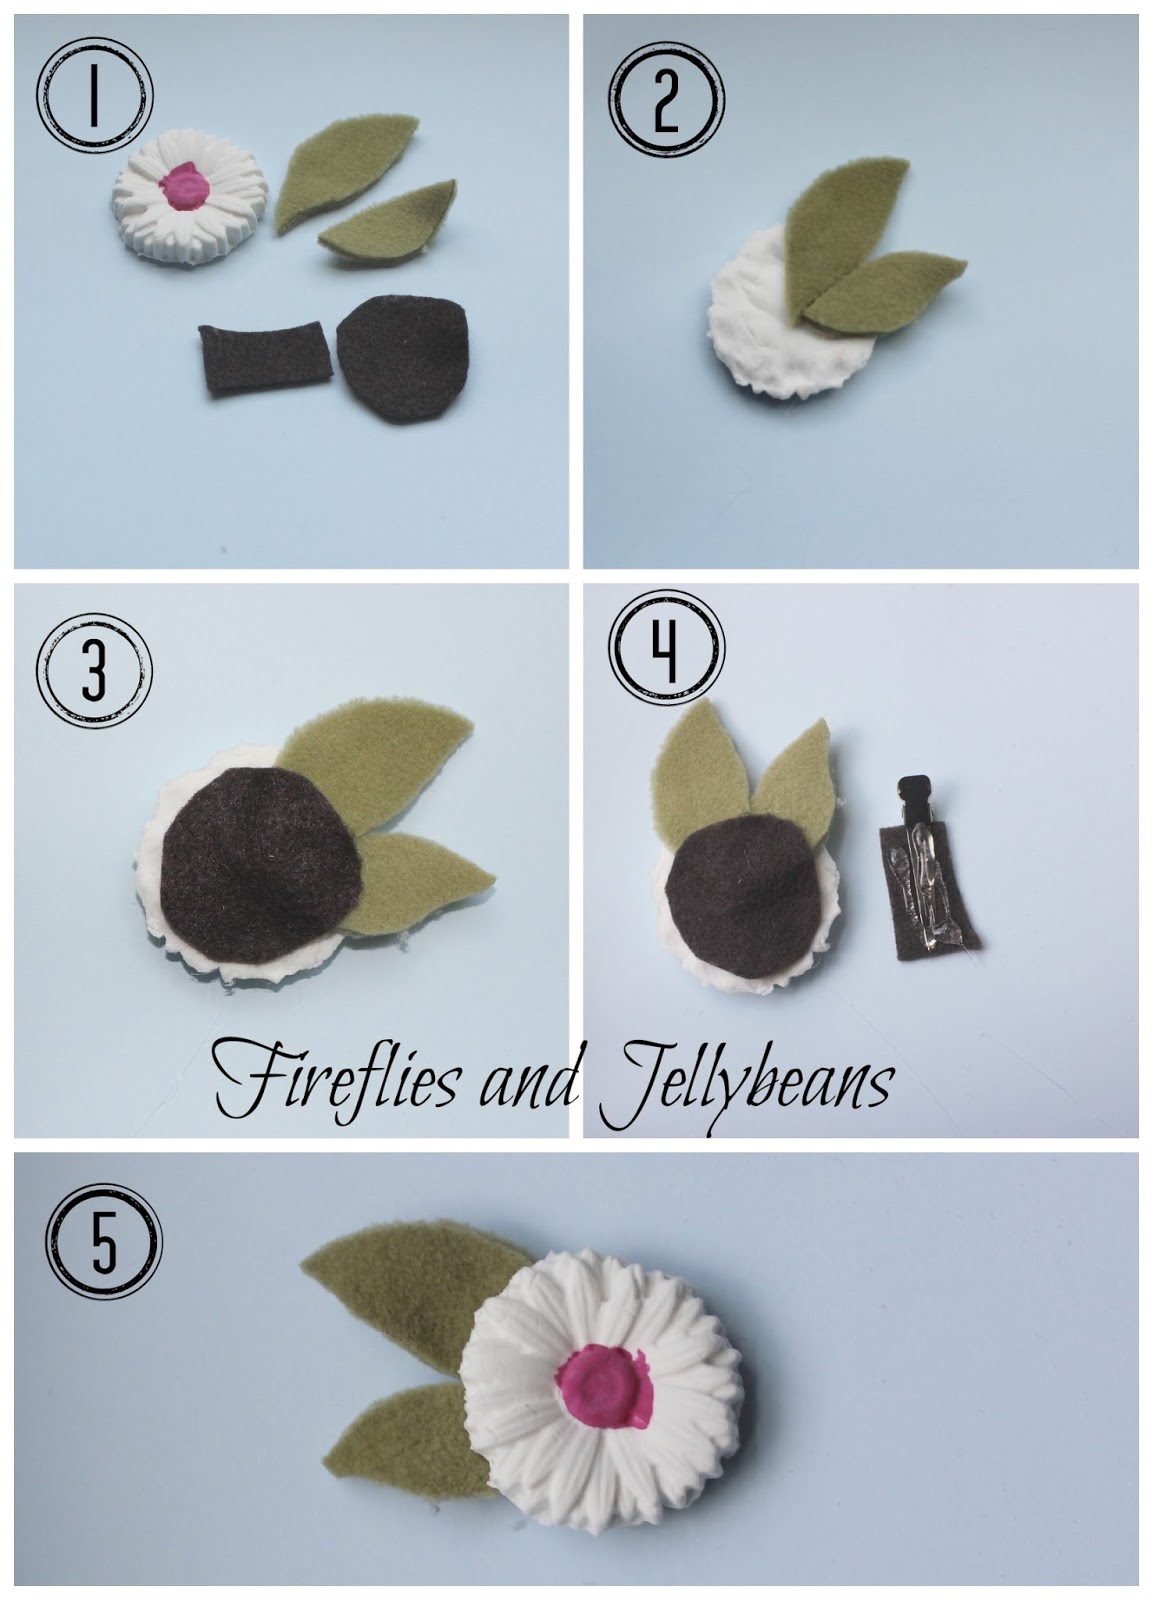
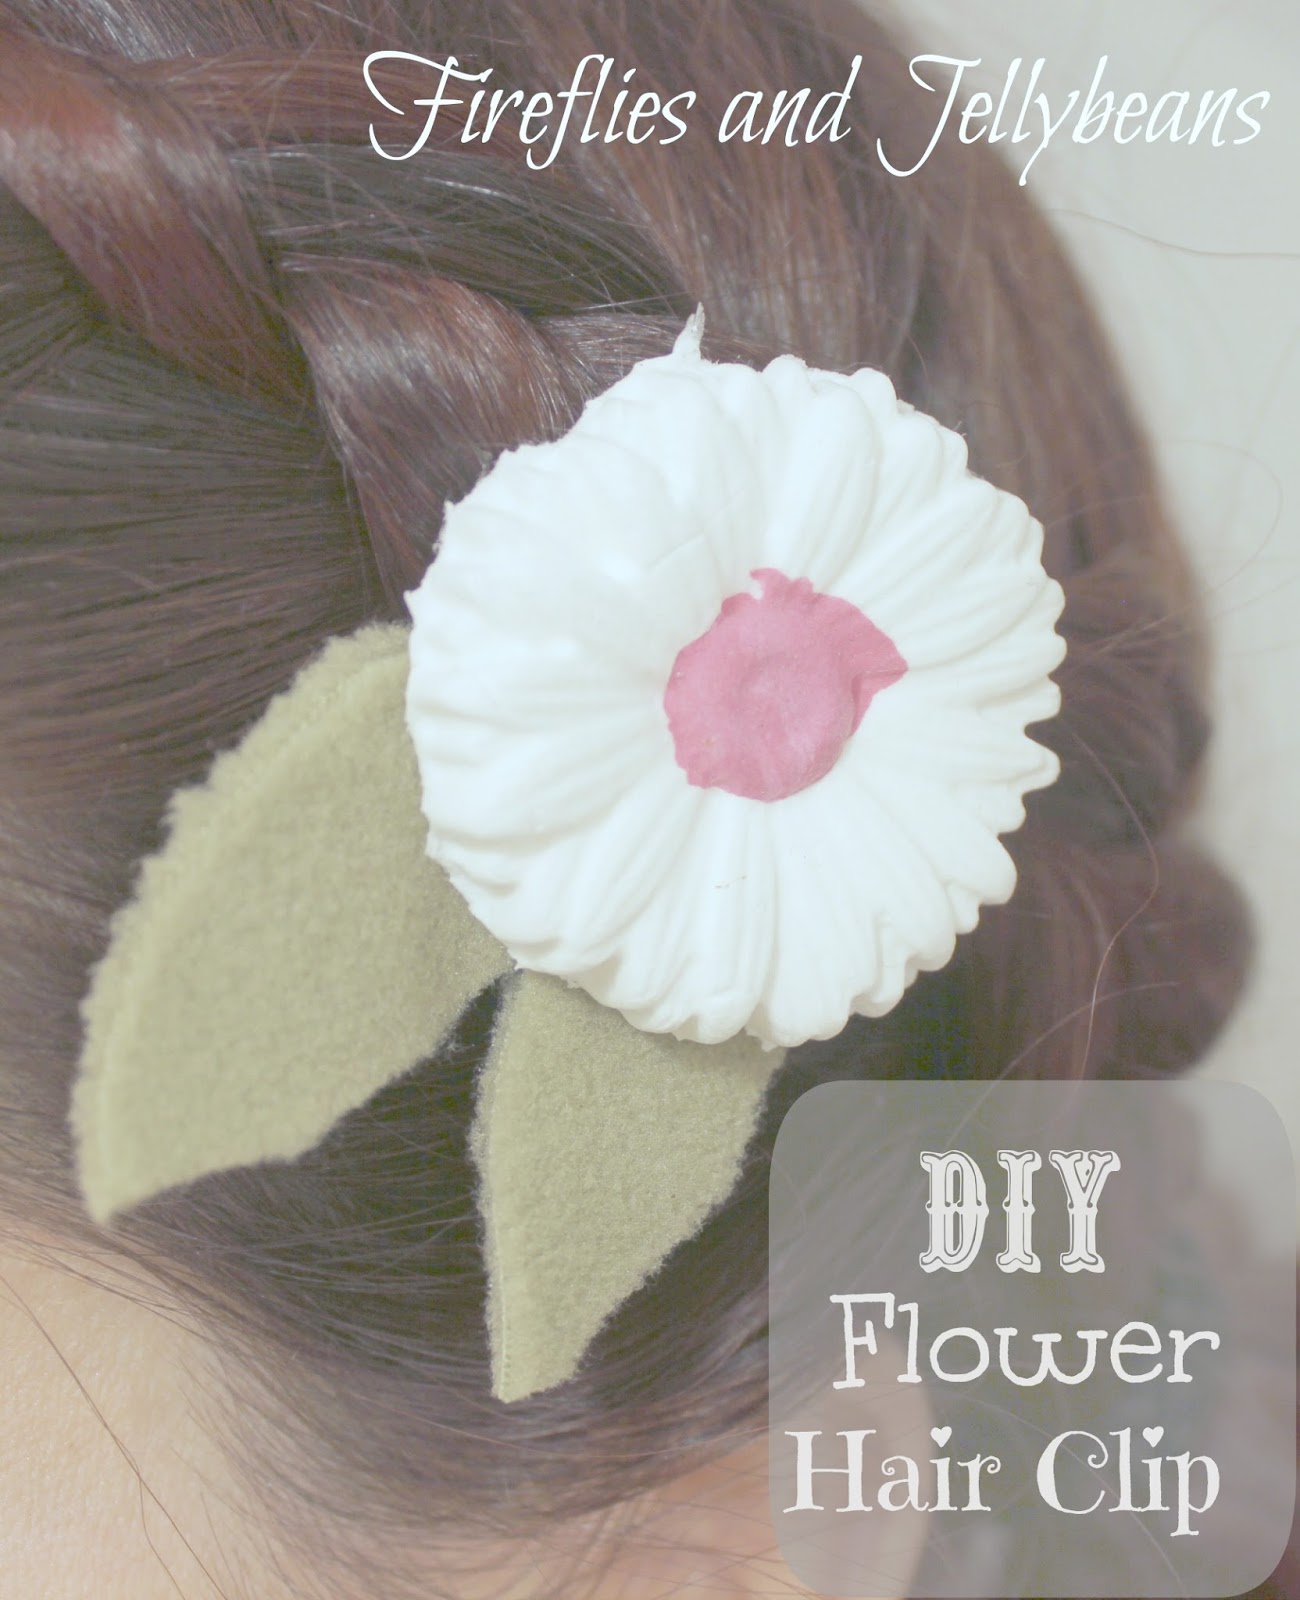
To make your flower into a hair clip:
1. Create your clay flower (let dry for 24 hours) and cut out some leaf shapes plus a circle and small rectangle (to fit your hair clip) out of felt.
2. Use hot glue to attach your leaves to the back of the flower.
3. Hot glue your circle over the the leaves.
4. Clip the felt rectangle in the hair clip and hot glue on top of it.
5. place the flower on the clip and let the glue set.
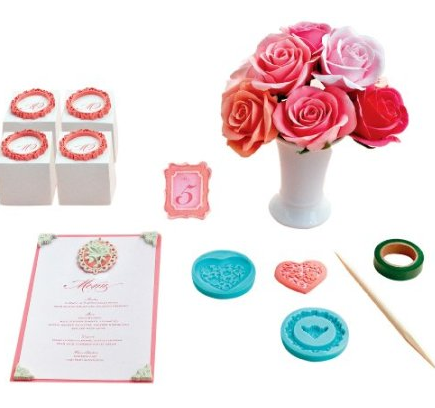
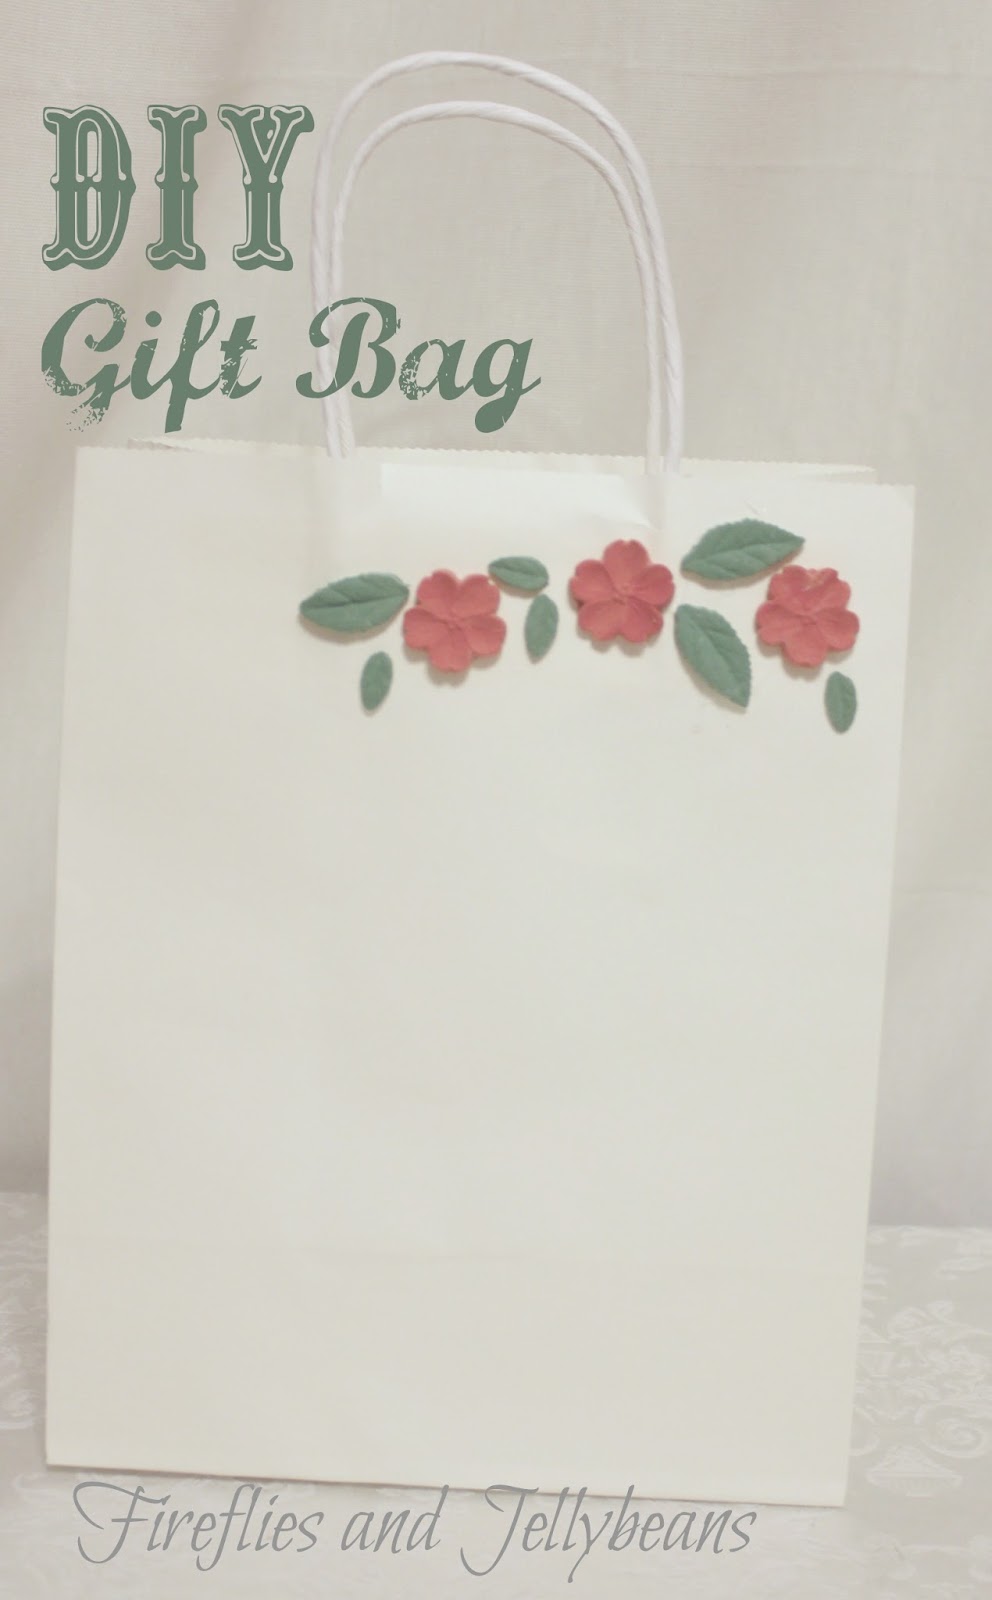
Use your clay molds to spruce up a gift bag...just hot glue your pieces to your bag!
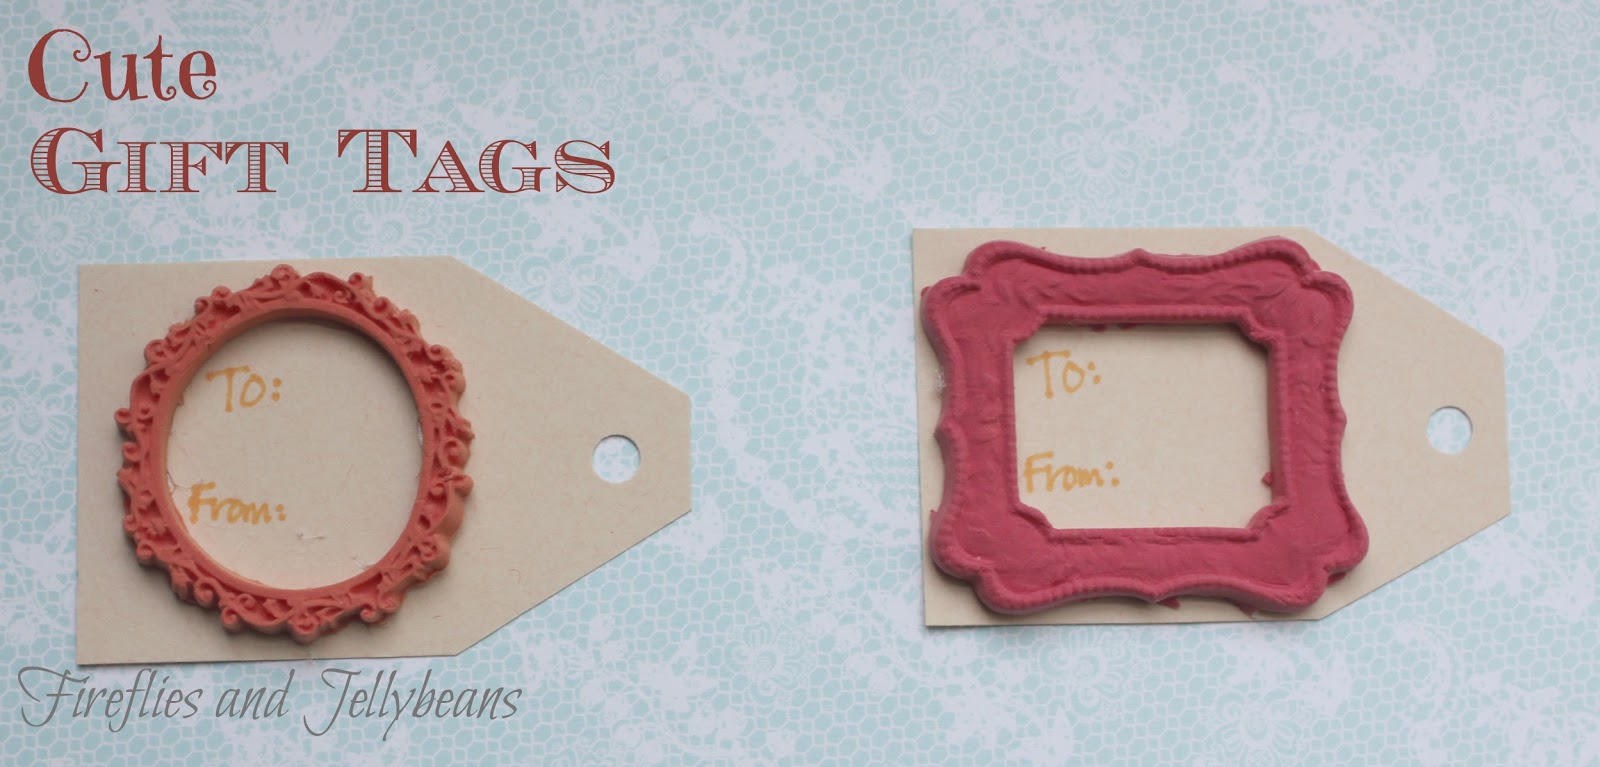
They also add a cute dimension to gift tags too!
Check out more fun projects on the
12 Month of Martha Pinterest board!
***Disclosure: I was supplied with the Martha Stewart craft supplies but my opinions are always honest!***