Friday, April 6, 2012

Last minute Easter Card {Tutorial!}

Did you know that our very first craft on F&J was an Easter Egg card?  Yep.... a little over 3 years ago this is the craft that launched me into the craft blog world.  It is super easy to make and I thought I would share it as a last minute Easter Idea for you!  So here is my very first post on F&J  re-posted just for you!


Materials:
Scissors
hole punch
Scoring tool (I use a ruler and a skewer)
Plain Card stock
Strip of decorative paper
Ribbon
Pencil
Marker


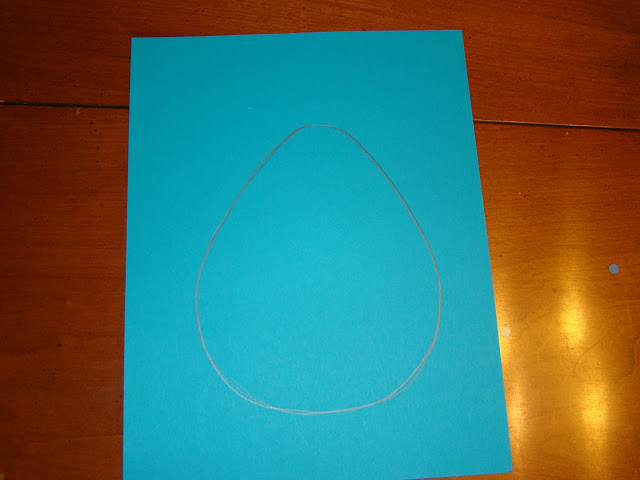
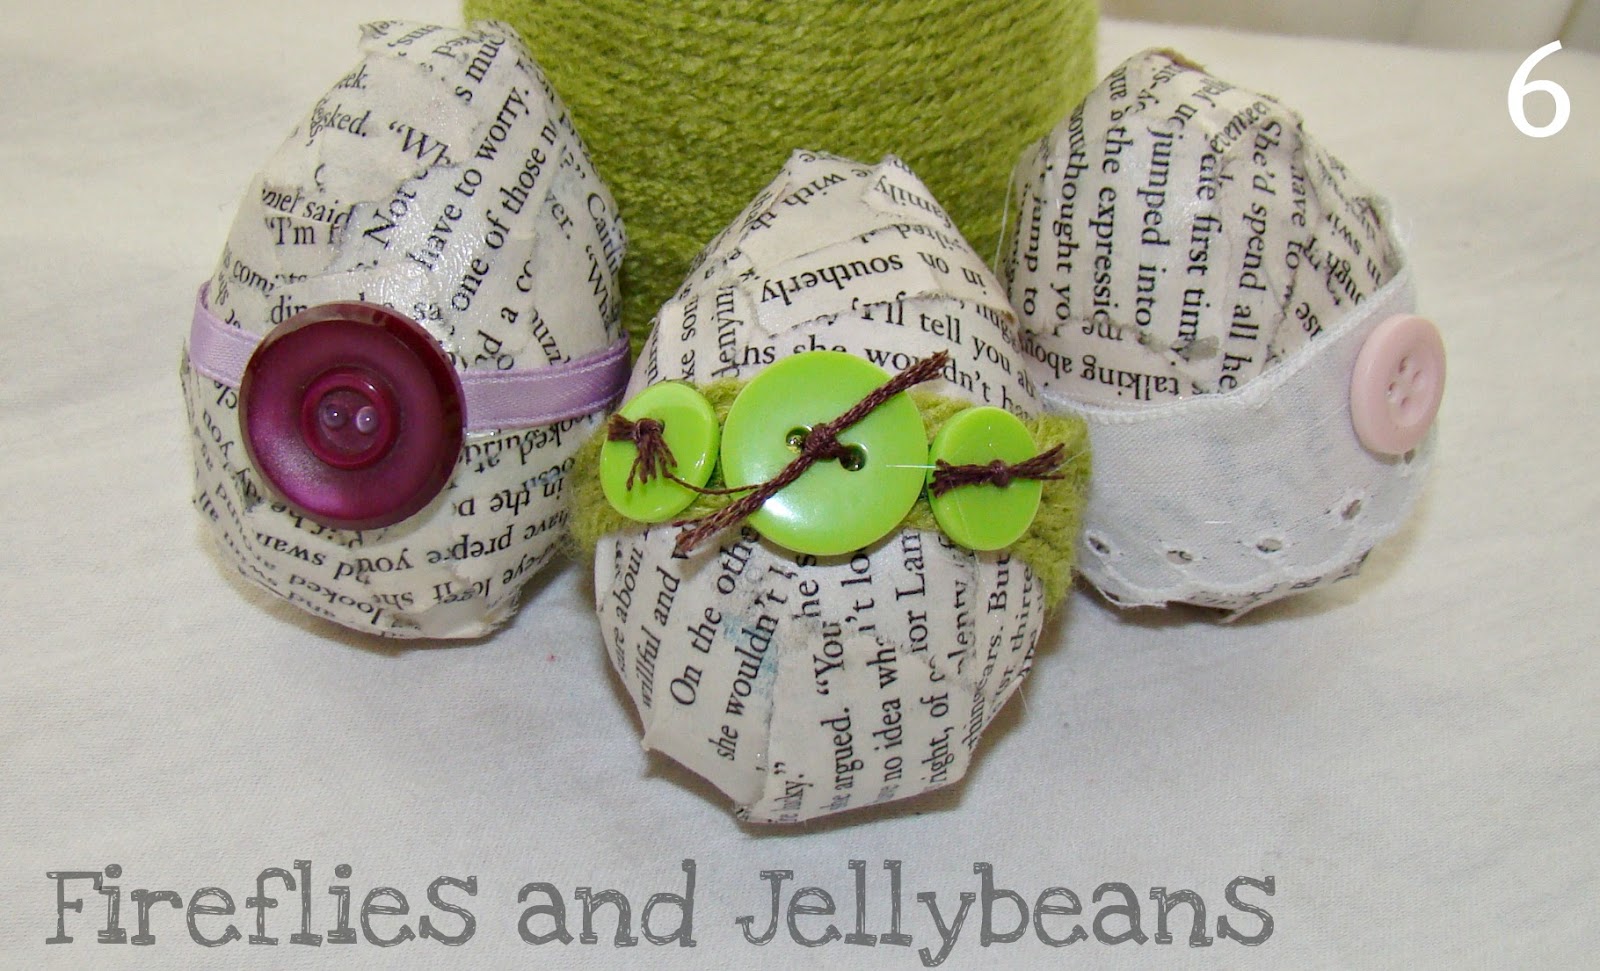
1. On the card stock draw an egg shape:
2. Cut out the egg shape

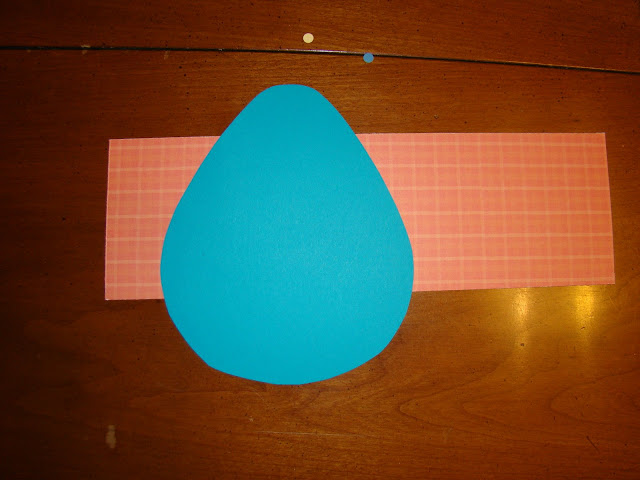
3. Place your strip of decorative paper upside down, place the egg shape on top of it and trace around the outside of the egg shape
4. Cut out on the lines that you traced on the strip of decorative paper
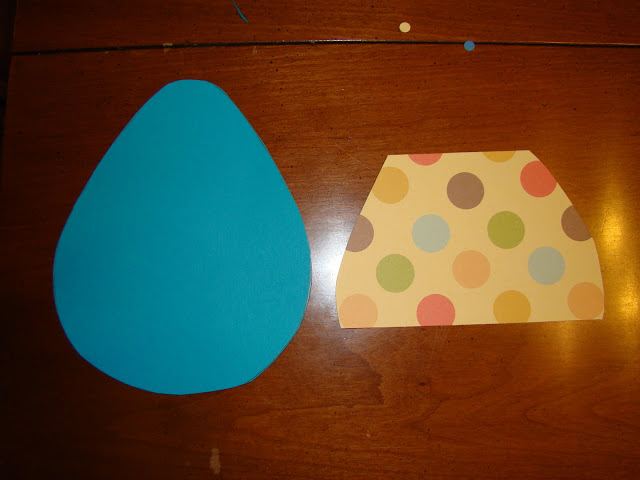
5. Place the strip on to your egg being careful to line up the edges
6. Use your scoring tool to score a straight line for the fold. I use a ruler and the pointed side of the skewer to make my score. Be sure to leave enough room for you to punch 2 holes on the other side.
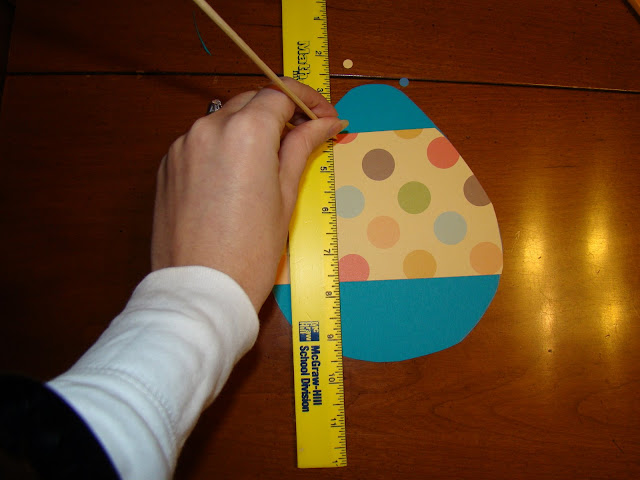
7. Punch two holes through both layers
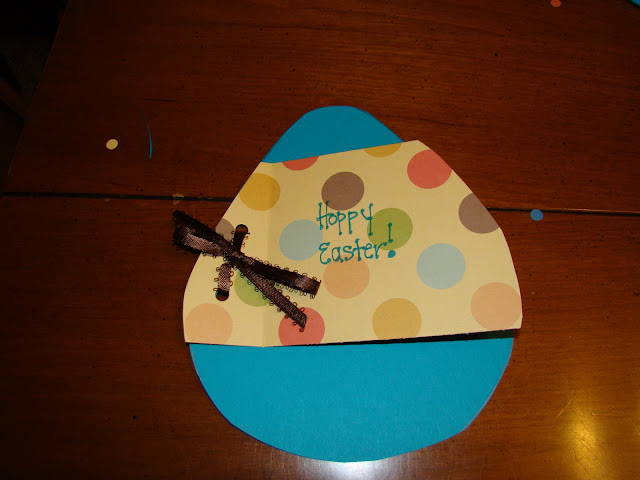
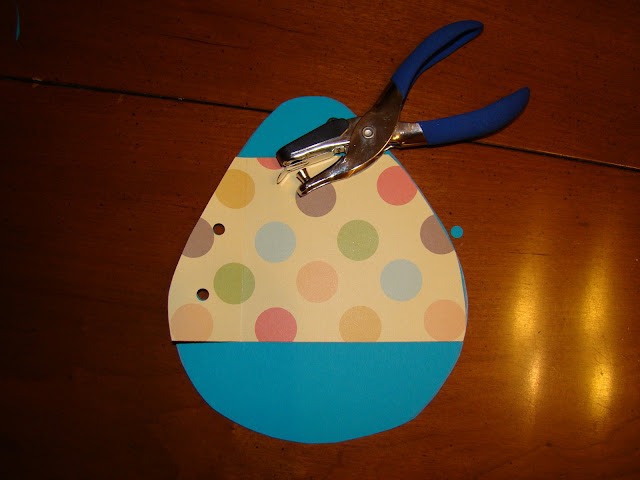
8. Tie a ribbon through the two holes to attaching the top paper to the bottom paper. Write a creative greeting on the front. I am not creative so I wrote "Hoppy Easter!"


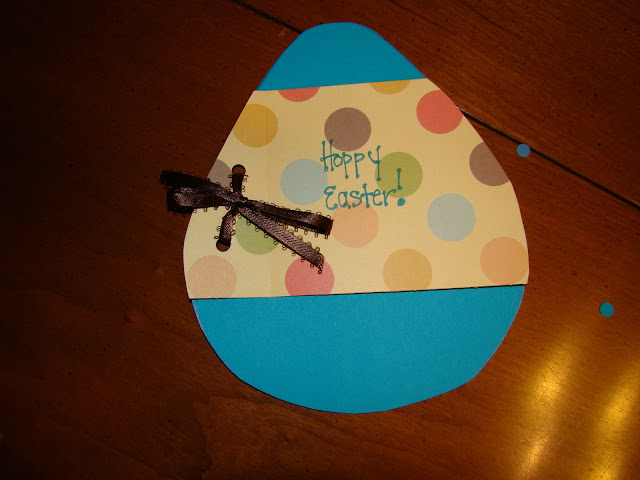
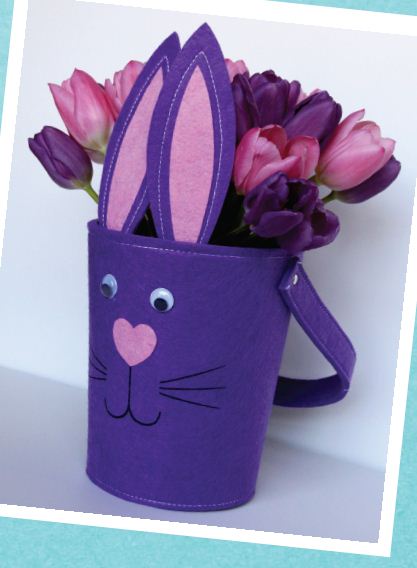
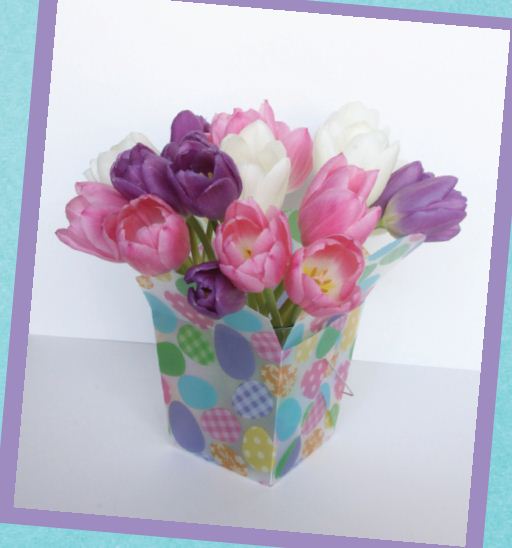
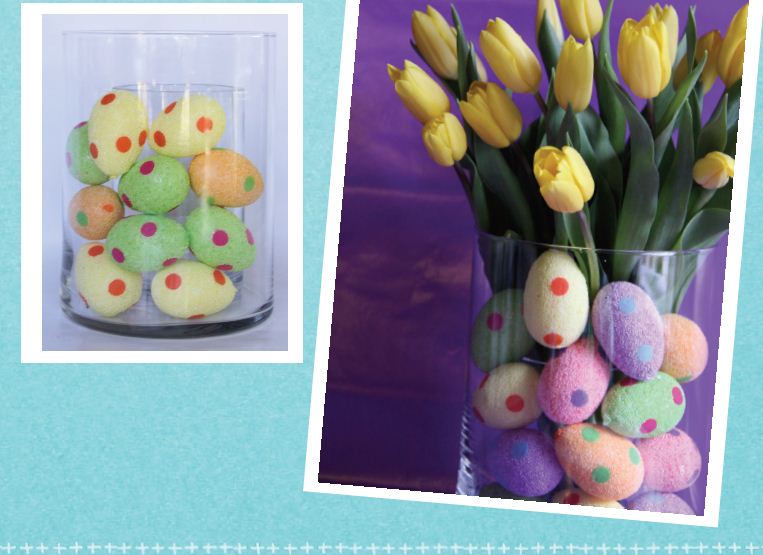
Here are some more last minute Easter crafts you can make:


Wednesday, April 4, 2012

Show Off Your Stuff Party # 121

Hello and Welcome to our Show Off Your Stuff Party! 

 This week I am showing off: 

Let me know what you think:
I have been thinking of adding a "creative/inspirational writing" section to our show off your stuff party for our writers out there... what do you think?  Please comment below to let me know if you want me to add this! 

Do you want to make some money blogging?
  One site that I have found helpful in finding sponsors is Social Spark
They match bloggers with advertisers. You get to choose who you promote and how you promote it! It really is a win-win! 

Here is the run down:
1. Pay attention! There are 3 categories to link up:
Crafts and Sewing
DIY and Home Decor
Recipes
pick one and go with it!

{If you pick the wrong one... you can delete your own and add it to the right one! :) }

2. Add a link to your specific post, not the main page of your blog.

3. Please do not link up to something that you are just trying to sell.


4. Link to this party from your post so everyone can get in on the fun. You can just grab my button!


&

Tuesday, April 3, 2012

Because I have a lot of yarn....

I decided to wrap everything in it!

It started out with a wreath:

Then moved to a vase:


Then to more vases:


Then used to embellish eggs:

Then on to pine cones:

I also wrapped it around the a foam cone {on the left with the butterflies}....

Nothing is safe from my yarn.... what will I wrap next???  Am I obsessed?  Or it is cute?  What are your thoughts?


Monday, April 2, 2012

Yarn Wrapped Pine Cones {tutorial!}

My son found these pine cones at the park and had to bring them home.  I saw my green yarn and inspiration took over.  I mean, isn't everything cuter with yarn wrapped around it?!

Here is what you will need:
Pine Cones
Yarn
Spray Paint
Hot glue

First spray paint your pine cones.  I did one side- let dry, and then flipped and did the other.

Then Wrap your yarn around the end:
1. Big blob of hot glue on the tip and coil your yarn around it the blob. 
2. Then make a line of Hot glue down the side.
3. Wrap your yarn around the side on the hot glue you just made.
4. Tuck the end inside one of the pine cone bristles to hide, it.

Display on your spring mantel.


&

Sunday, April 1, 2012

Totally Tulip-tastic! Using Tulips in your spring decor.

This is a Sponsored post written by me on behalf of iBulb for SocialSpark. All opinions are 100% mine.
I love tulips. They are my favorite flower! It might be because they are some of the first flowers to bloom in spring. After a long winter it is so nice to see that bit of color. I also love the simplicity of them.  I love to use cut tulips in my spring decor around my house.  Tulips make a great addition to a gift too.  Fresh flowers are such a nice touch.
Tulips are easy to find at your local flower store or at most grocery stores as well. They are also easy to take care of.  Just need to keep them in a vase of water and they can last up to a week.
Here is an easy way to display some tulips at you home:
Here is what you will need:
Tulips
Yarn
small milk bottle or bud vase
Hot glue/gun
Button Embellishments
1. Place a line of hot glue on your vase where you want your yarn to go.
2. Quickly, while the glue is still hot wrap yarn around the vase the length of the line of glue that you made.  Keep your yarn wrapped close together.
3.. Use hot glue to attach your button embellishments
4. Repeat for as many small vases as you like.

They make a great addition to a spring mantle or vignette
Here are some more fun ways to decorate with tulips:
Put a small vase filled with tulips inside a felt Easter bucket... I have seen some cute ones at Target's dollar spot!

Put a small vase of tulips in a spring decorated take-out boxes (available at most craft stores)
Use two vases, one small and one large.  Place the small vase inside the large vase and use some of your Easter decor as filling around.  Place the tulips in the smaller vase.  The possibilities are endless here!
How do you like to decorate with cut tulips?

Content Ad