Wednesday, December 21, 2011

Magnet Picture Frame (Tutorial)

I am so excited to show you the gift I made for the grandparents this year!
 {Check out more homemade gift ideas HERE!}

It is a Magnet Picture Frame!
To make this I used:
A Cupboard door
Primer
Paint
Aluminum Mesh
Sheet Metel
Rivets
Digital Word Art from Creation Held Captive

Here is how I made it:
I primed the outside of the cupboard door.  Since I was going to remove the inside panel, I did not waste the time or the paint on it.
 
I painted it and sanded and used stain to distress it.
 
My Hubby helped remove the panel.  He used a utility knife and a chisel to remove it.  He cut the aluminum mesh to fit the panel and fit it into the grooves.  We got the mesh from Home Depot.
 
We were hoping that the magnets would work on the mesh... but they did not... so plan B came into play.  I had small sheets of sheet metal and we attached them to the mesh.  
First we drilled holes in each corner.
And then we used rivets to attach them to the mesh.  I love the industrial look it gives!  Rivets are really easy to use.  You place the rivet in the hole and use the rivet gun to clamp the pieces together.  You can find rivets and a rivet gun at any hardware store.
 
Jeannine creates really cool word art... and I totally wanted to use it for this gift.  She is now offering digital prints!  Click HERE for more info!   I got the letters for "GRANDKIDS"
I used Mod Podge to attach my letters to the top of the frame.
I added some magnets and pictures to complete the gift! 


Tuesday, December 20, 2011

Christmas Challenge: Homemade Christmas Gifts

Less than a week left! Do you have all your Christmas gifts??? Here are some quick ones that you can wipe up this week!


Now I am ready to see yours!
Link up HOMEMADE CHRISTMAS GIFTS ONLY!! All others will be deleted!


Monday, December 19, 2011

Tree Wall Art {Tutorial}


We have a wall air conditioner in our bed room. It lets in a draft during the cooler months. So my hubby made a cover for the inside to make it more weather proof. We decide to make it a piece of art since it will be hanging on our wall for half the year.

Here is what I did:
I used Dutch Boy Lamb's Wool Pant (It is a warm white color), My Purdy Brush and my Rockler Bench Cookies with Cones to paint over my surface to give me a nice canvas.

I wanted to have a mat look so, I marked off my lines with painter's tape.

To help seal out the other color from getting under the painter's tape I painted over the edges of the tape with my background paint.

To create my art I poured my green color (the same color as the wall) on a plate along with some white.  I then created an Ombre` effect by gradually added white to the green as I worked my way down the side.  I also wanted the texture of the circles so I used thick amounts of paint and swirled the brush.

I did the same thing with the inside rectangle.

To create the tree I used Elmer's Painter's Markers.  The markers give me more control.  I made a sketch of what I wanted the tree to look like on paper first and used it as I drew on the tree on.  I free-handed the tree.  First I drew in the branches

Then, I drew in the leaves (in orange) and acorns (in yellow).

I wanted to make the inside rectangle more contrasting to the mat so I decided to put some stain over the top of that part to make it look darker.  I taped paper towels around the edge so that no stain would get on the out side edge.

I created my stain with paint in water (75% water, 25% paint)
I brushed it on the stain.
Then I wiped it off with a paper towel.
I repeated until I liked the color.

I took off the paper towels and let the paint dry.

I used a razor blade to cut around the edge of the painter's tape to get a clean edge.


Here it is hanging up on the wall.


Sunday, December 18, 2011

Peppermint Tulle Twist Trees for the DIY Club

Here is my latest craft for the DIY Club!
Tulle Twist Christmas Trees
Here is what you will need:
Styrofoam Trees
Tulle in 3 colors
Hot Glue gun with hot glue
Ribbon {not pictured} 


Find the FULL TUTORIAL HERE!


Wednesday, December 14, 2011

Show Off Your Stuff Party # 105

Welcome to the Show Off Your Stuff Party!


This week I am showing off:
My Christmas Decor and Tree
{Link up your Christmas Decor and Tree ides here!}
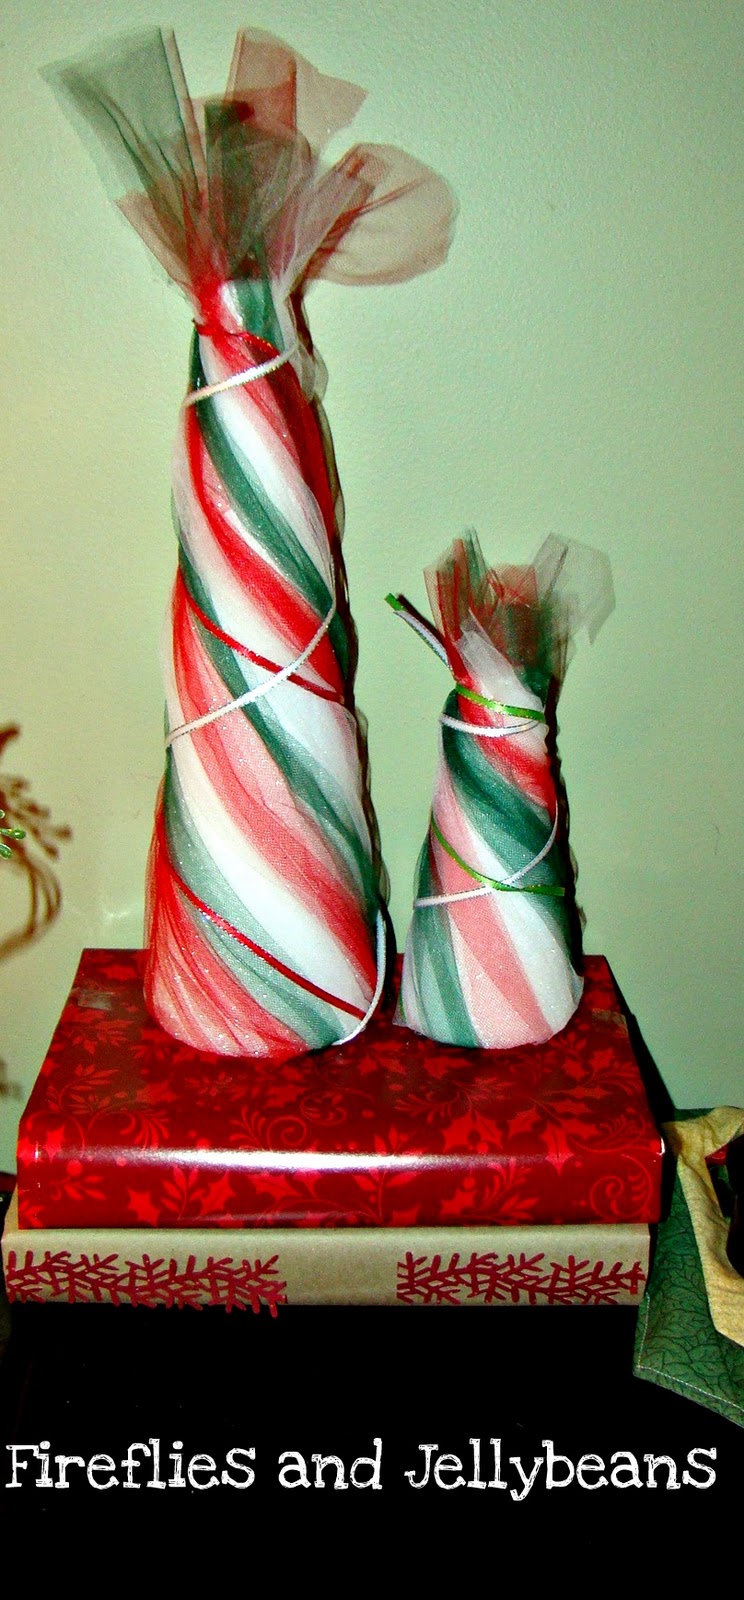
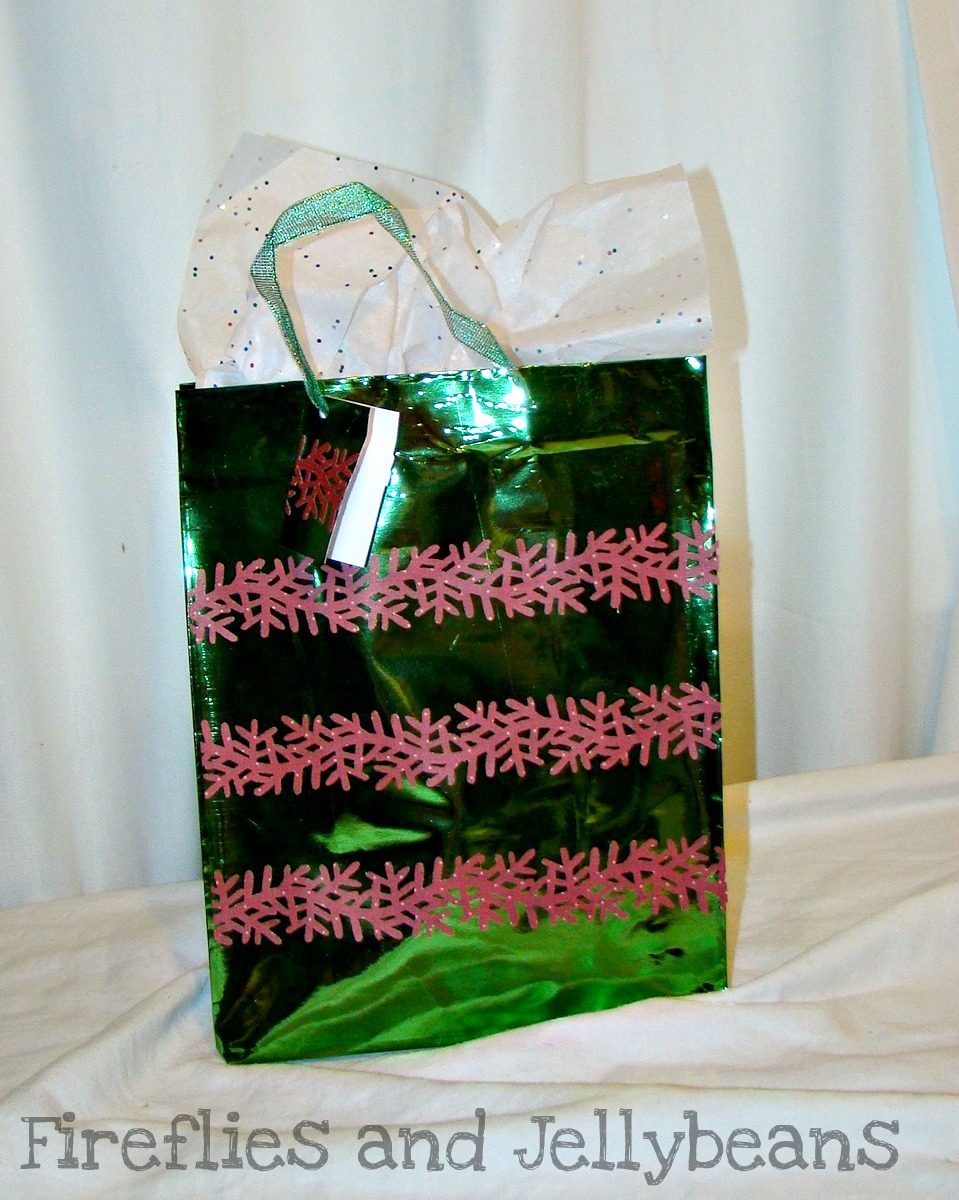
Gift Wrap ideas

Don't miss out on our Party Lite Giveaway!

Wanna make some money blogging?
  One site that I have found helpful in finding sponsors is Social Spark
They match bloggers with advertisers. You get to choose who you promote and how you promote it! It really is a win-win! 

Here is the run down:
1. Pay attention! There are 3 categories to link up:
Crafts and Sewing
DIY and Home Decor
Recipes
pick one and go with it!

{If you pick the wrong one... you can delete your own and add it to the right one! :) }

2. Add a link to your specific post, not the main page of your blog.

3. Please do not link up to something that you are just trying to sell.


4. Link to this party from your post so everyone can get in on the fun. You can just grab my button!


&

Content Ad