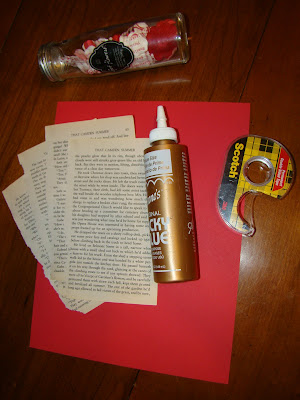
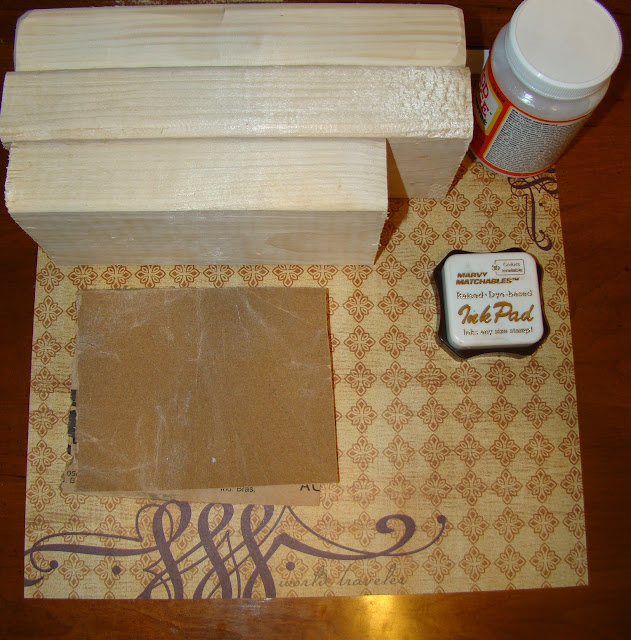
Here is what you will need:
3 Wood blocks (I used a 2X4 cut to these lengths: 6.5, 8.5 and 8.5 inches)
Paint
Scrapbook paper
Computer
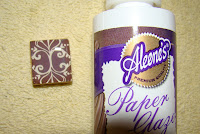
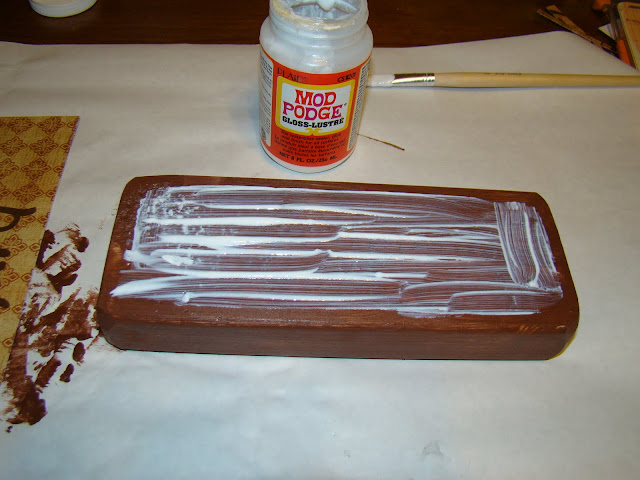
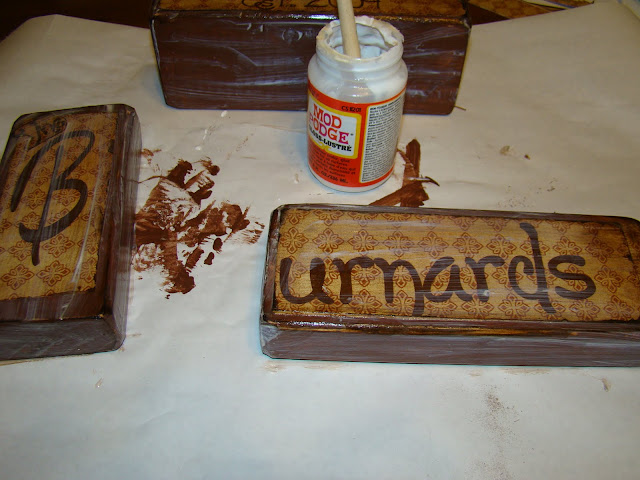
Mod Podge
Sand paper
Ink (or stain) for distressing
Power sander (Optional)
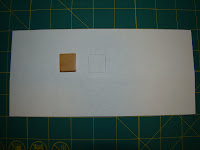
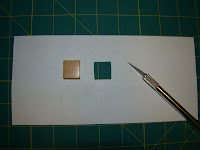
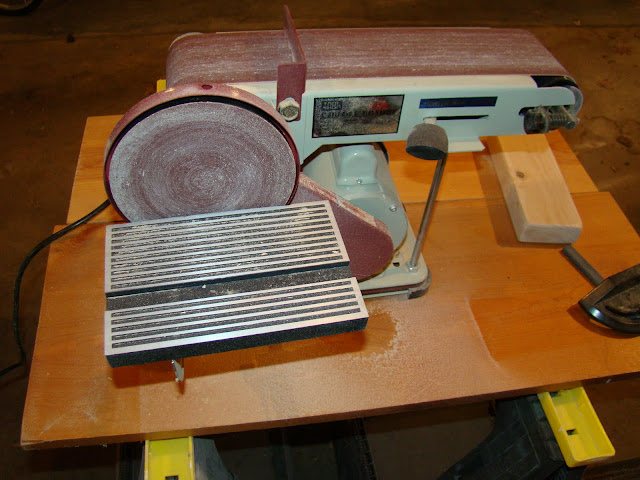
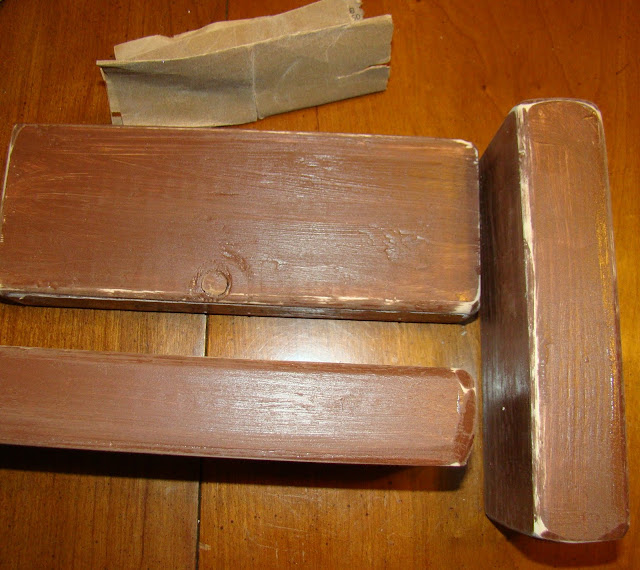
1.Sand down your wooden block so that the sides and corners are all smooth.
I used a POWER sander.
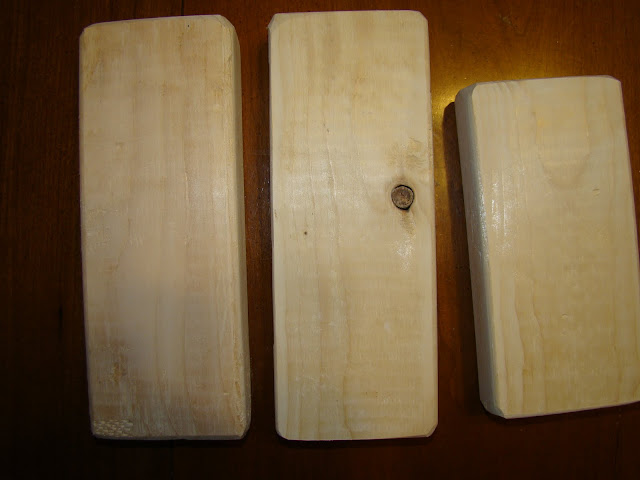
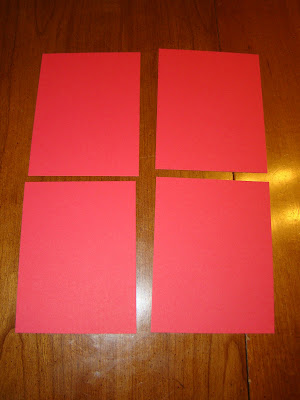
2. Paint all the sides of your blocks and let dry

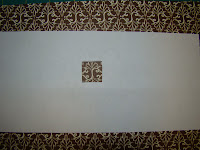
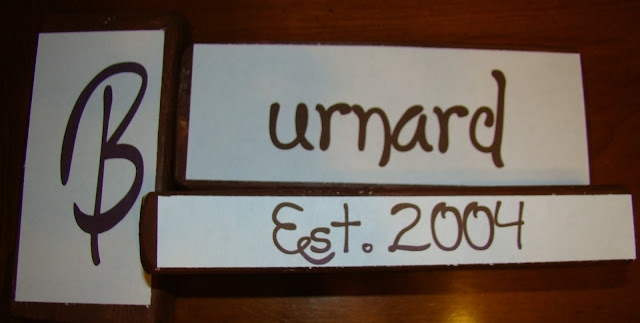
3. Now here is the cool part! I printed the name and year established out on my computer... I first did a practice one on regular copy paper and then when I got the size right I printed it on my scrap book paper. There are lots of cool fonts you can download for FREE online (You can google "free fonts" and lots of sites will pop up... I really like: 1001 Free Fonts) It took me a couple of practices ones before I got the right size that I liked. Trim your scrapbook paper to 8.5X11 and put it in your printer when you are all ready. I used 2 pieces of scrapbook paper for it all to fit.
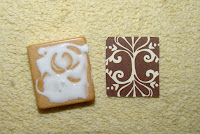
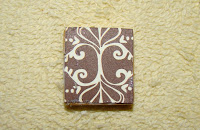
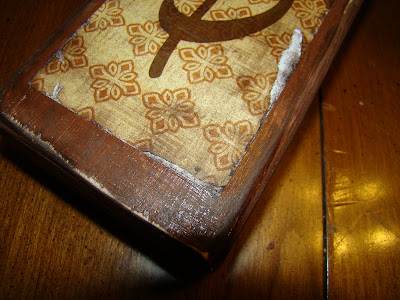
4. Once you have the words printed and cut out use the Mod Podge to glue it to the font sides of your blocks.
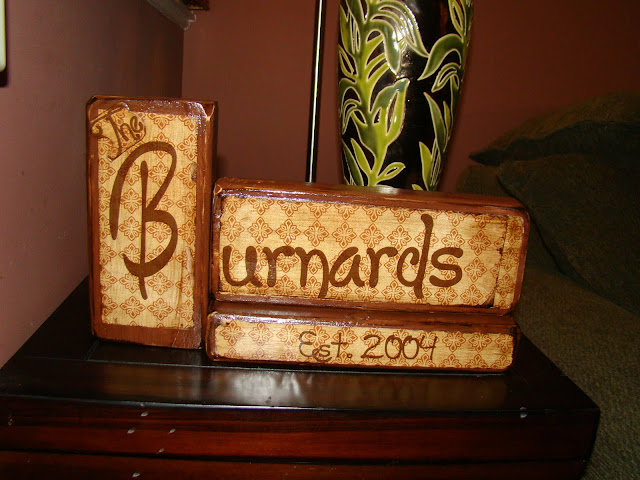
- I glued the first letter of the last name to the 6.5" block on the 6.5" X 3.5" side of the block
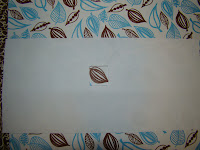
- I glued the rest of the last name on one of the 8.5" blocks on the 8.5" X3.5" side of the block
- I glued the Est. year one the other 8.5" block on the 8.5"X1.5" side of the block
- Let dry
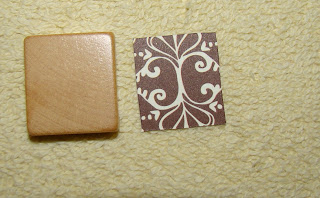
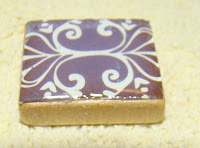
5. Use your sandpaper to distress your edges and corners of the front and sides of your blocks.
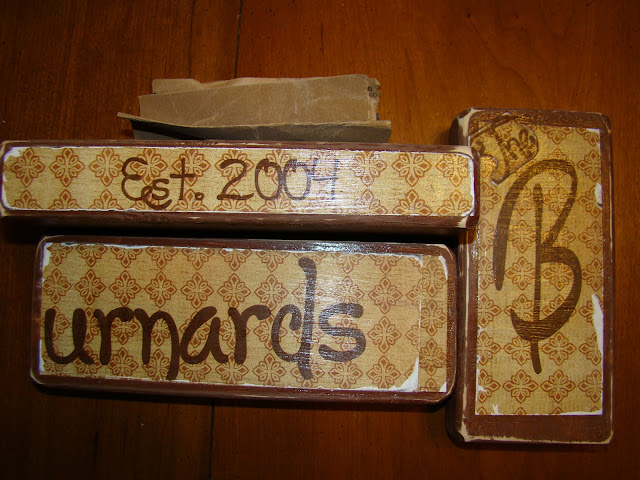
6. Use your ink or stain to the edges and corners that you just distressed.

7. Paint Mod Podge over all the sides of the blocks to seal and finish it!
It makes a great wedding or house warming gift!
**For Personal use only! If you don't want to take the time I am selling CUSTOMIZED name blocks at my Etsy shop: Funky Joy!**
I am linking to these parties!