Showing posts with label repurpose. Show all posts

Thursday, April 26, 2012

Reduce, Reuse, and Recycle! Taking Care of our Planet.

This article is sponsored by DASANI.  All opinions are 100% mine.

This past Sunday was Earth Day!  A day to remember to take care of our planet.  We try to do our share by recycling our paper, glass, cardboard and plastic.  I try to re purpose items into crafty projects.  And we donate many of our things that we do not use.  How did you celebrate Earth day?  

DASANI's is celebrating our earth by creating a new bottle that is made up of 30% plants... HOW COOL is that!! 


 DASANI is now served in PlantBottle® packaging. Plantbottle is the award-winning bottle made from up to 30% plants sourced from sugarcane by-products from Brazil. Brazilian sugarcane is considered an “Advanced Renewable Fuel” by the EPA & is the only first generation biofuel widely recognized by thought leaders globally for its unique & social performance.  Learn more About PlantBottle® 

In addition to saving energy, PlantBottle is 100% recyclable and DASANI has optimized the bottle design for ideal recycling including the cap, label, inks & glues.

DASANI believes in not only promoting the recycling of its bottles, but also promoting the many cool items the recycled bottles can become. That’s why we partner with companies with similar mindsets, such as New Balance.

DASANI and New Balance have partnered together for the launch of newSKYTM, a line of footwear made from recycled plastic bottles. Together, we are working to both show consumers that there can be all kinds of exciting ways to recycle materials into new uses, and that we all need to do our part in protecting our environment. Check out DASANI's Partnership with New Balance


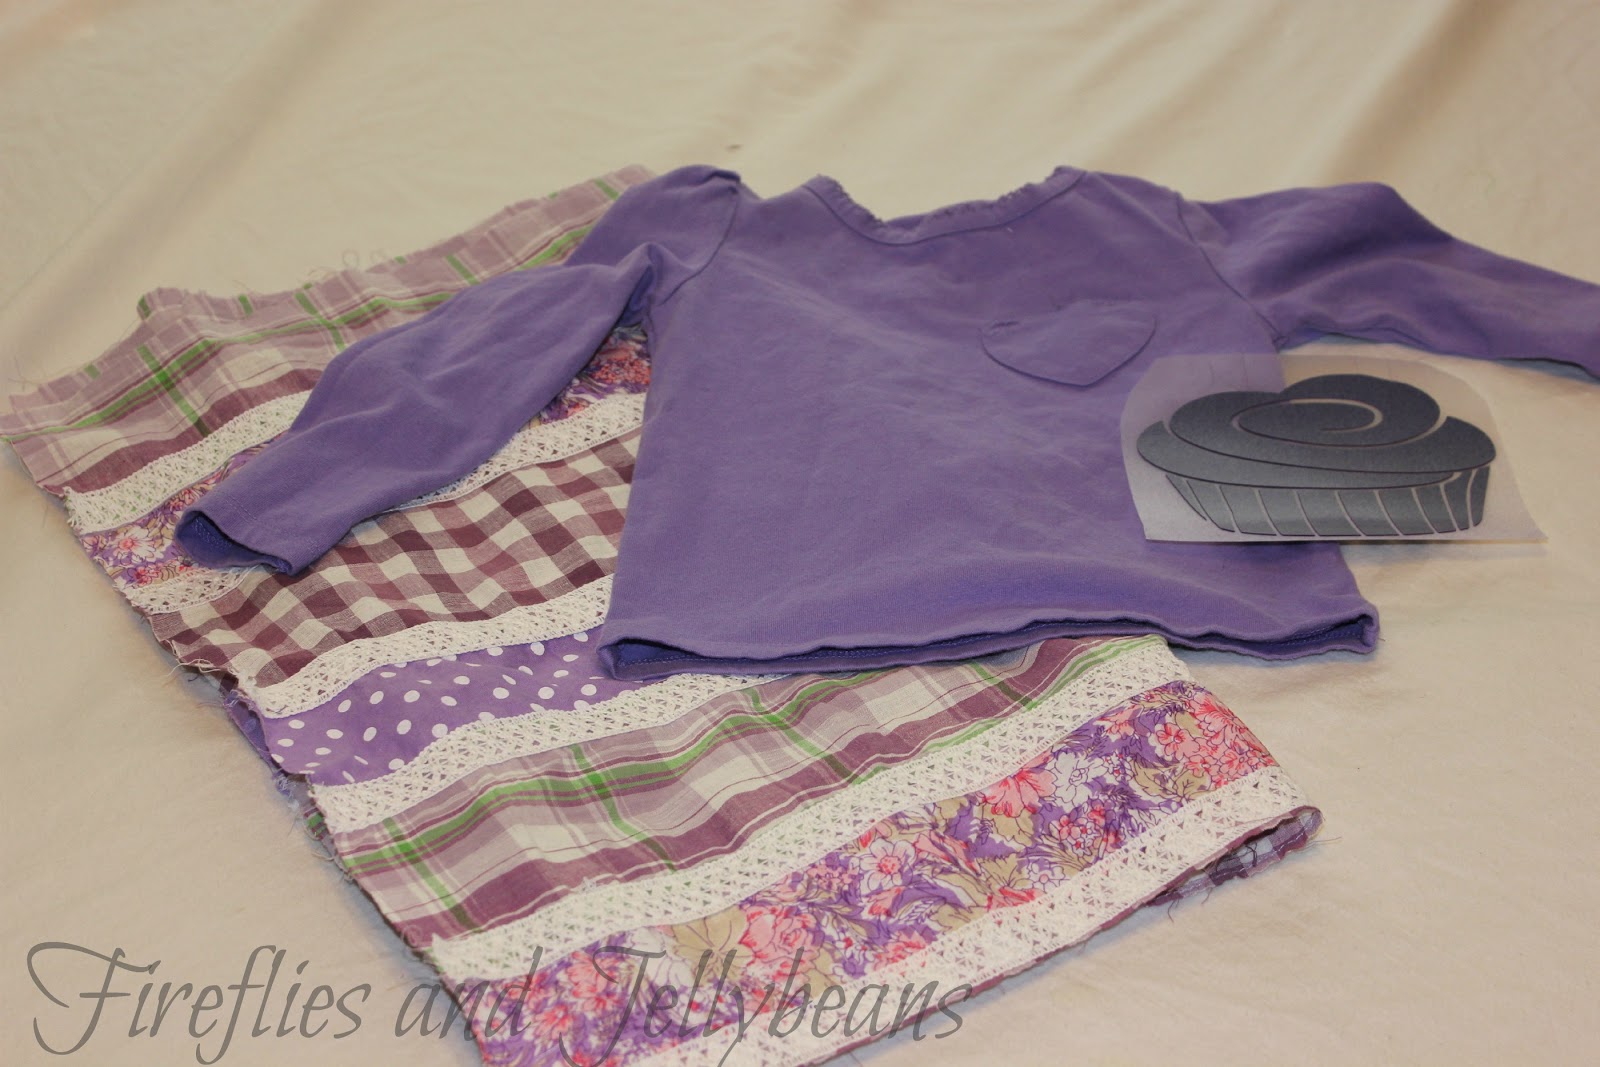
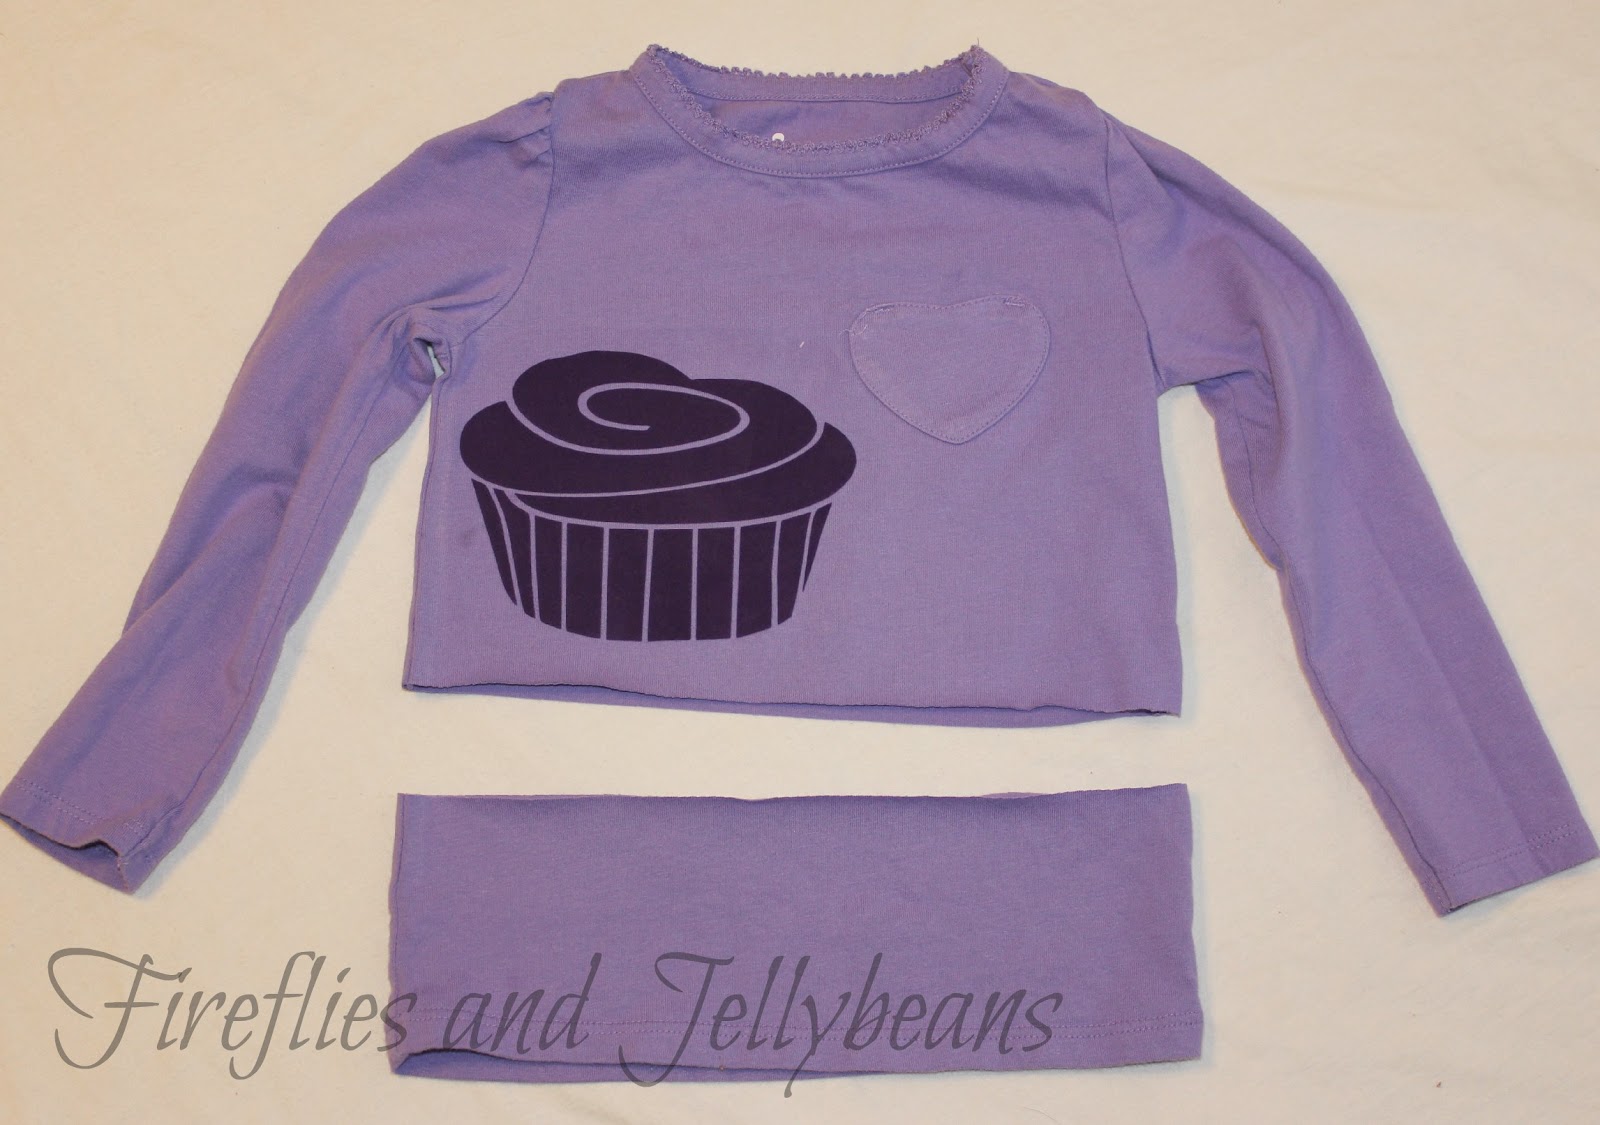
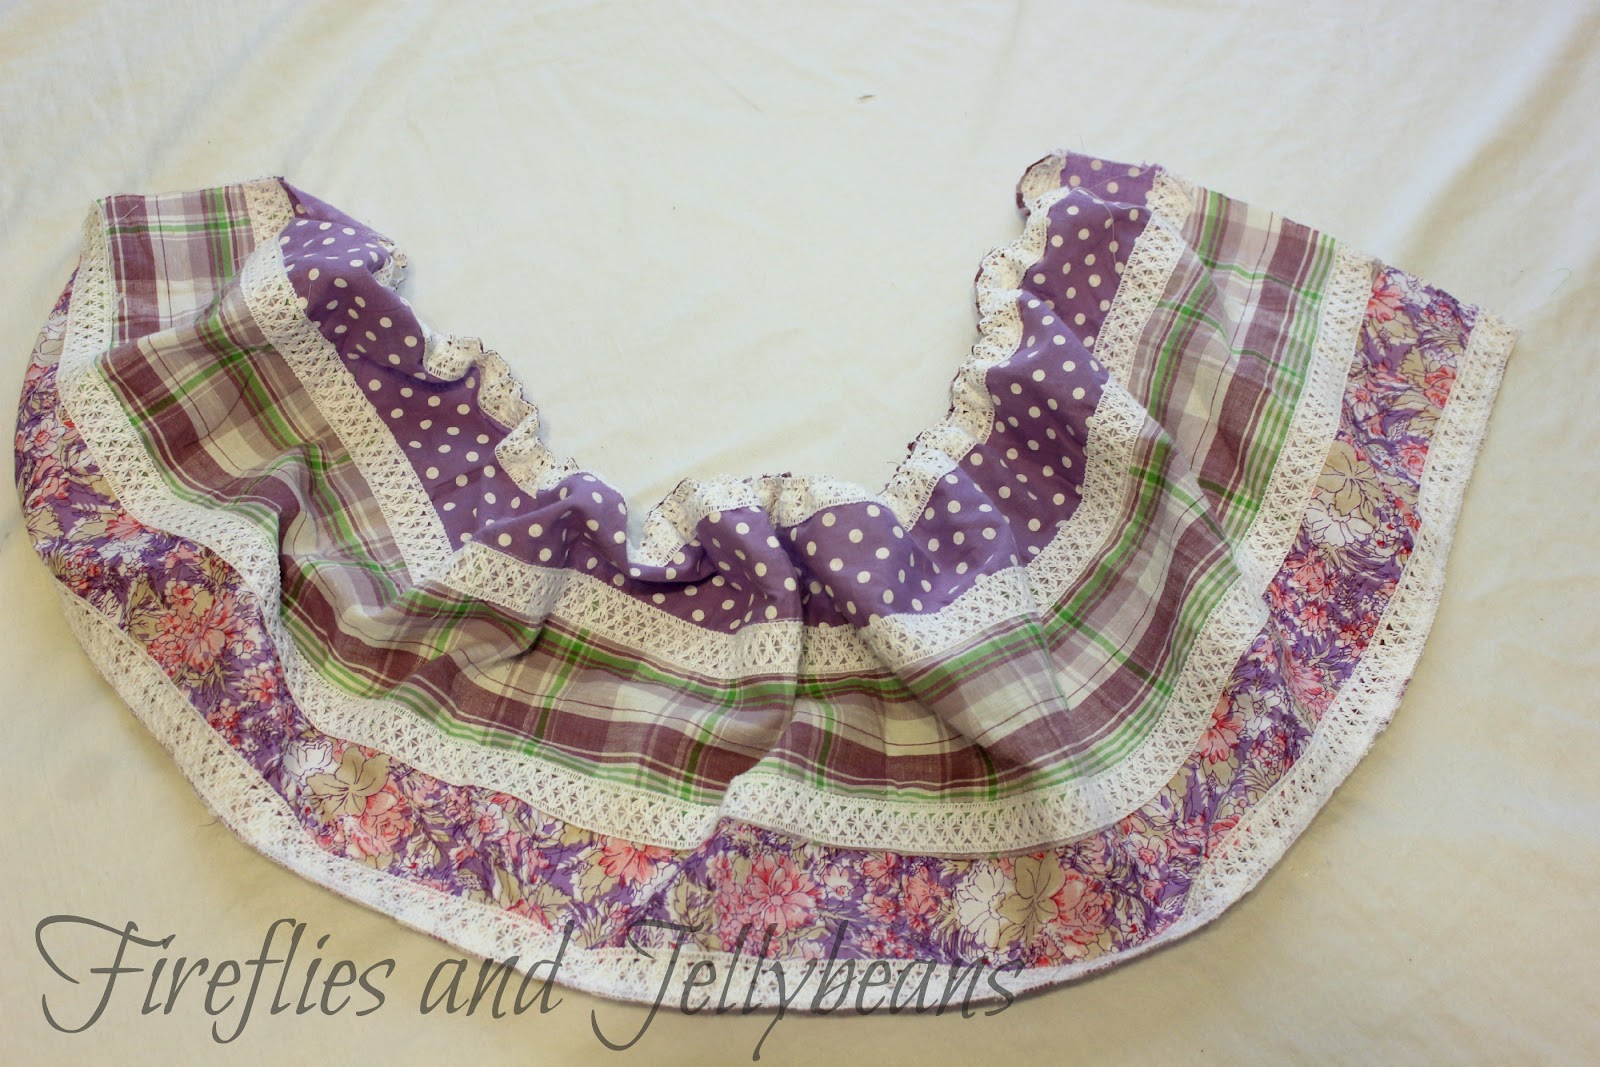
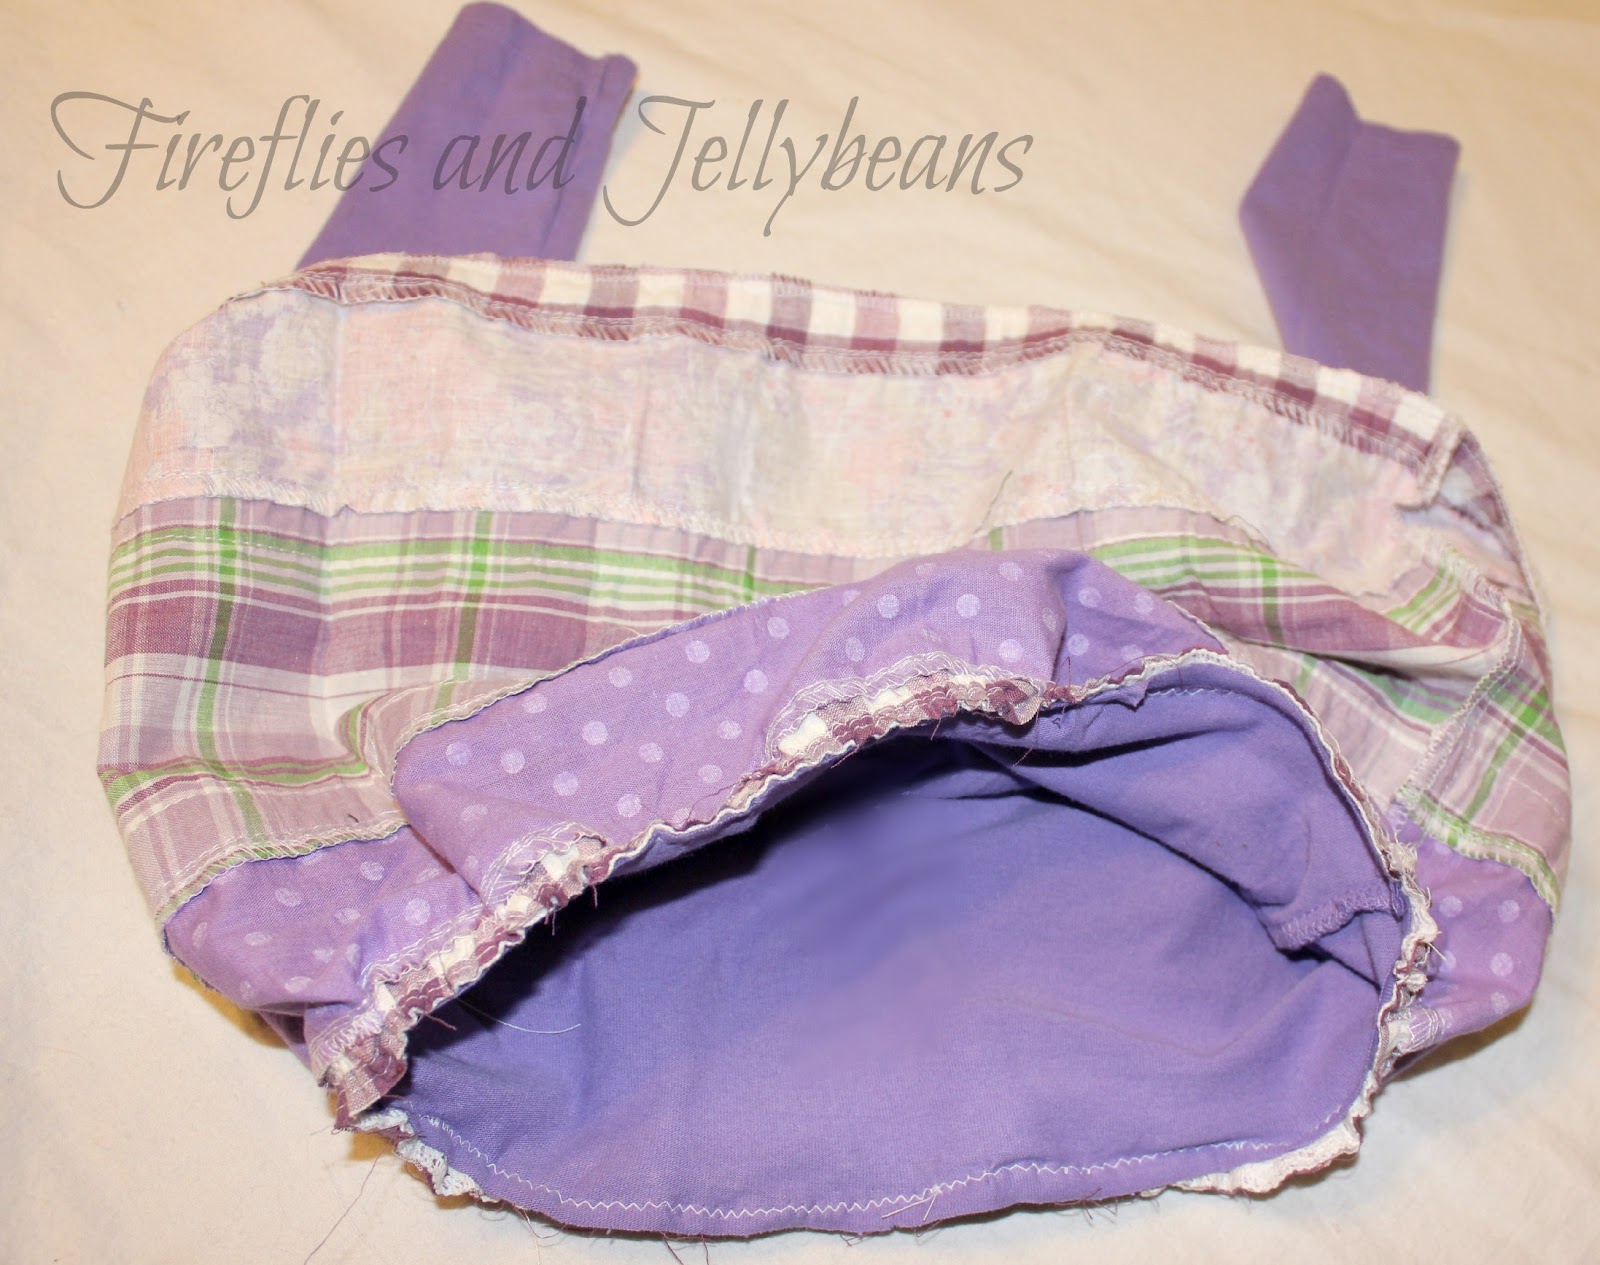
Now talk about re-purposing... I have done my fair share of re-purposing around here, but I have never made a plastic bottle into shoes!  That just blows my mind!  SO COOL!

To celebrate recycling, reusing, and re purposing we are going to host a Recycle/ Re-purposing Linky party on Monday!  
Get all you best recycling project and your re-purposed crafts ready to link up on Monday May 1st!!   In the meantime... check out this awesome video to get inspired!  Click on the link to be taken to the video: New Balance newSKY Shoes


Keep up with the latest news and deals at DASANI's Facebook Page

. &

Tuesday, April 24, 2012

Simple Party Dress Tutorial

We celebrated my sweet daughter's 2nd birthday this weekend!  Time is going too fast for me!  We decided to have the party at an indoor play park the Eagles Nest.  So, I needed a simple, cute party dress that could also be a play dress.  And it is easy to make too!

Here is what you need:
Fabric*** (for my size 2T dress I used > 1/2 yard)
T-shirt
Iron-on Vinyl Decal (optional!)
*** this fabric came from Joanns and it was already pieced together with the lace.  It was like $12 a yard but I used my 40%  coupon and only got 1/2 yard so it wasn't too bad!

1. Iron on  your vinyl decal (I cut mine out with my Silhouette and I got my flocked vinyl from Expressions Vinyl... they have AWESOME cheap prices!) 
2. Cut off the bottom of your shirt.  It is up to you where you want to cut it. I made sure I had enough room for my cupcake before I cut my shirt. 

3.To make the skirt.  Cut out a rectangle out of your fabric.  The length is up to you.  The Width should be 2X the circumference of the bottom of your shirt for make a good ruffle.  Finish the bottom edge of the skirt. I surged it, but you can also hem it or leave it to fray... up to you!  Use this super easy ruffle technique from MADE (I totally use the cheating way) to gather the top edge.

4. Sew the sides of the skirt together to make a tub and sew right-sides together to the bottom of your t-shirt

Optional: make a cute headband to match! 


Totally prefect for our play-park party! 
My daughter's favorite color is purple so we threw a purple party, complete with a purple party dress!


Linking to:


Monday, April 2, 2012

Yarn Wrapped Pine Cones {tutorial!}

My son found these pine cones at the park and had to bring them home.  I saw my green yarn and inspiration took over.  I mean, isn't everything cuter with yarn wrapped around it?!

Here is what you will need:
Pine Cones
Yarn
Spray Paint
Hot glue

First spray paint your pine cones.  I did one side- let dry, and then flipped and did the other.

Then Wrap your yarn around the end:
1. Big blob of hot glue on the tip and coil your yarn around it the blob. 
2. Then make a line of Hot glue down the side.
3. Wrap your yarn around the side on the hot glue you just made.
4. Tuck the end inside one of the pine cone bristles to hide, it.

Display on your spring mantel.


&

Monday, March 26, 2012

Hooded Poncho Beach Towel Tutorial!

I wanted to get this project ready so that you have lots of time to make it for summer!  This is such an easy way to make a beach towel into a hooded poncho so that your kiddies stay warm at the beach and pool!   This hooded poncho beach towel will fit kids 1 -4 years old.

Here is what you will need:
1 Beach Towel
sewing machine with sewing tools

I got my towels from Target.  They have some cute ones for boys and girls!
***Note: I use a zig-zag stitch on all my seams for this project and my seam allowence is 1/4 inch***

1. fold your towel in half horizontally with RIGHT sides together.  Cut off the top part so that you have 21inches left on the bottom part.   Save the top part for later when we make the hood.

2. Finish off your edges either by using a surger or a zig-zag stitch.

3. We are going to create the opening for the head.  With your 2 bigger bottom pieces right sides together fold it in half vertically.  Mark with a pin at 5 inches from the fold.  Make sure that you make both sides of fold by pinning the top 2 layers together and the bottom two layer together (see picture below).

4. Open your towel up and pin out to the ends of the towel on both side... leaving the middle part open for the head hole.   Sew on both sides where your pinned but leave the head hole open!
Now it should look like this when you open it after you sew.

5. Now we are going to make a hood out of the part we cut off earlier.   fold the piece so that the finished edges are on the end.  Cut out a hood shape (use a hoodie sweatshirt or other hood for a template).  Pin and sew around the curve of the hood. 

6. Pin your hood to your head hole, lining up the middle part first and pinning out from there.  Make sure that you have RIGHT sides together.  Sew all the way around leaving and opening where the ends meet. 

7. Optional V-neck.  My son has a HUGE head (90th percentile) so I always create a v-neck to make sure the head hole is big enough (obviously this is NOT for my son... I just do it for everyone!).   Cut a slit a couple inches down the middle of the neck line of the front layer of the towel.  Fold over and sew for a finished edge (I used a zig-zag stitch).

Sew on a monogram applique and add some matching swimsuits for a cute gift!

Here is my son modeling the girl towel because I forgot to get a picture of the boy one before I gave it away!  Oops!  
My son is 4 years old and is average height and weight (50th percentile for both!) for a reference for size.

These two were gifts to two special and cute 1-year-olds!  I need to make some for my own kids now! 


Linking to:
Today's Creative Blog Home Stories A2Z

Monday, January 23, 2012

Tie Belt Tutorial

Today I have a SUPER easy project... It will take less then 15 minutes to make!  A cute tie belt.  

Here is what you need:
A tie {I grabbed mine from my hubby... yes, I asked first!}
A set of D Rings {found at the fabric store in the notions section}
Sewing machine with tread, scissors, etc...

I measured around my waist and decided to cut a couple inches of the SMALL side of the tie.  I didn't want it to hang down to far.    This is totally optional.
 Fold over the end of the tie 2 times so that you have a finish edge and make a loop for your set of D rings (you should have two of them.)and sew as close to the rings as possible.  I sewed a couple of times just to reinforce the seam.  {Might i suggest using a coordinating color Thead too!  White was already loaded in my machine so that is what I went with!}
DONE! 

It is such a fun accessory!

Linking to:


Todays Creative Blog
Home Stories A2Z

Content Ad