Showing posts with label fabric. Show all posts

Friday, November 30, 2012

Design your own Holiday Fabric with Tulip!

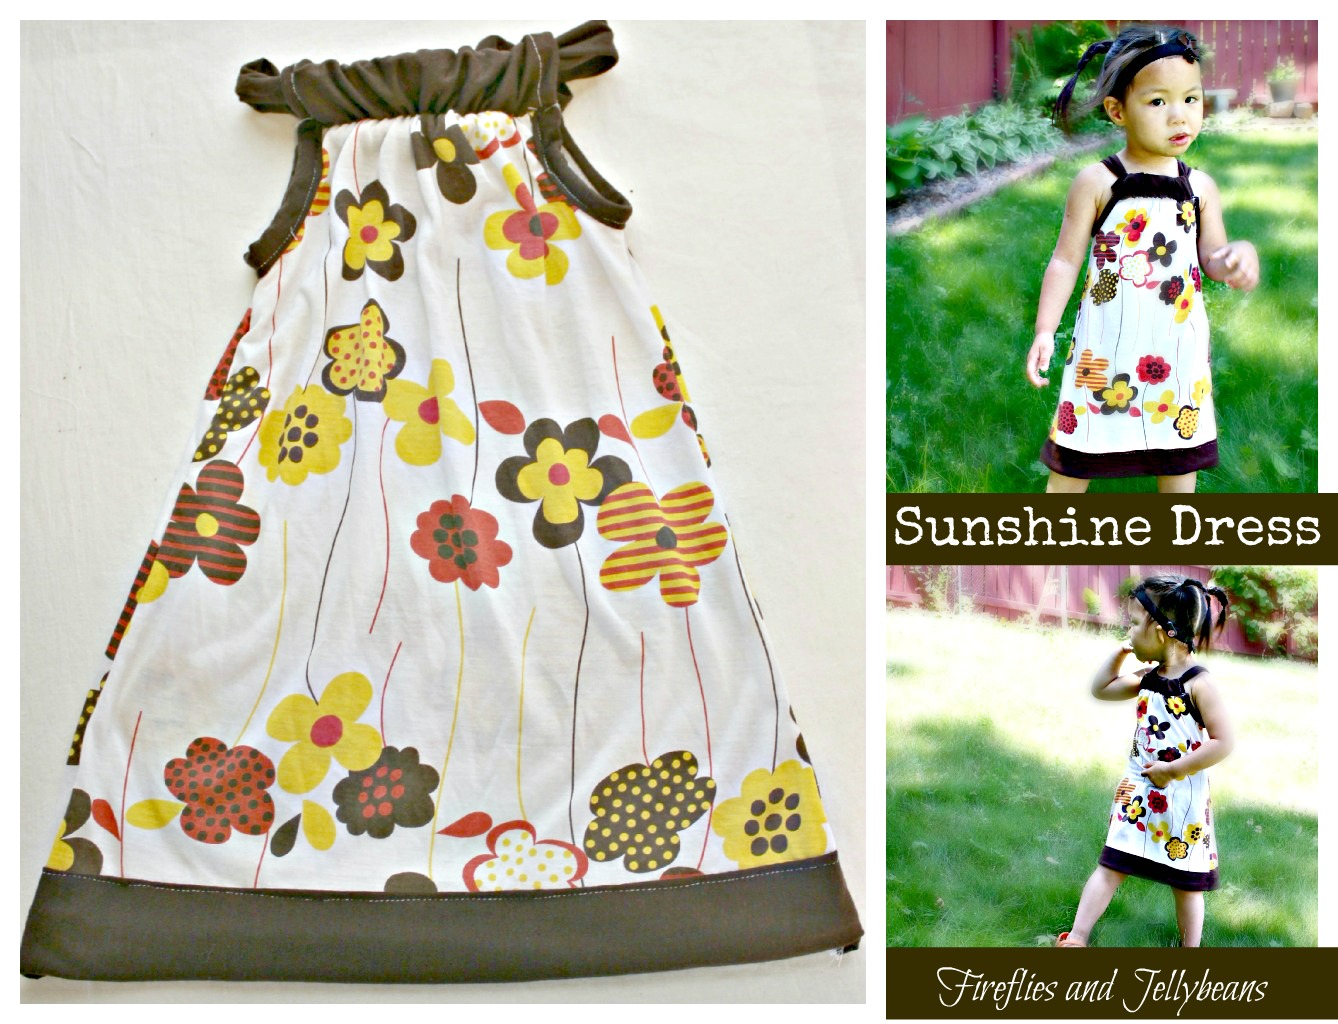
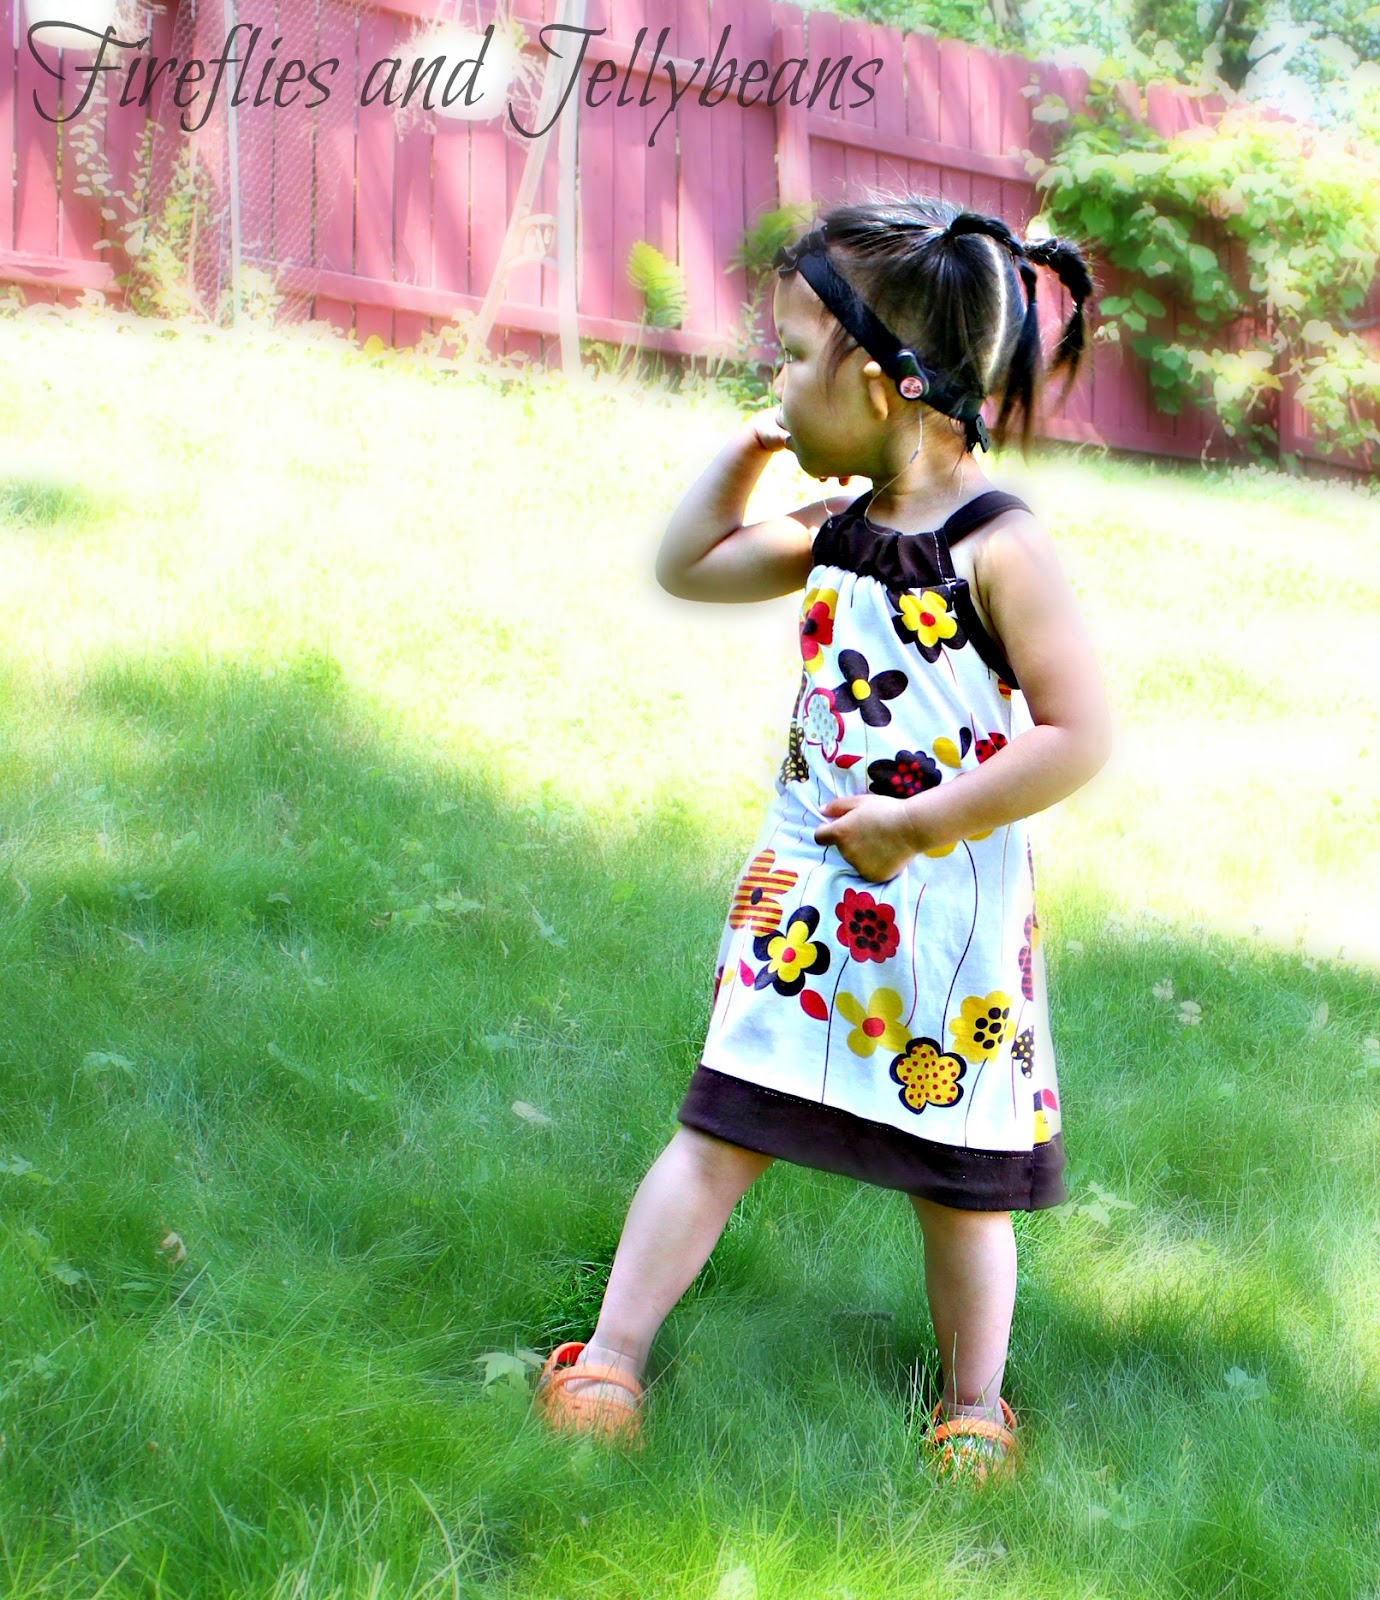
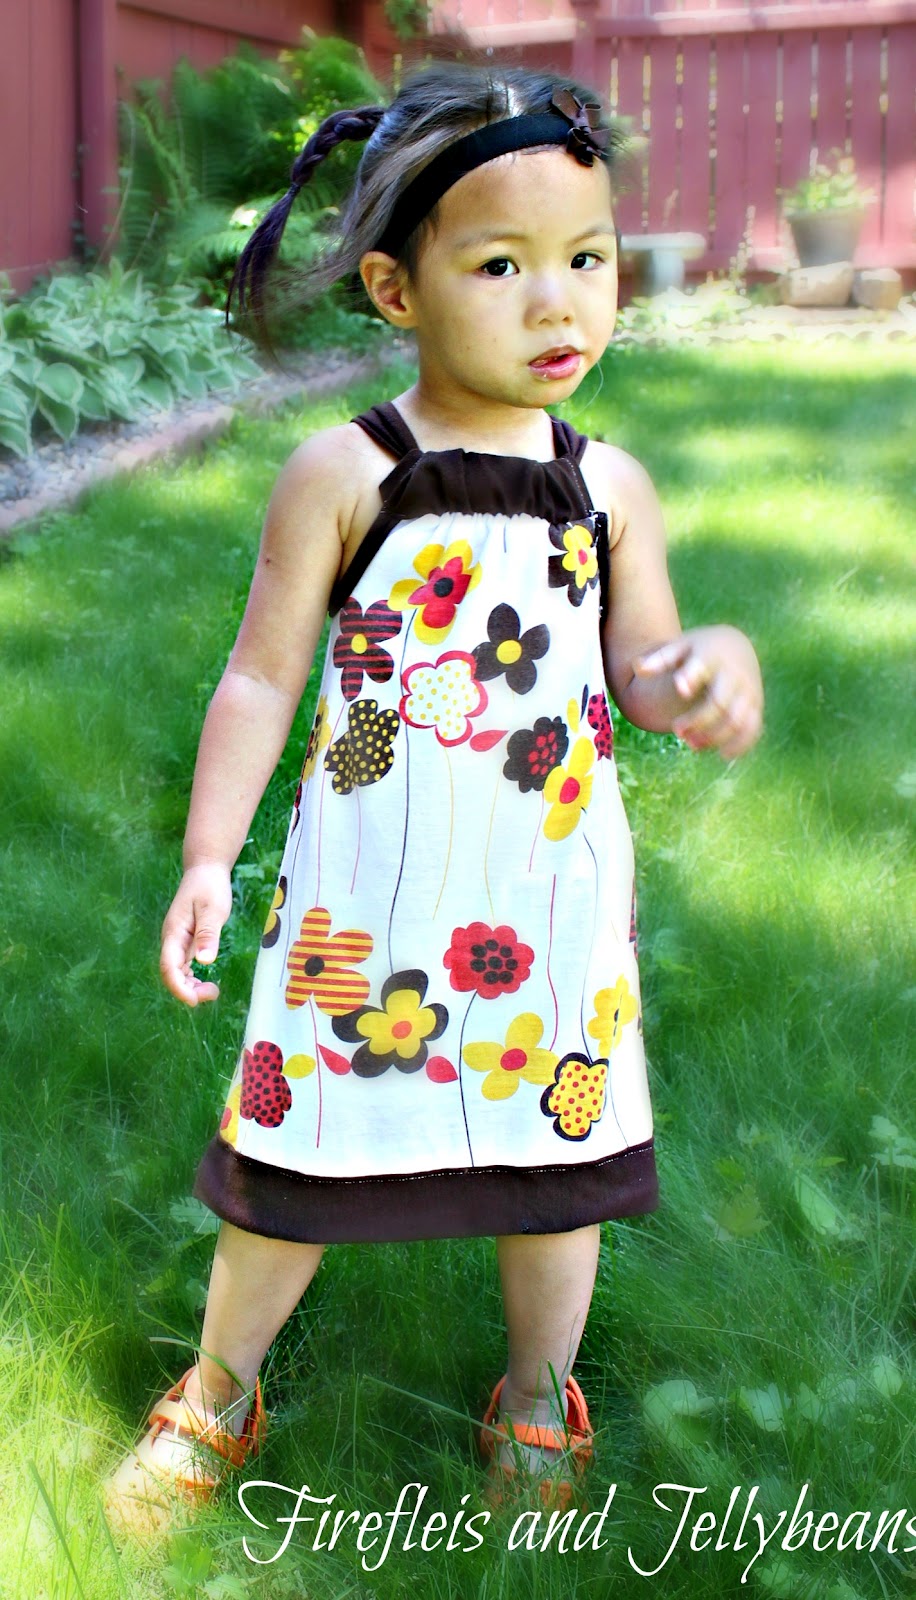
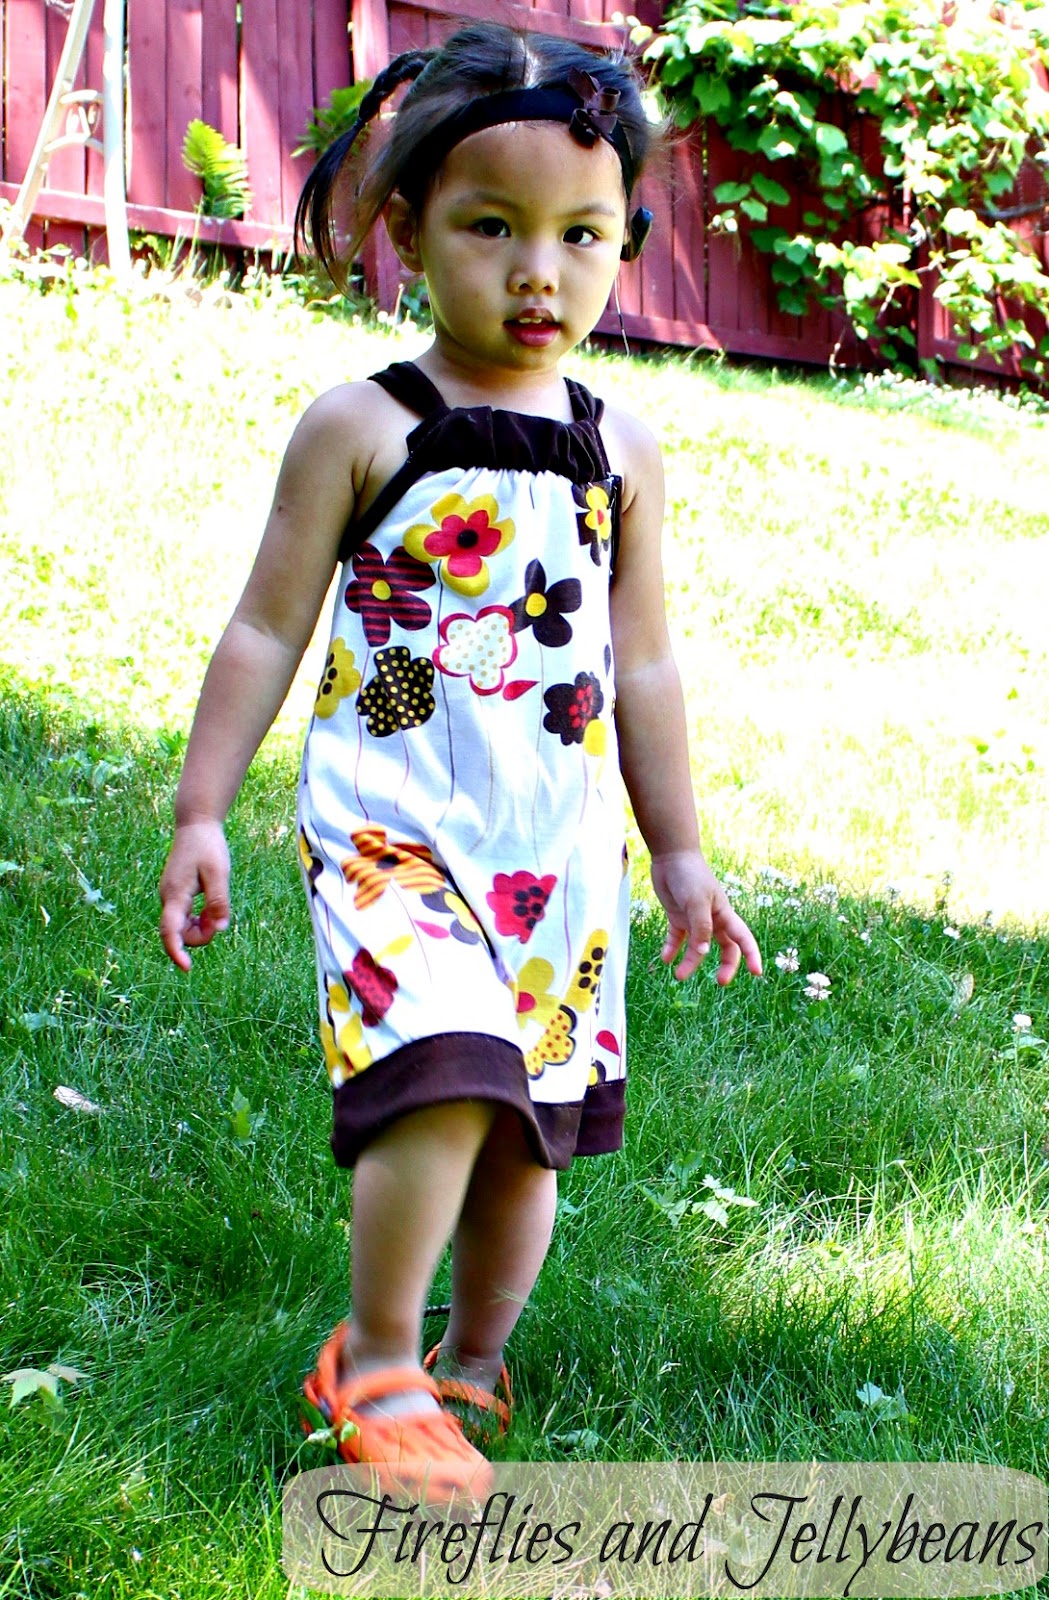
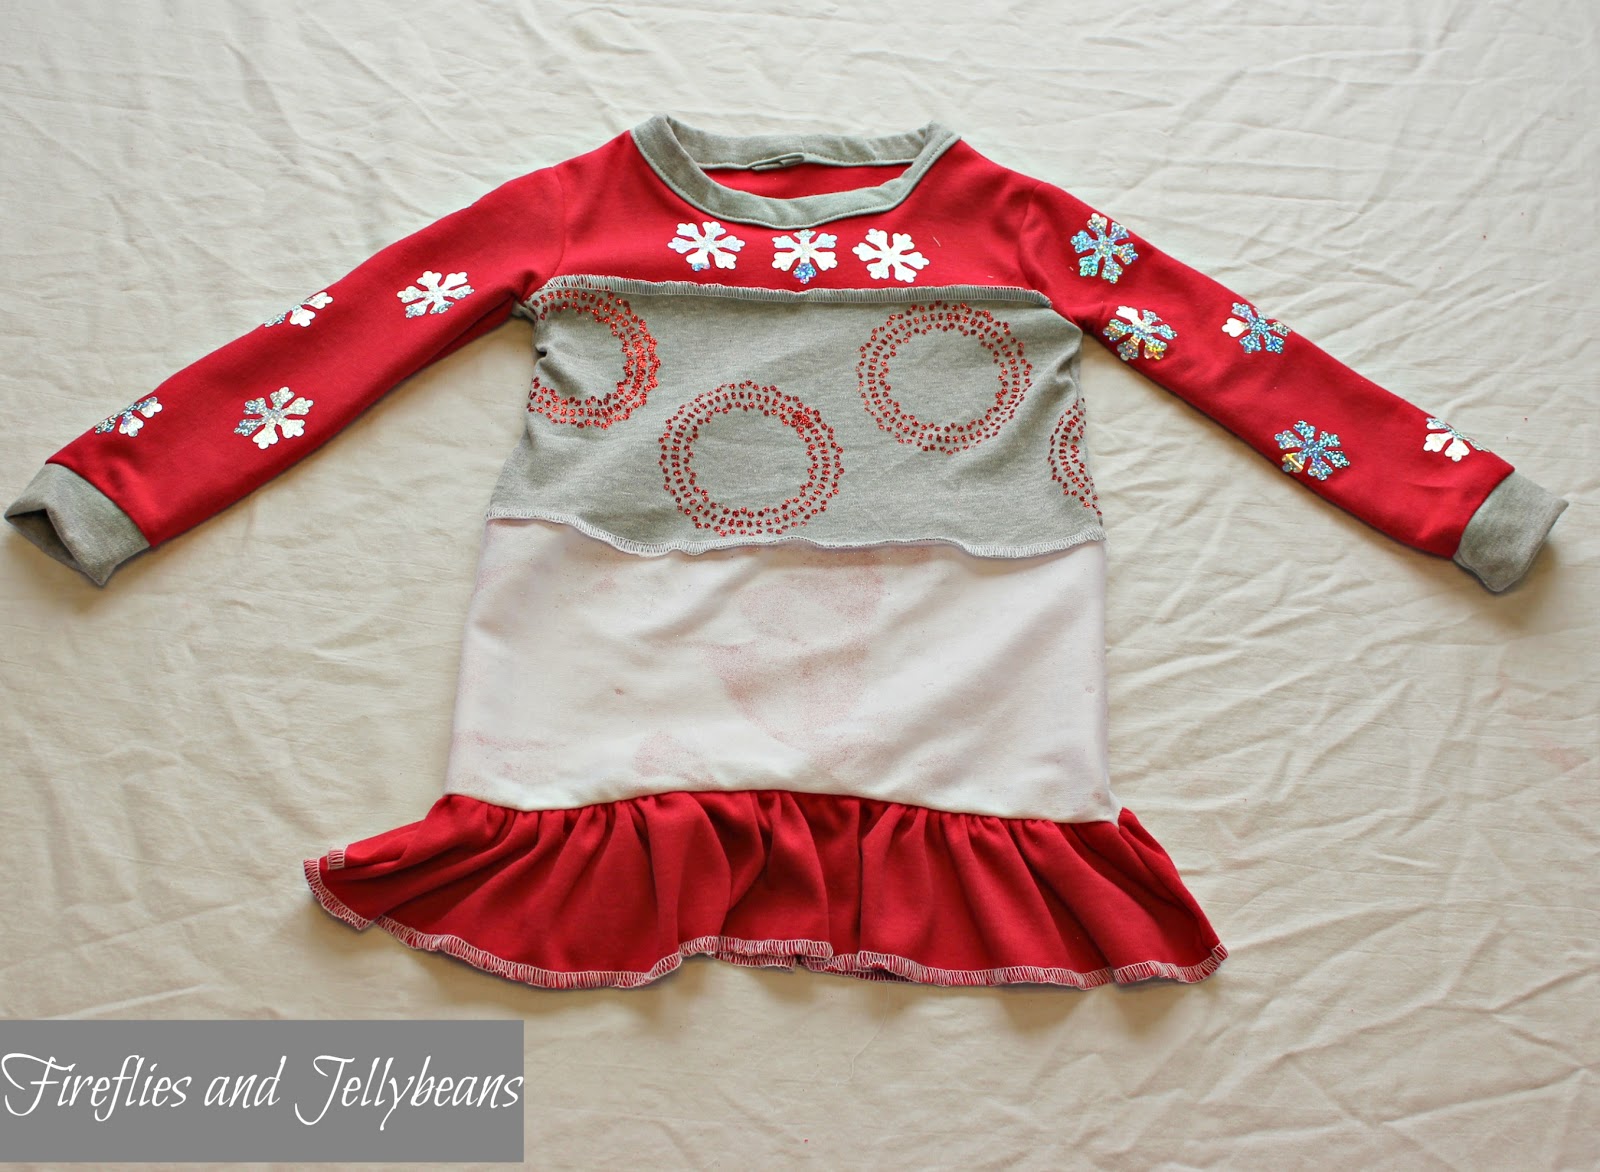
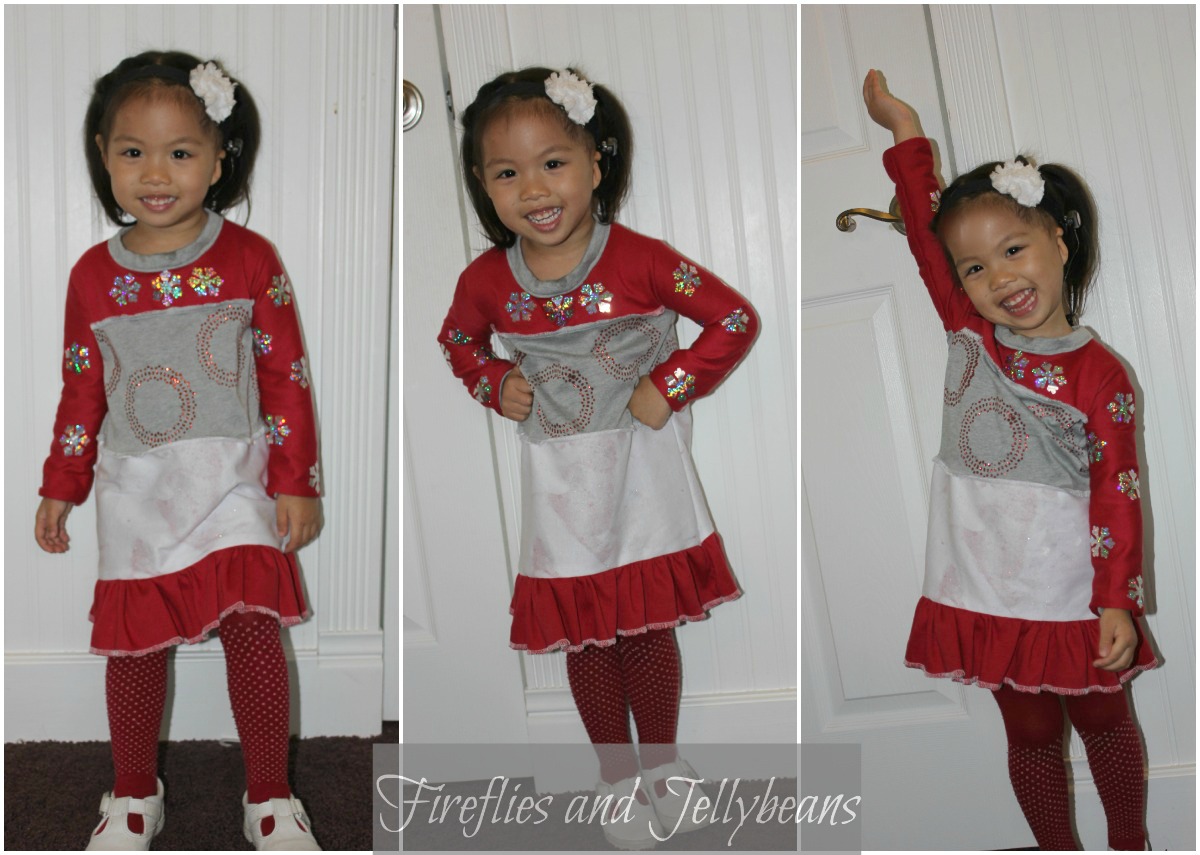
I love making clothes for my daughter otr of jersey knit.  But, a lot of times it is hard to find a cute pattern on a jersey knit.  For Christmas I wanted to make a  holiday dress for my 2 year old daughter that was cute and comfy... jersey knit! But I could not find the pattern that I wanted!   Tulip to the rescue! Using Tulip Shimmer Sheets and Tulip Shimmer Paints I was able to create my own design for my jersey knit to make this cute holiday dress! Hooray!!


I am going to show you 3 ways to create your own fabric designs! 

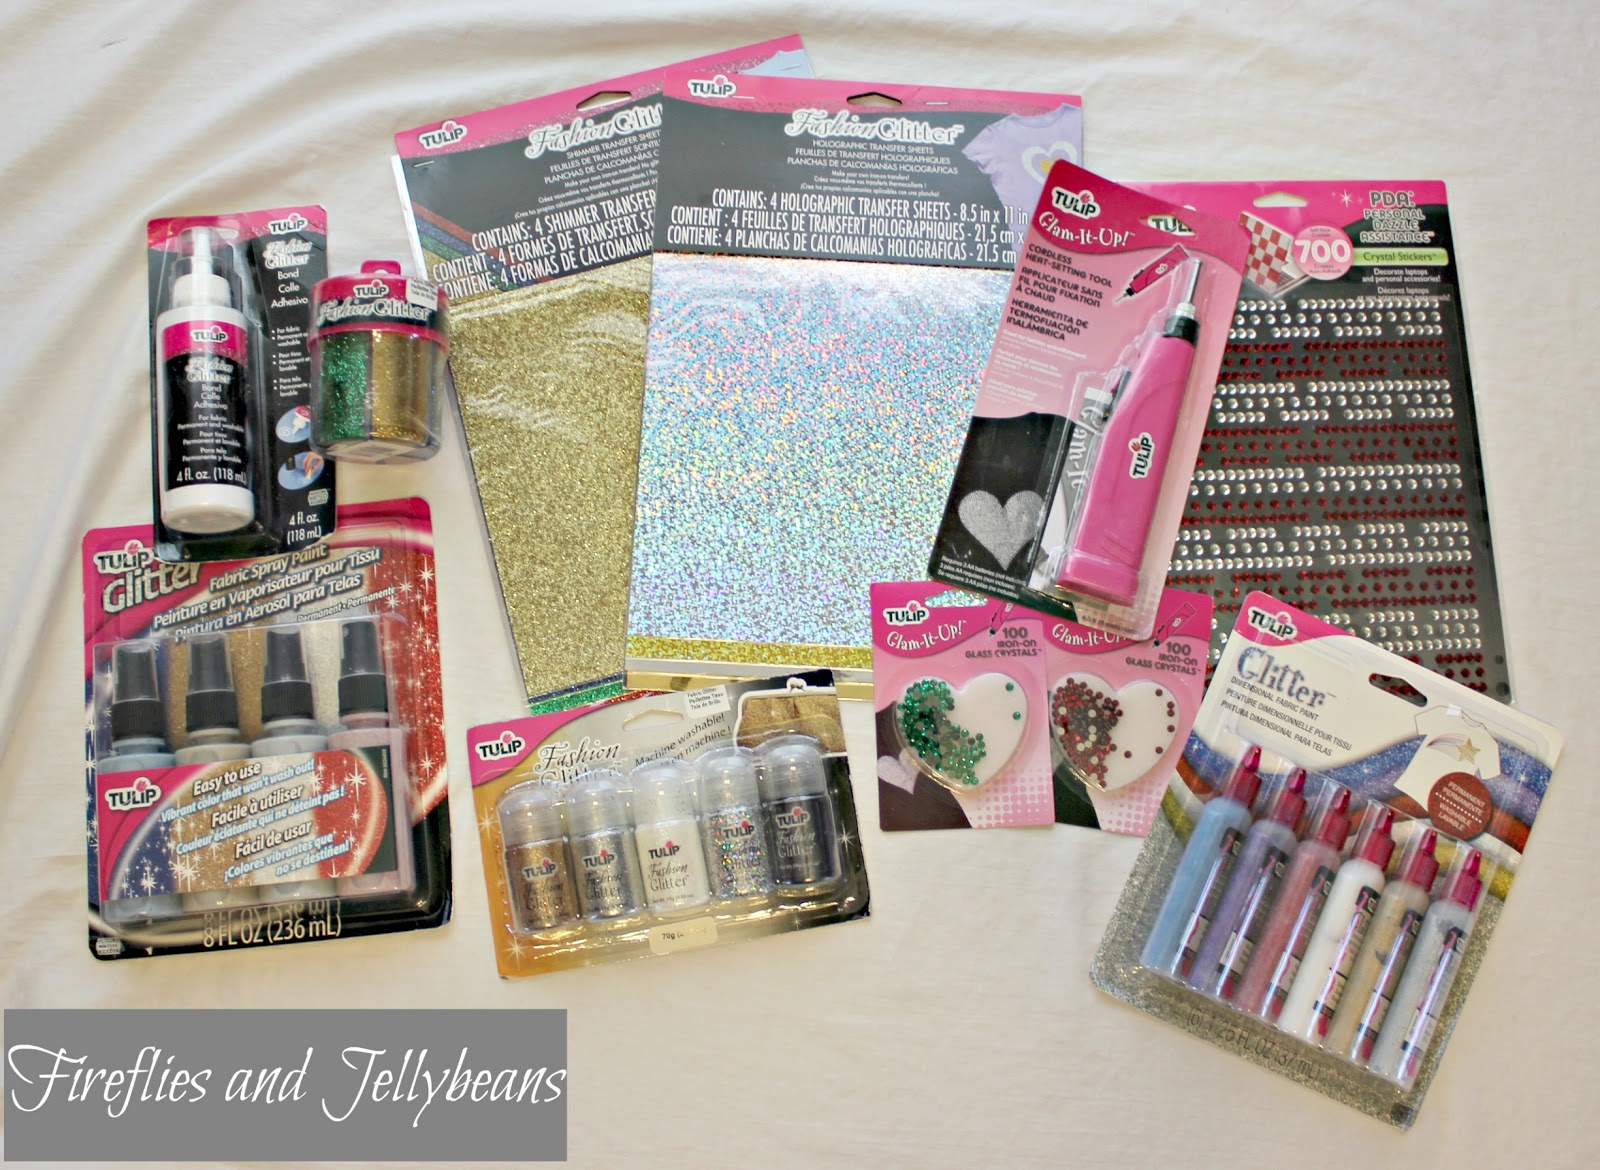
I got a box of awesomeness from Tulip with TONS supplies to create amazing projects! 
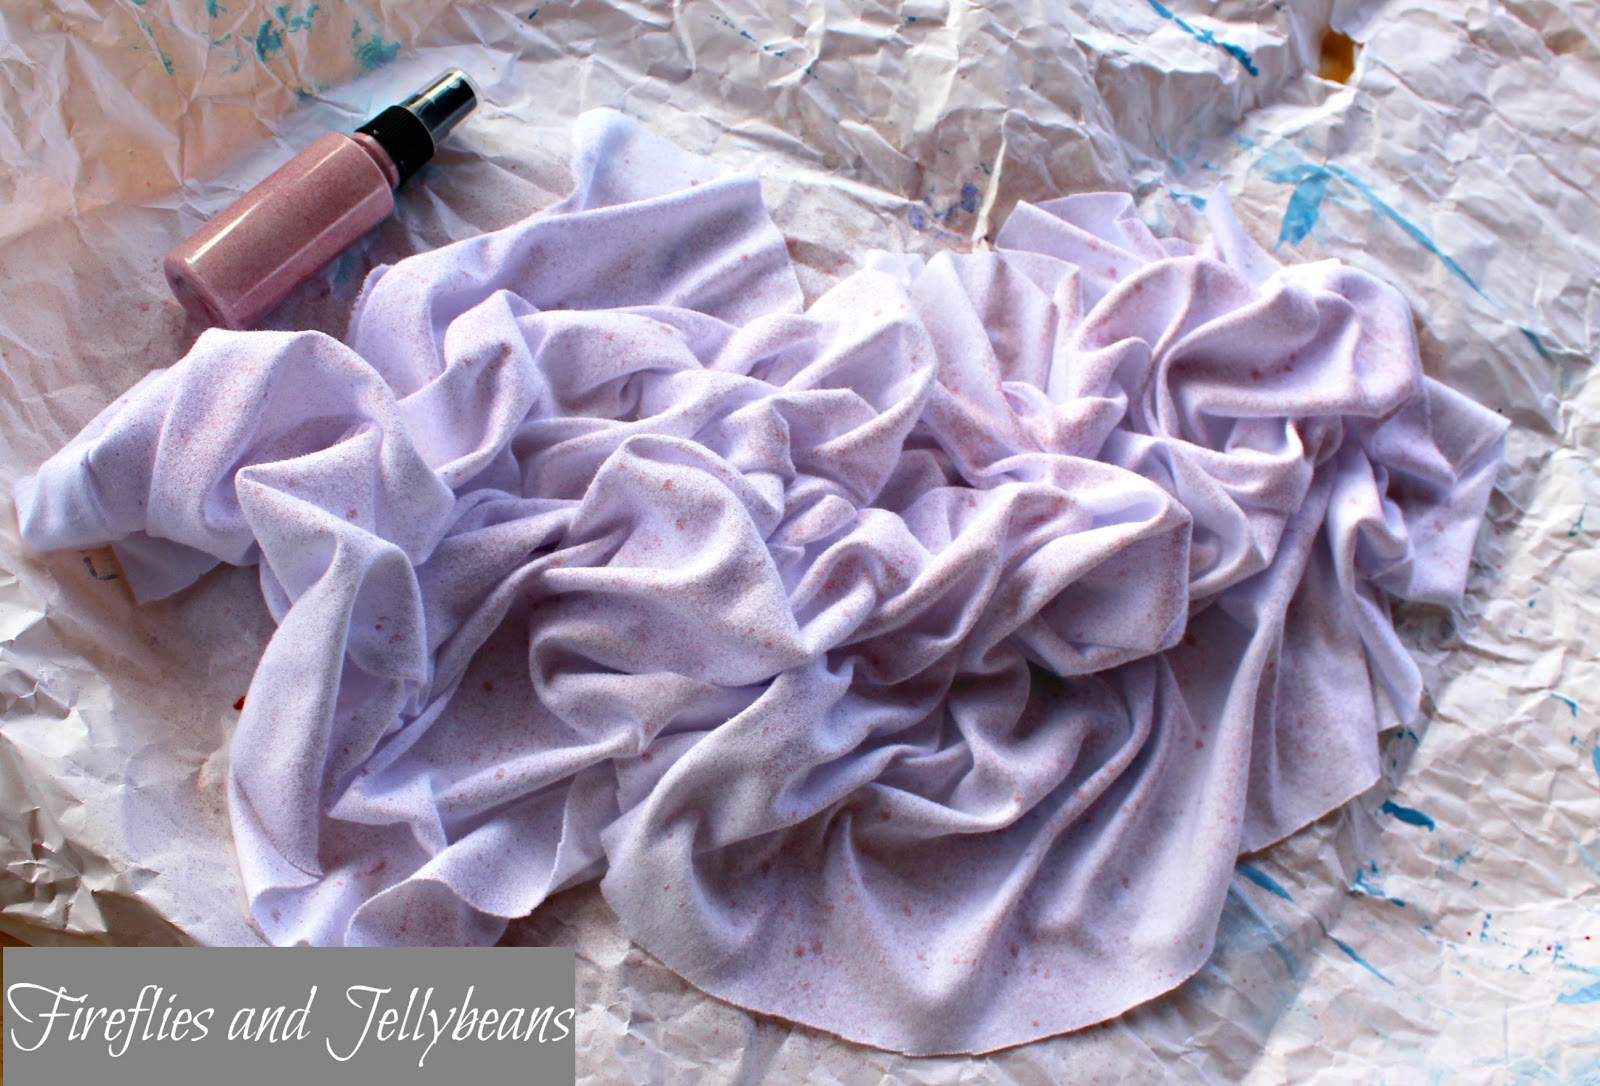

Fabric # 1
Supplies needed:
Tulip Fabric Spray Glitter
White Fabric

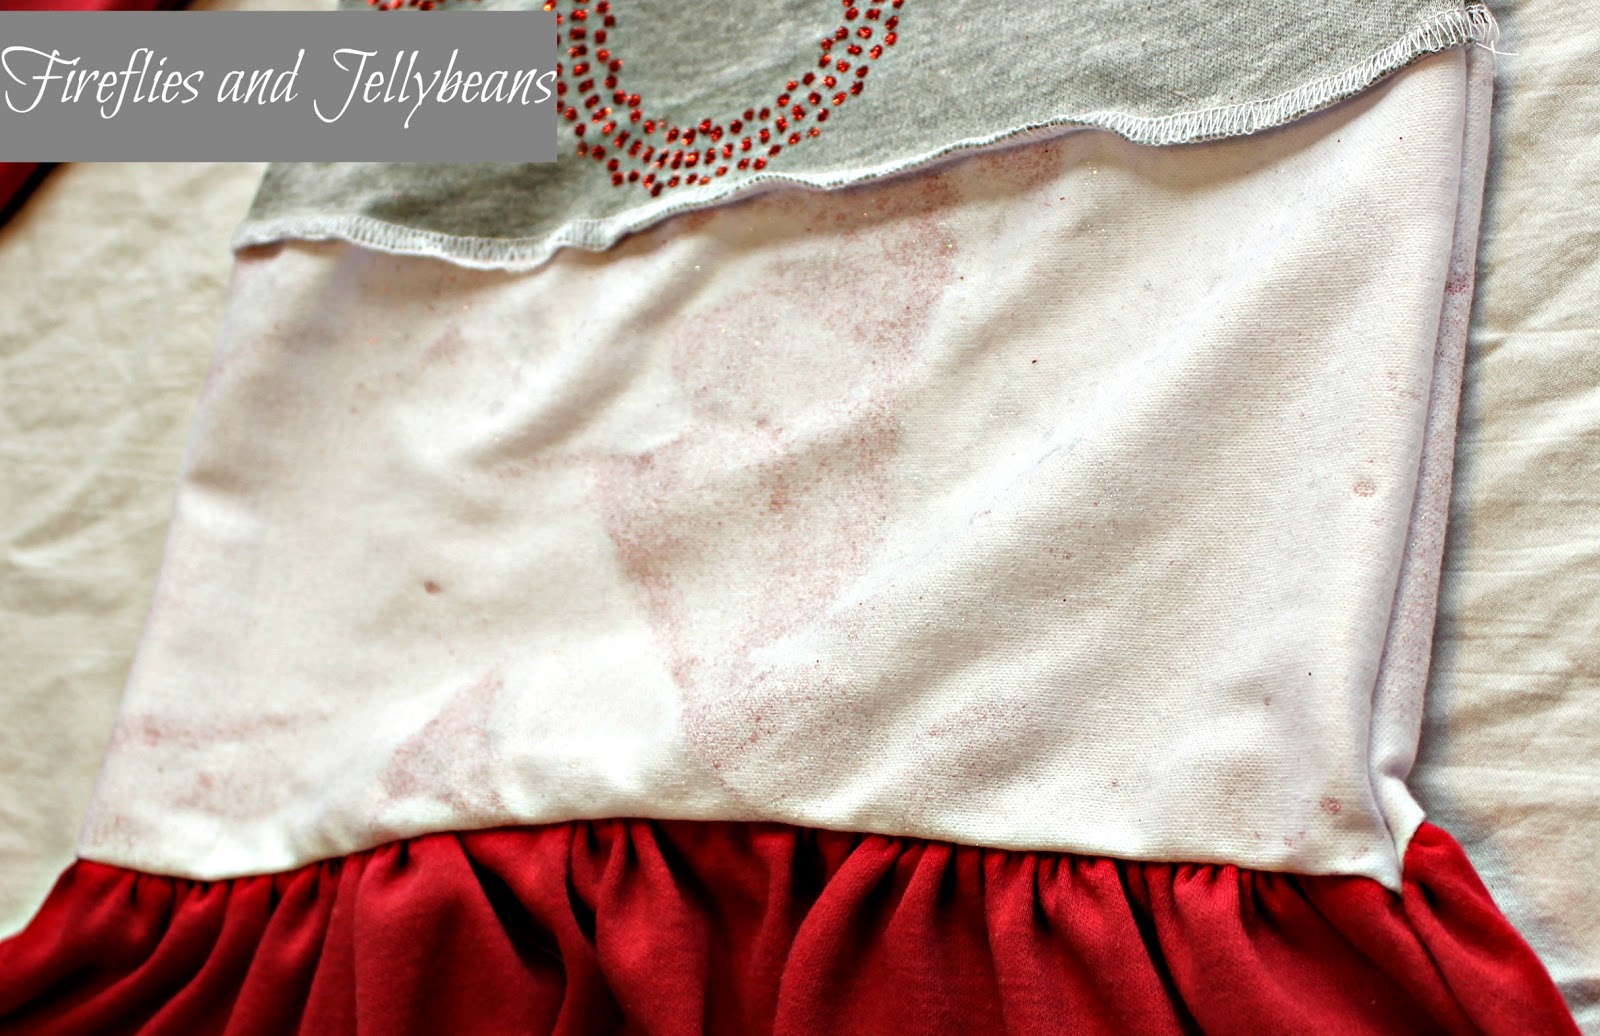
I wrinkled the fabric to make it a more tie-died look and then I sprayed it with the Fabric spray glitter. 
First I used the red and then let dry.
Then I wrinkled it differently and sprayed it with the silver glitter.  
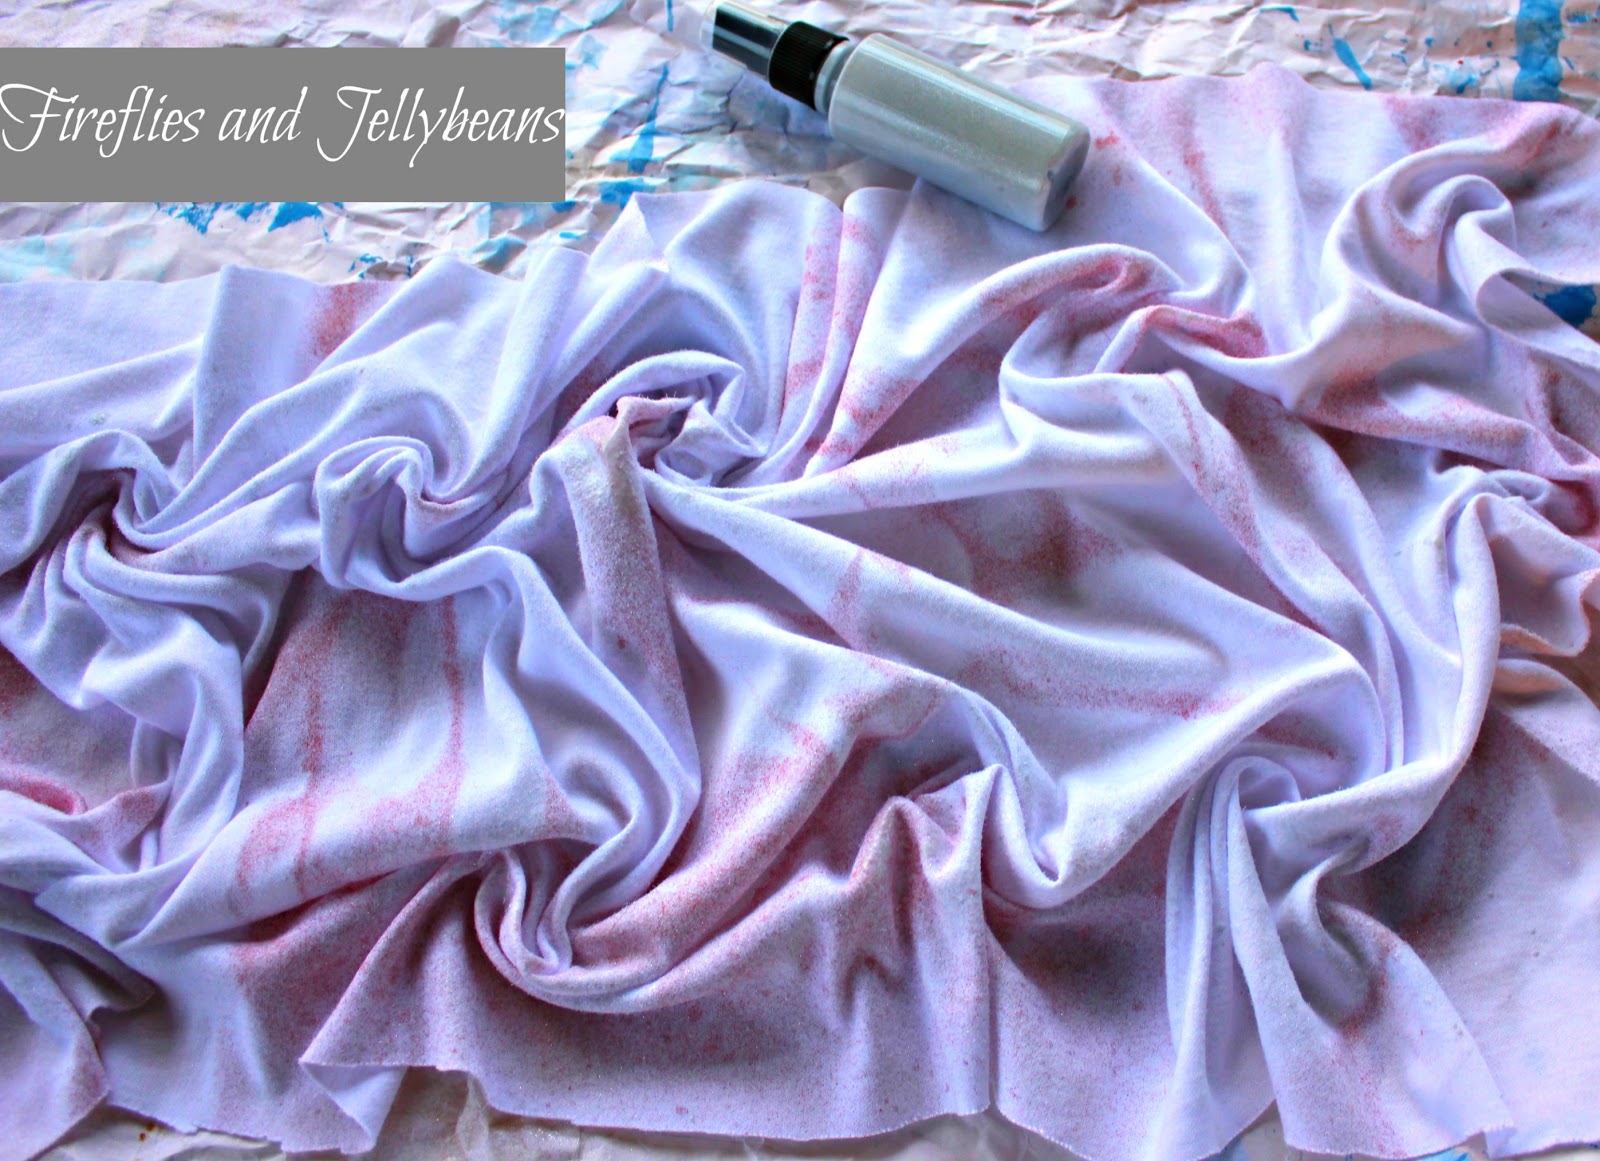
This is a very subtle effect... But I do like how it sparkles now!  
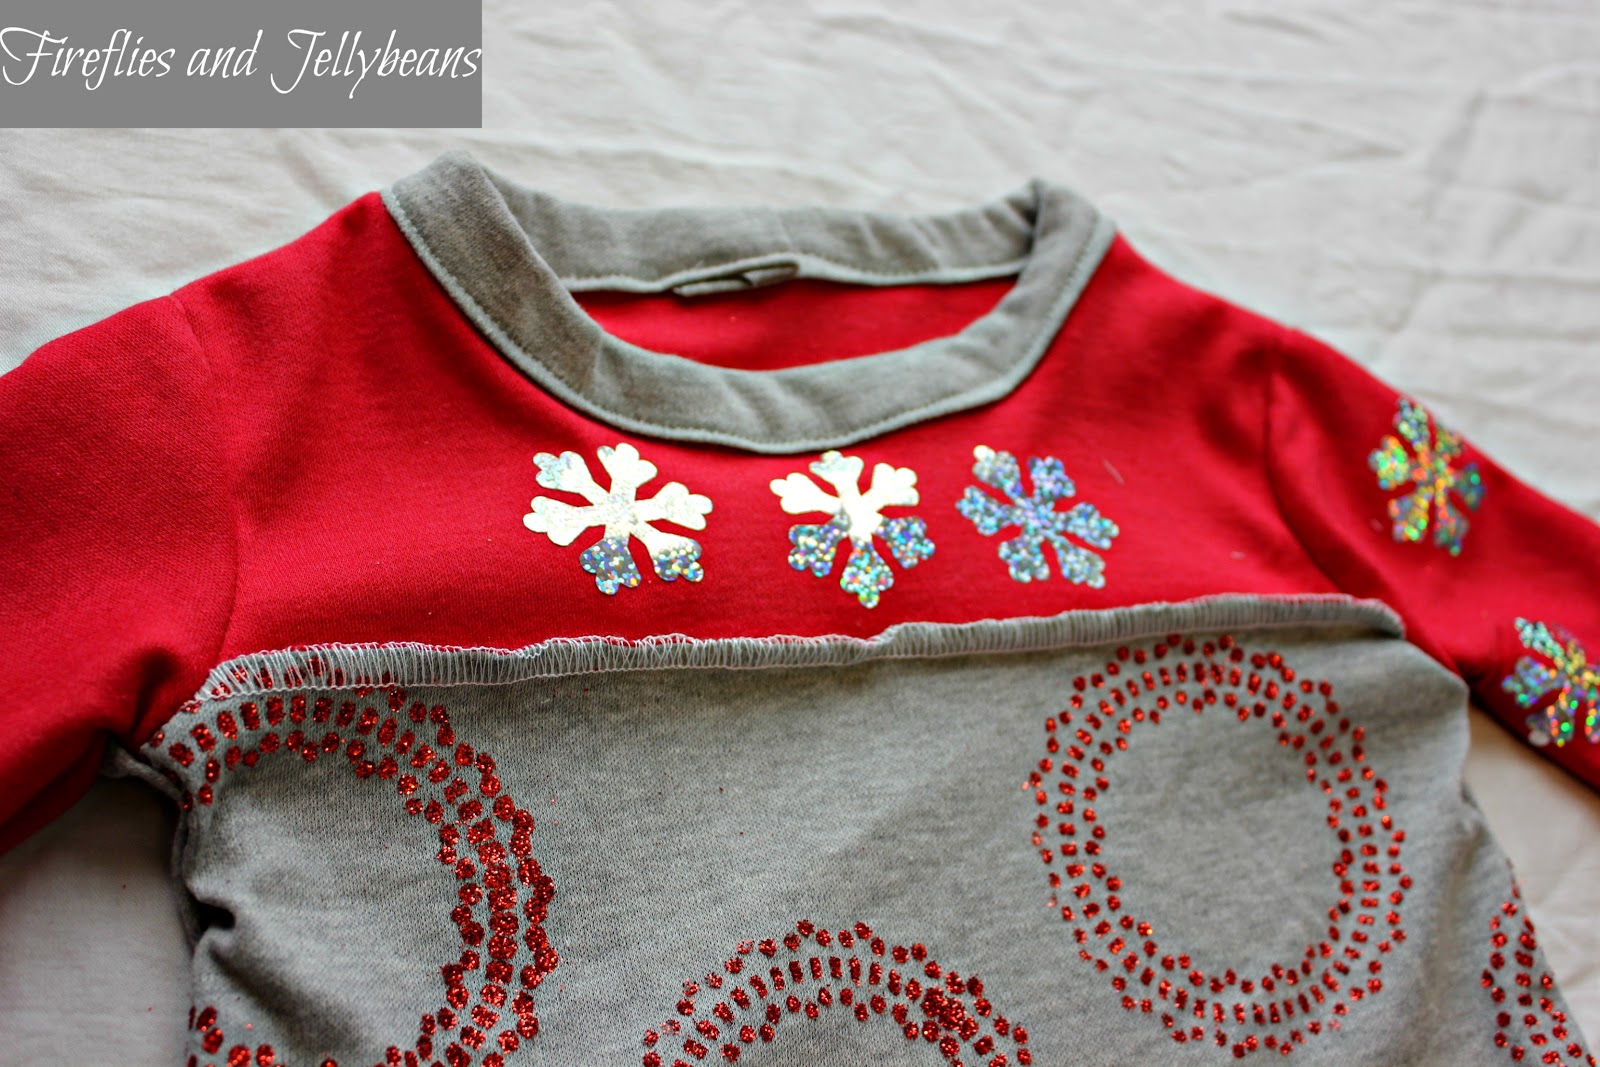


Fabric # 2
Supplies:
Tulip Fabric glue
Tulip Fabric glitter
Stencil
Dabber or foam brush
Fabric
Tray (to catch the glitter)

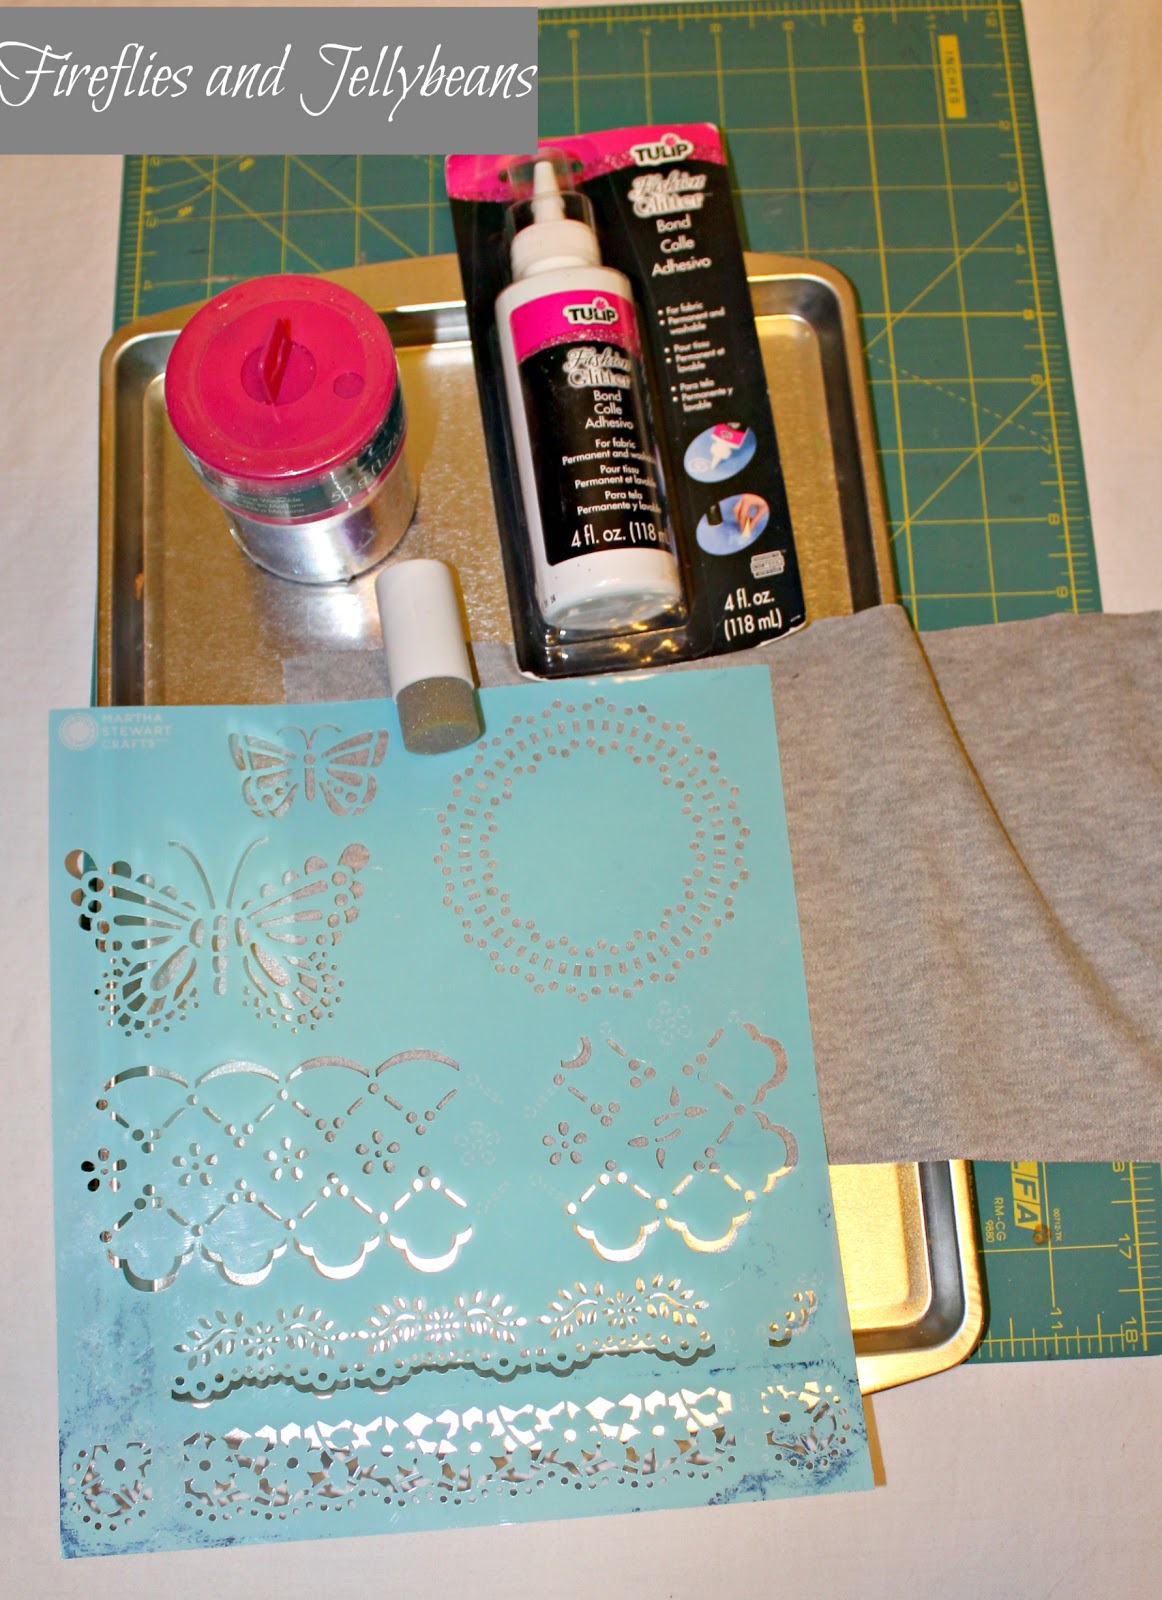
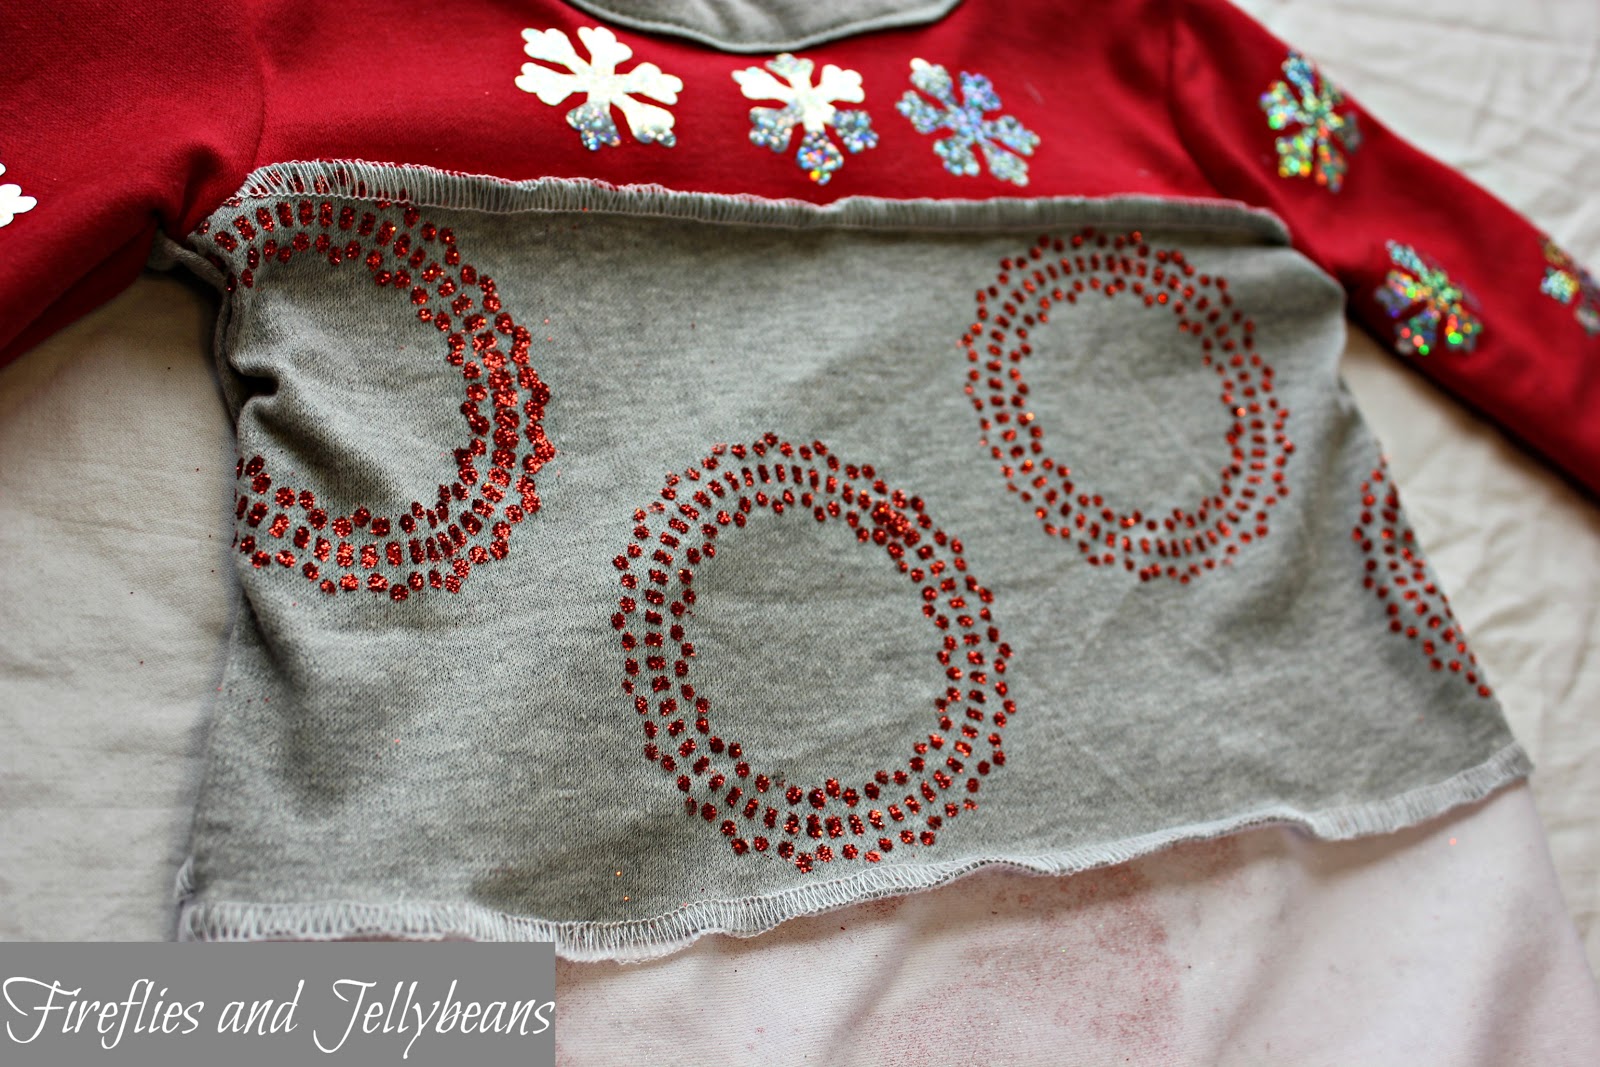
Place fabric on tray and place your stencil in place and dab the glue on the stencil.
Remove the stencil and sprinkle the glitter over the glue
Shake off the excess glitter 
Repeat in what ever patter you want.
Tip- less glue is better then more.  it got really blotchy when I used too much glue.
I LOVE LOVE LOVE how this turned out... totally worth all the glitter mess! 
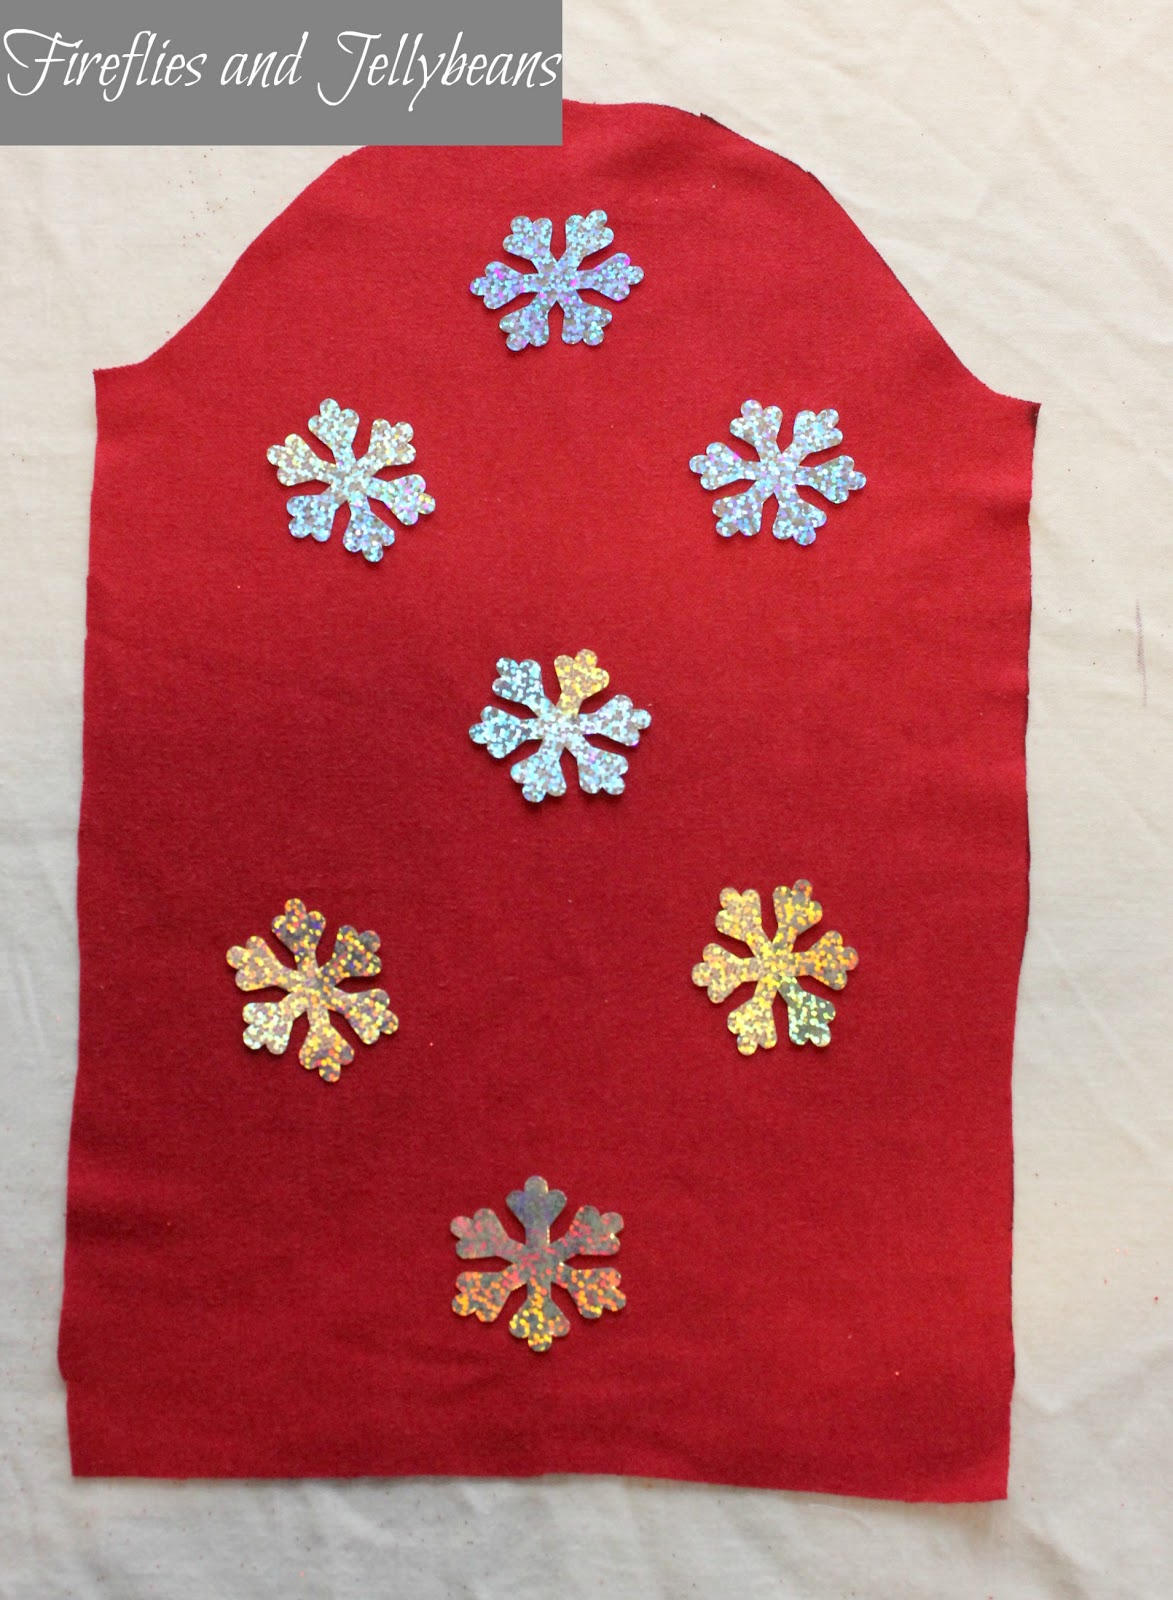

Fabric # 3
Supplies:
Tulip Glitter iron on transfer sheets
Iron
fabric

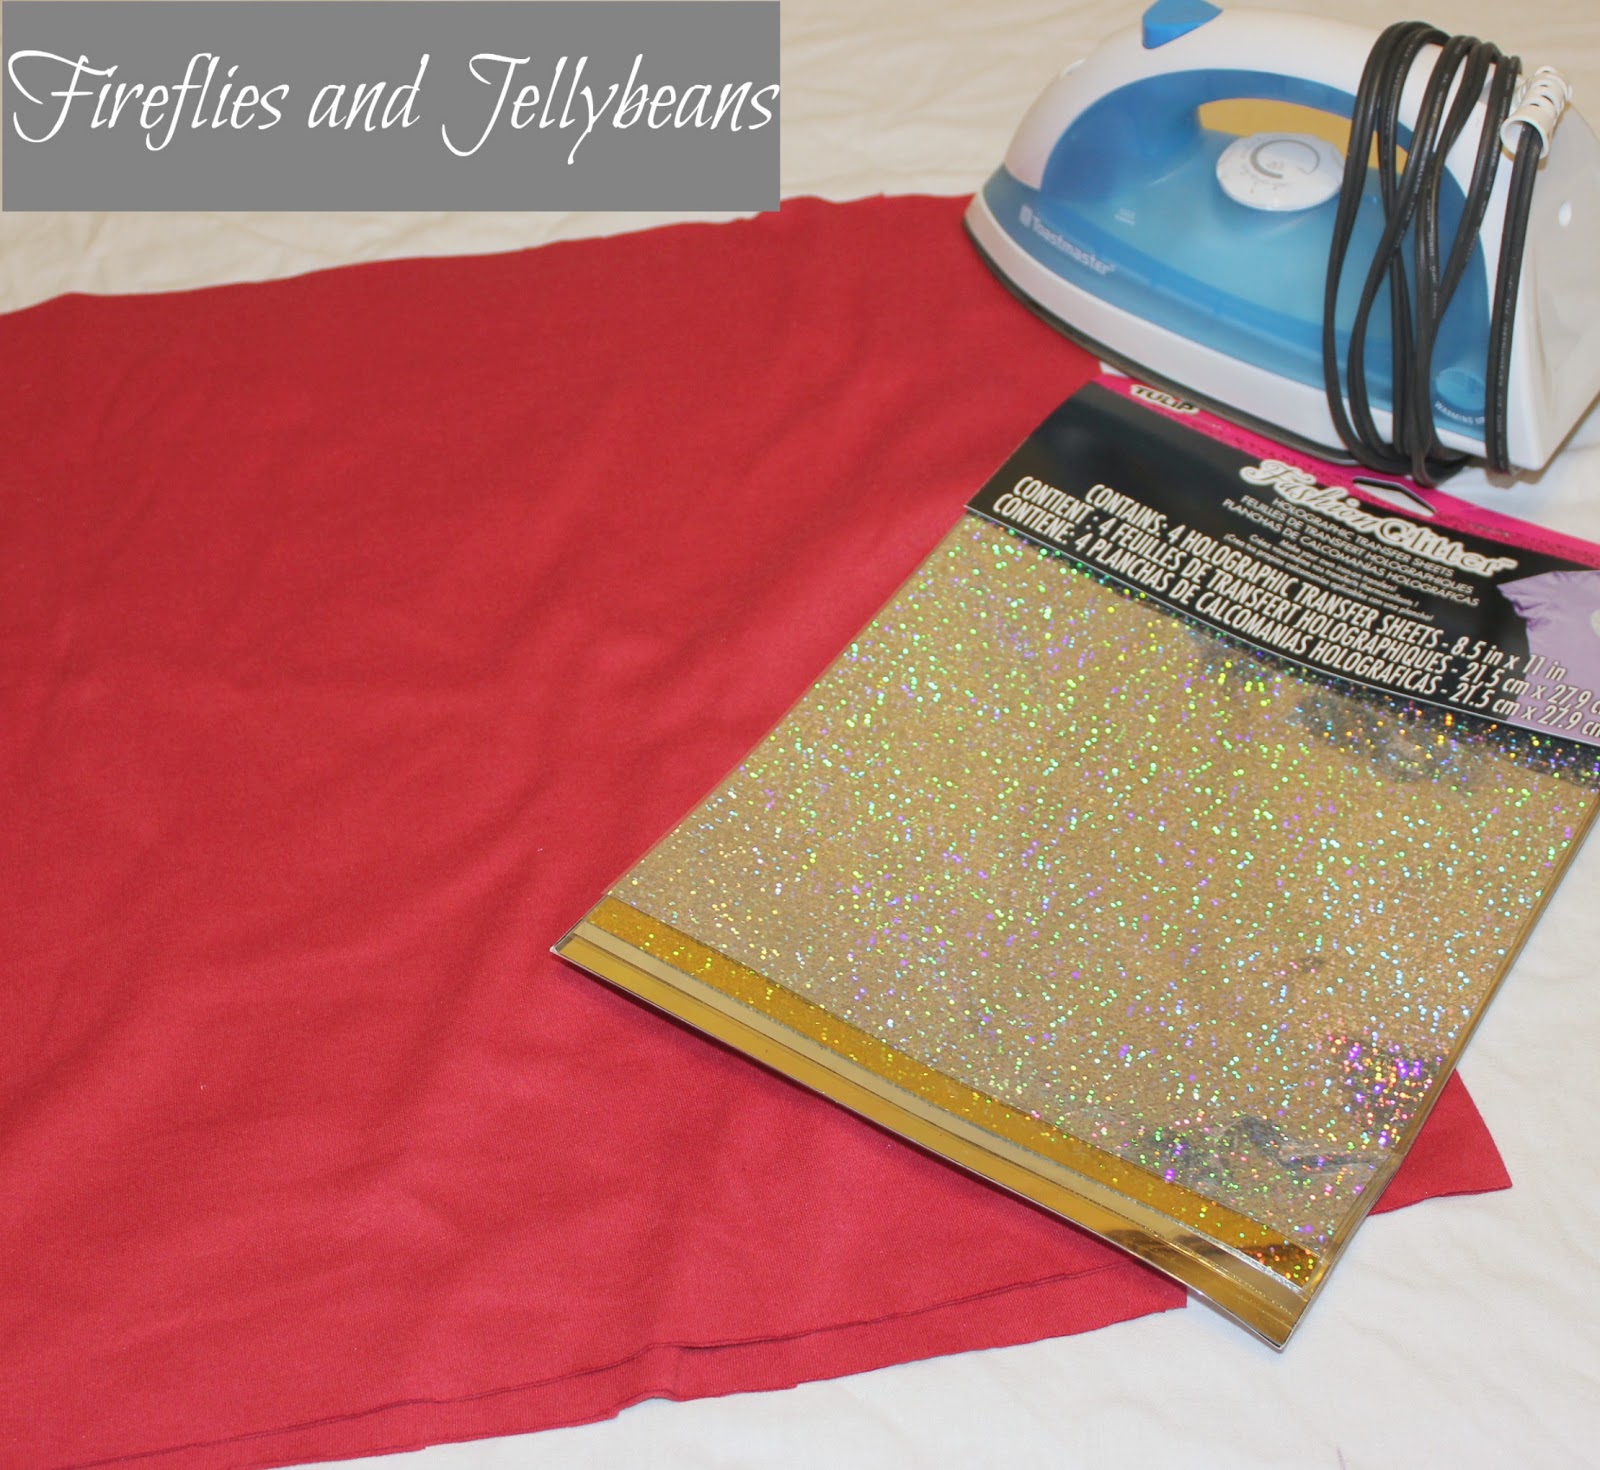
Cut out your desired shapes. 
 I used my silhouette to cut these snowflakes, the glitter sheets work with most die cutters!  But you don't need a die cutter to use them... you can cut out your shapes with a scissors or exacto knife too!
Place on your fabric in the patter you want. 
place a piece of fabric over and iron for 40 seconds.
 Test to see if it transferred- if not iron again. 

So shiny and pretty!   These glitter sheets would also be great to spruce up a t-shirt too! 

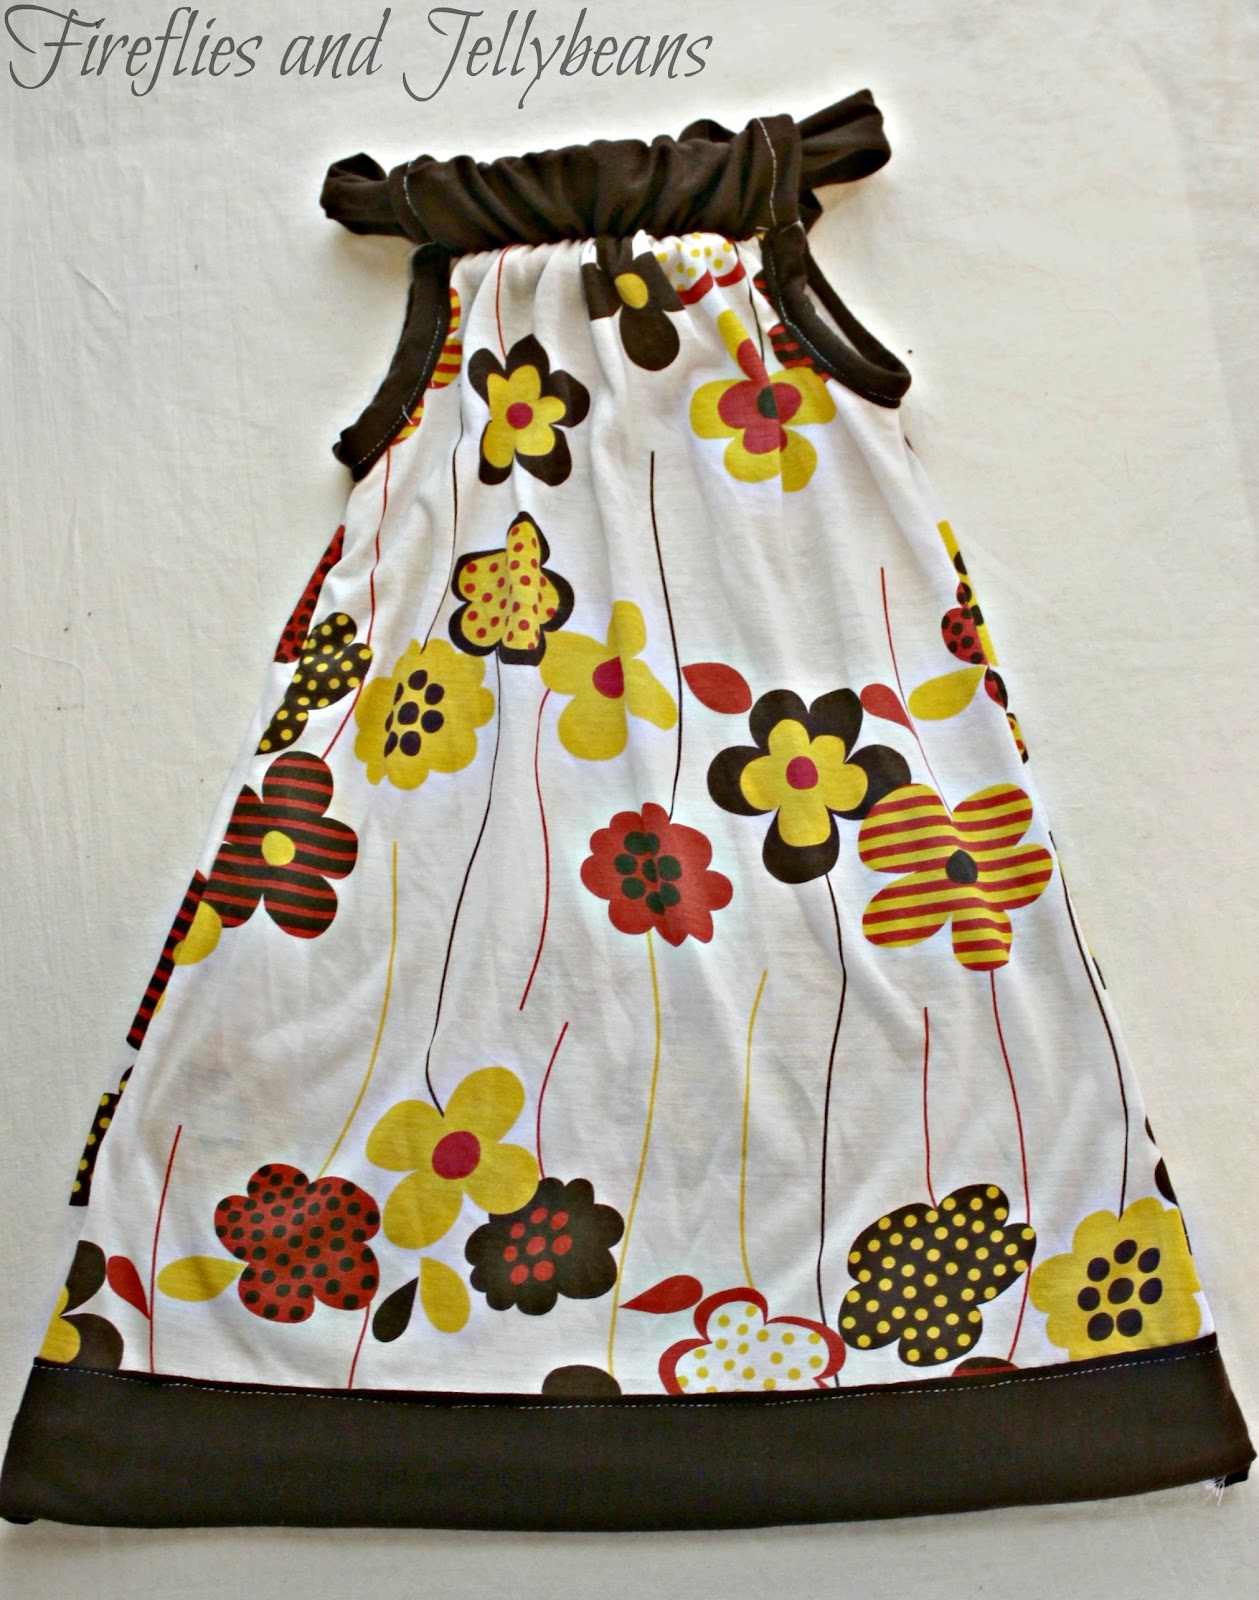
My daughter loved her dress!  When she put it on she said "Wook mom- it is SO shiny!"  and "I am a beautiful princess!" and then proceeded to do ballerina twirls for me! 

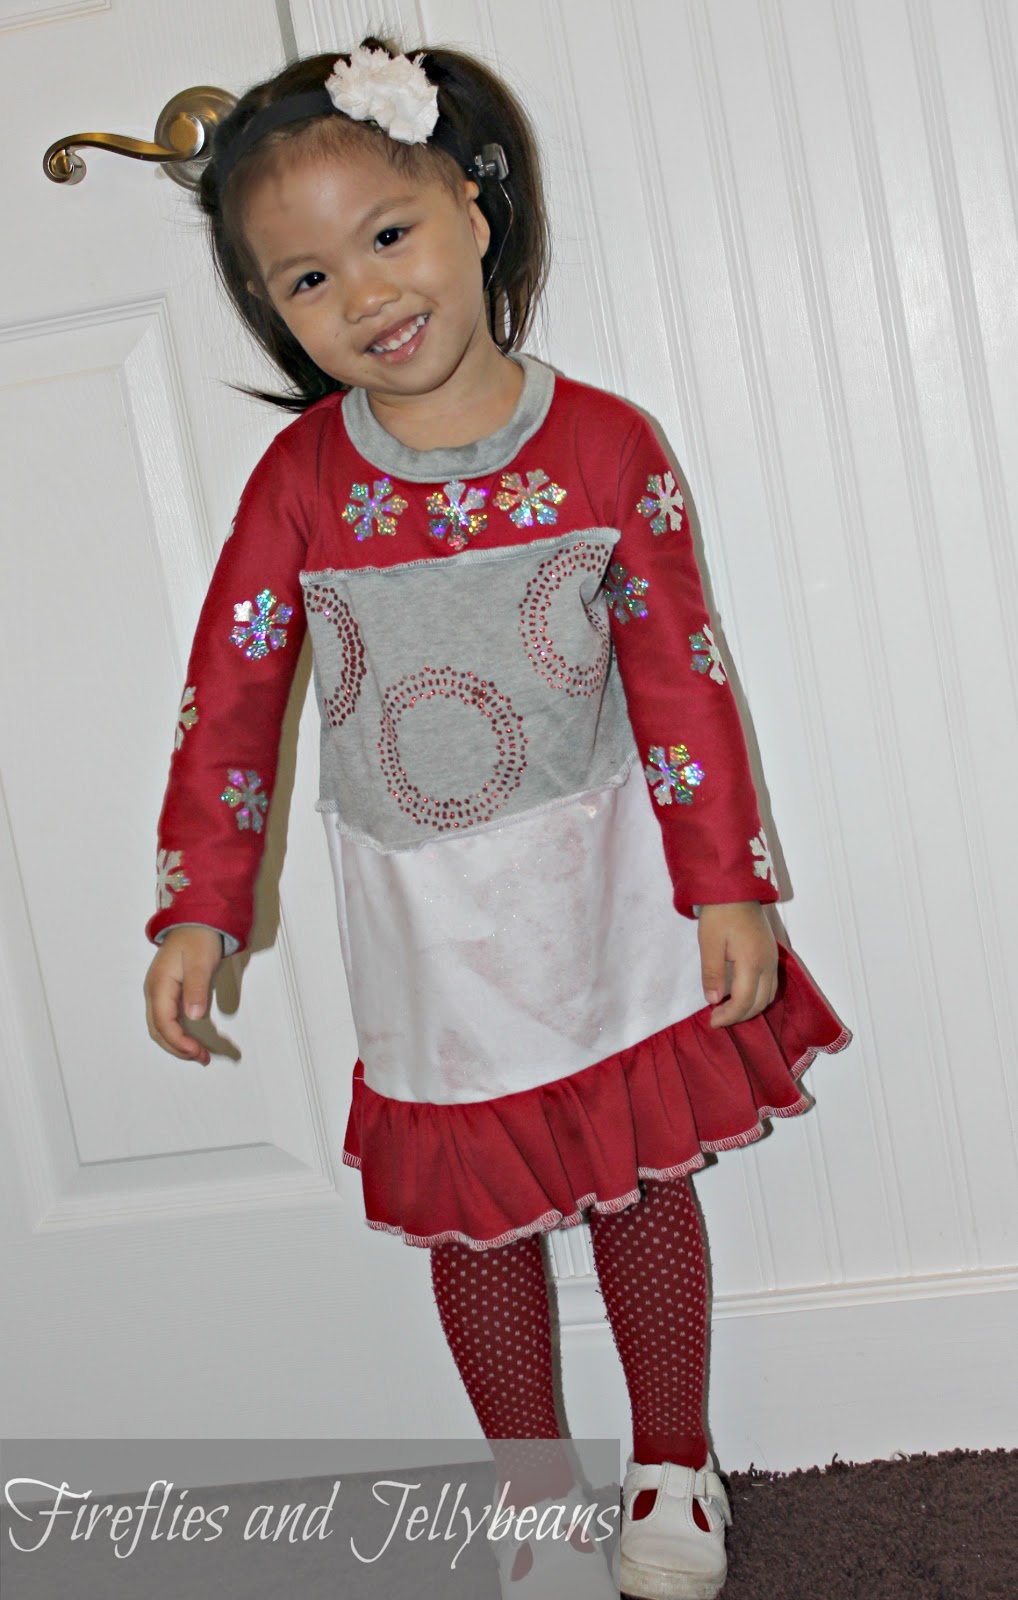
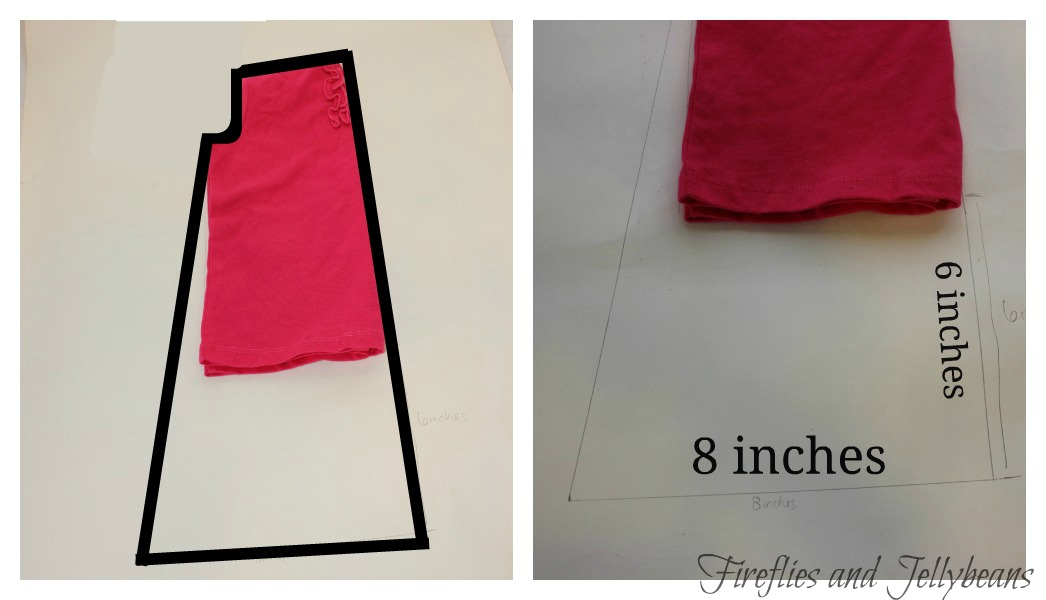
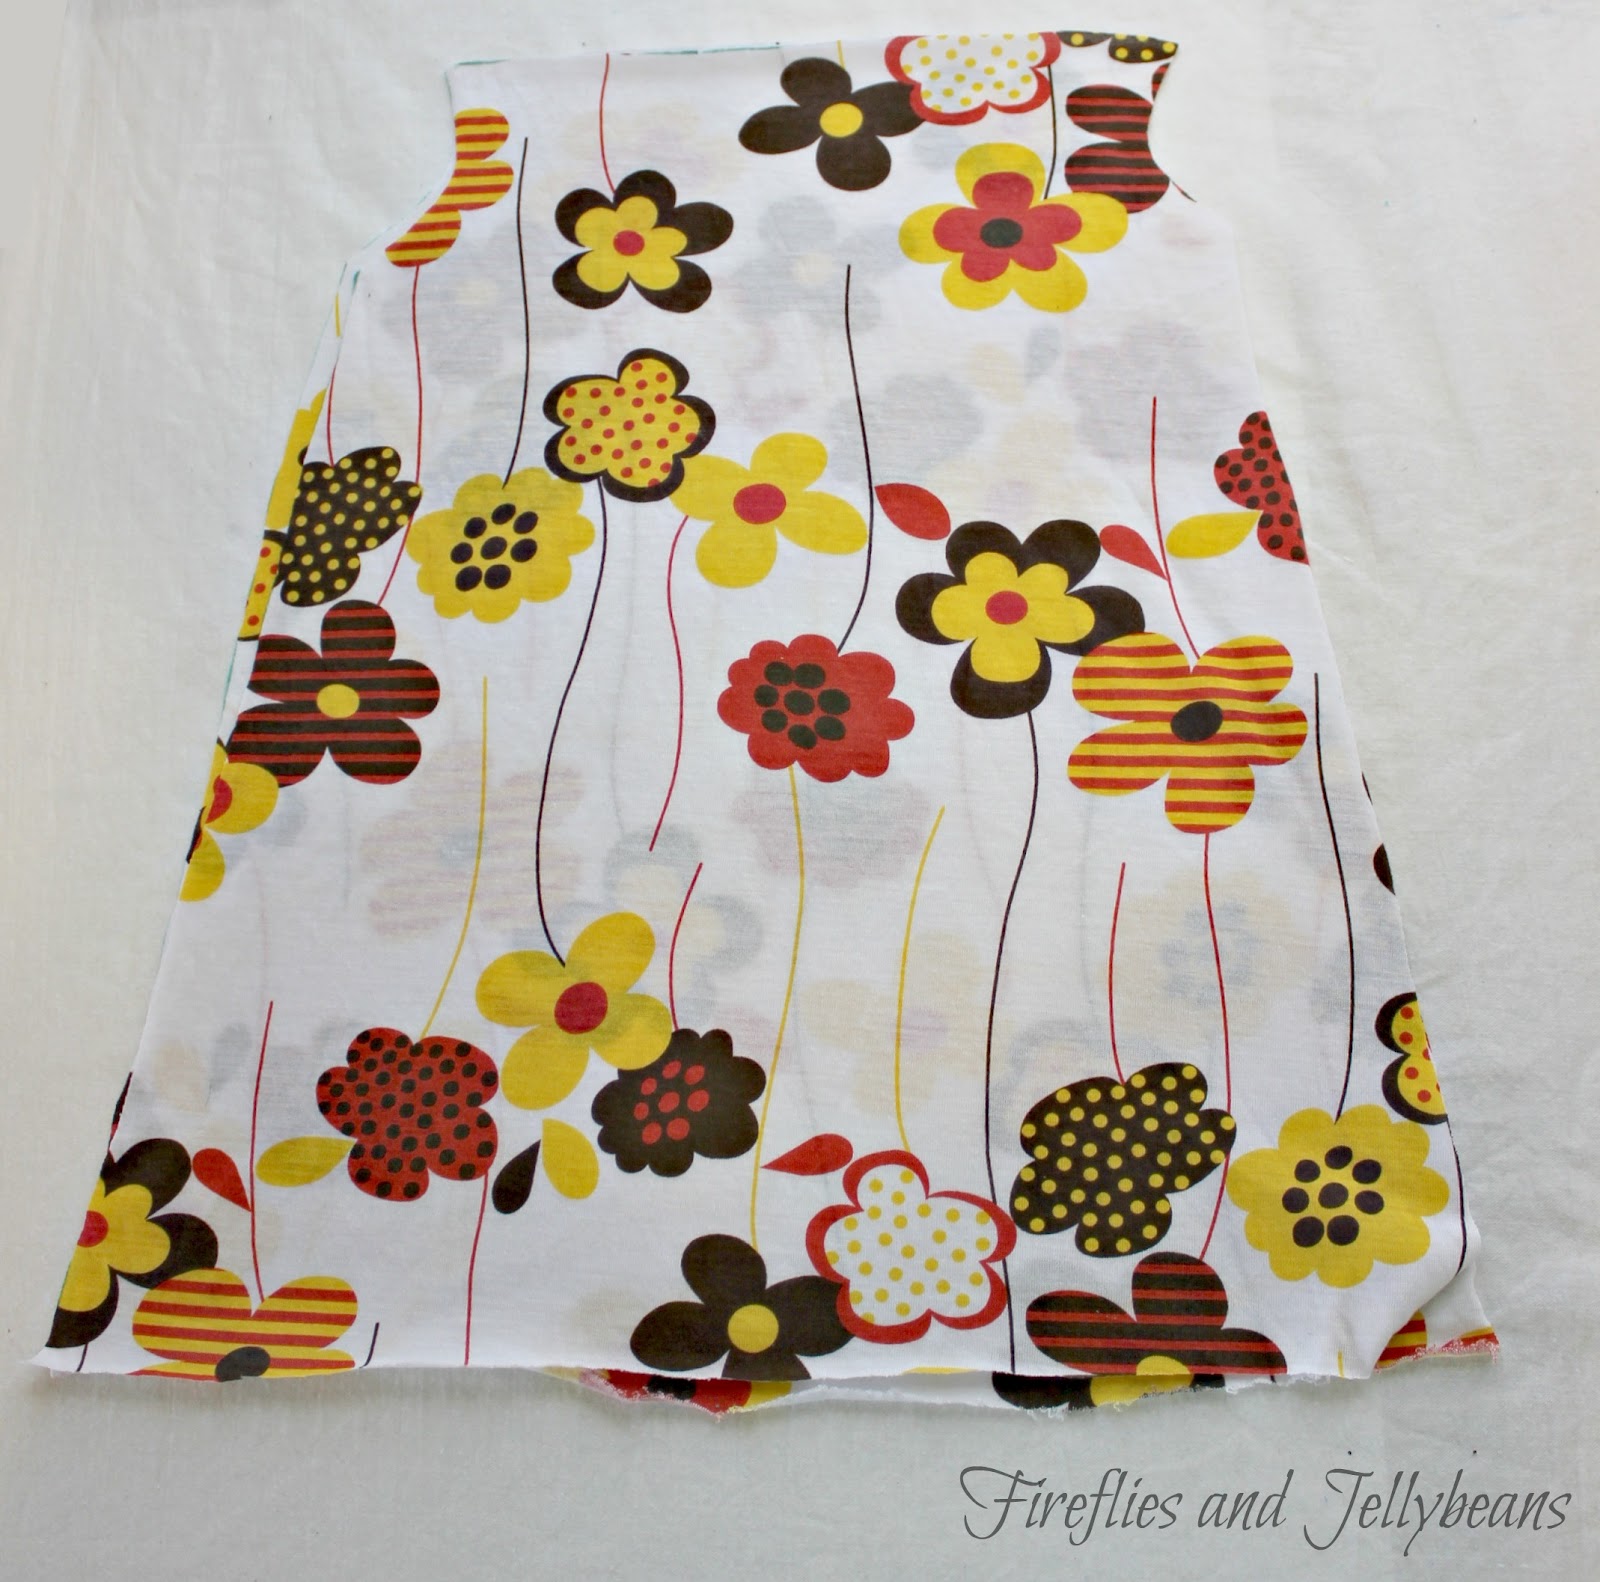
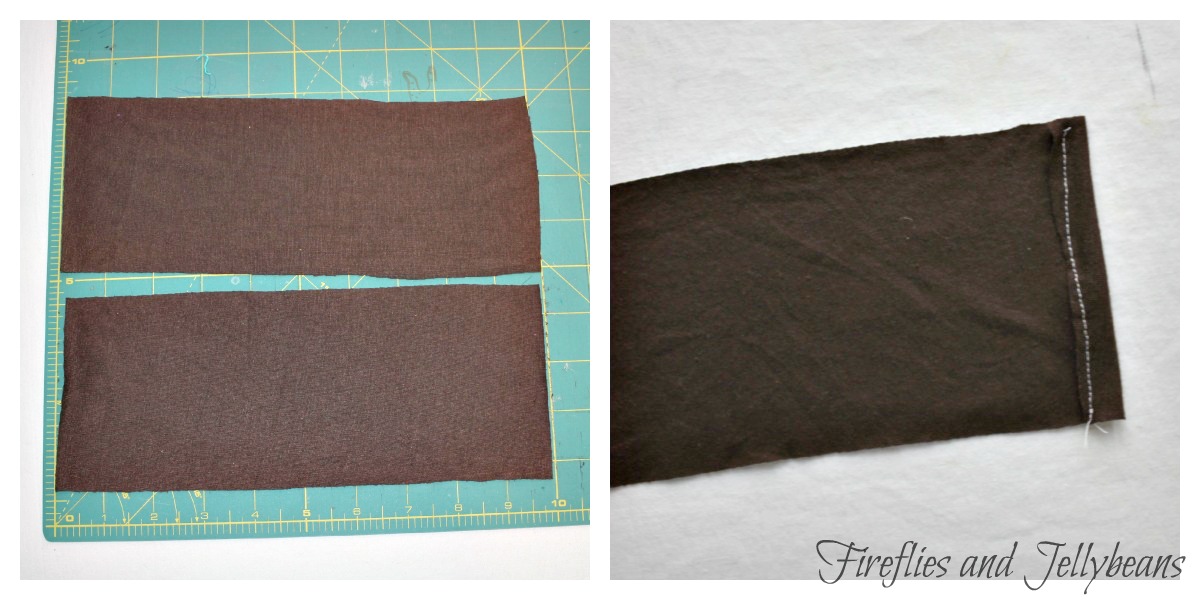
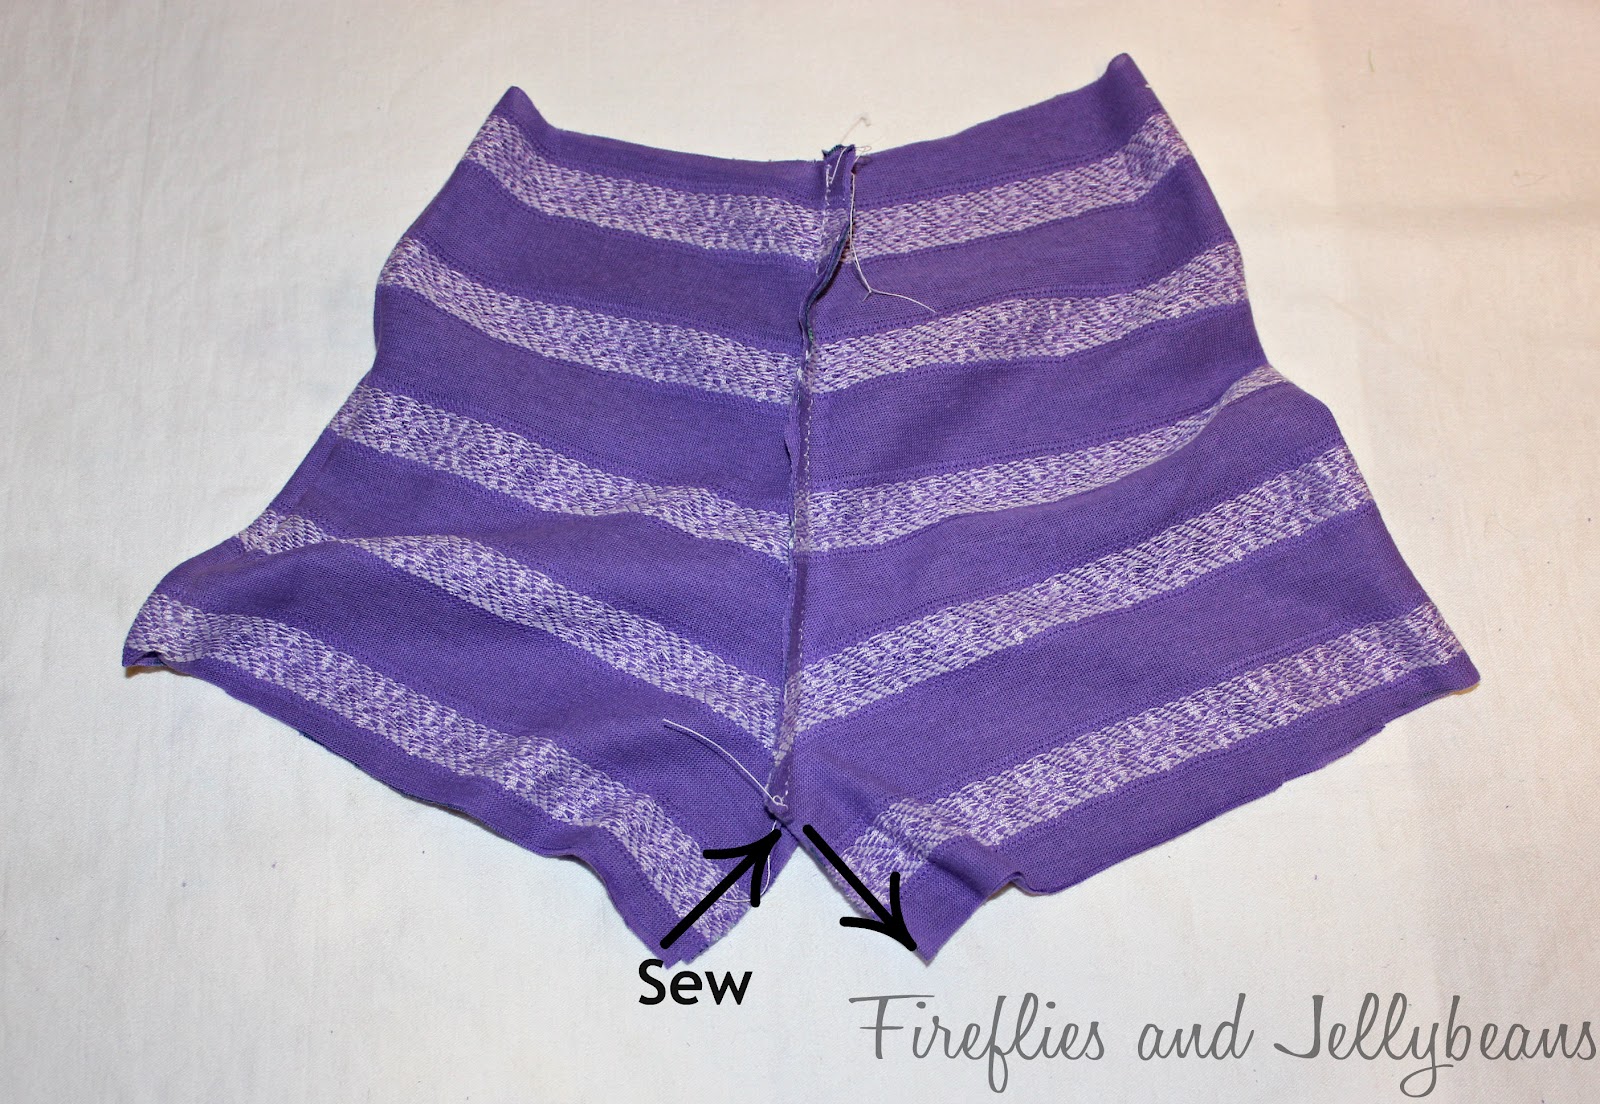
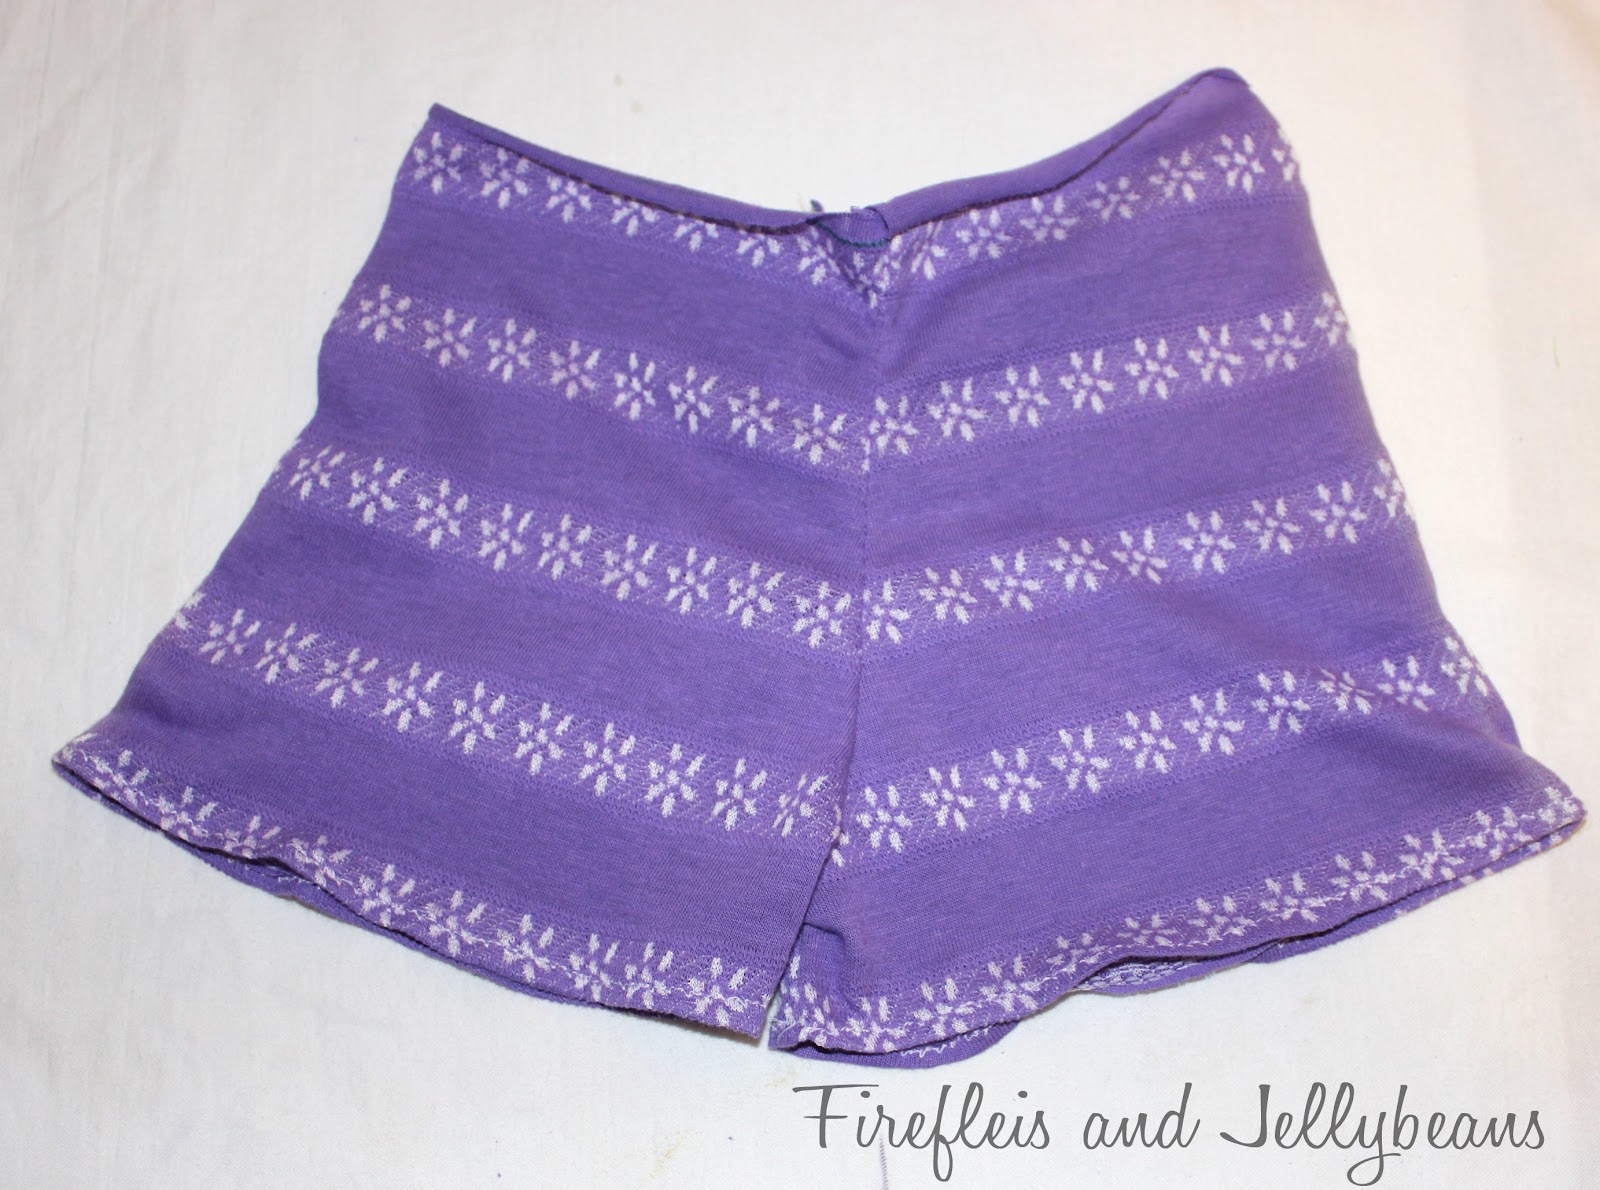
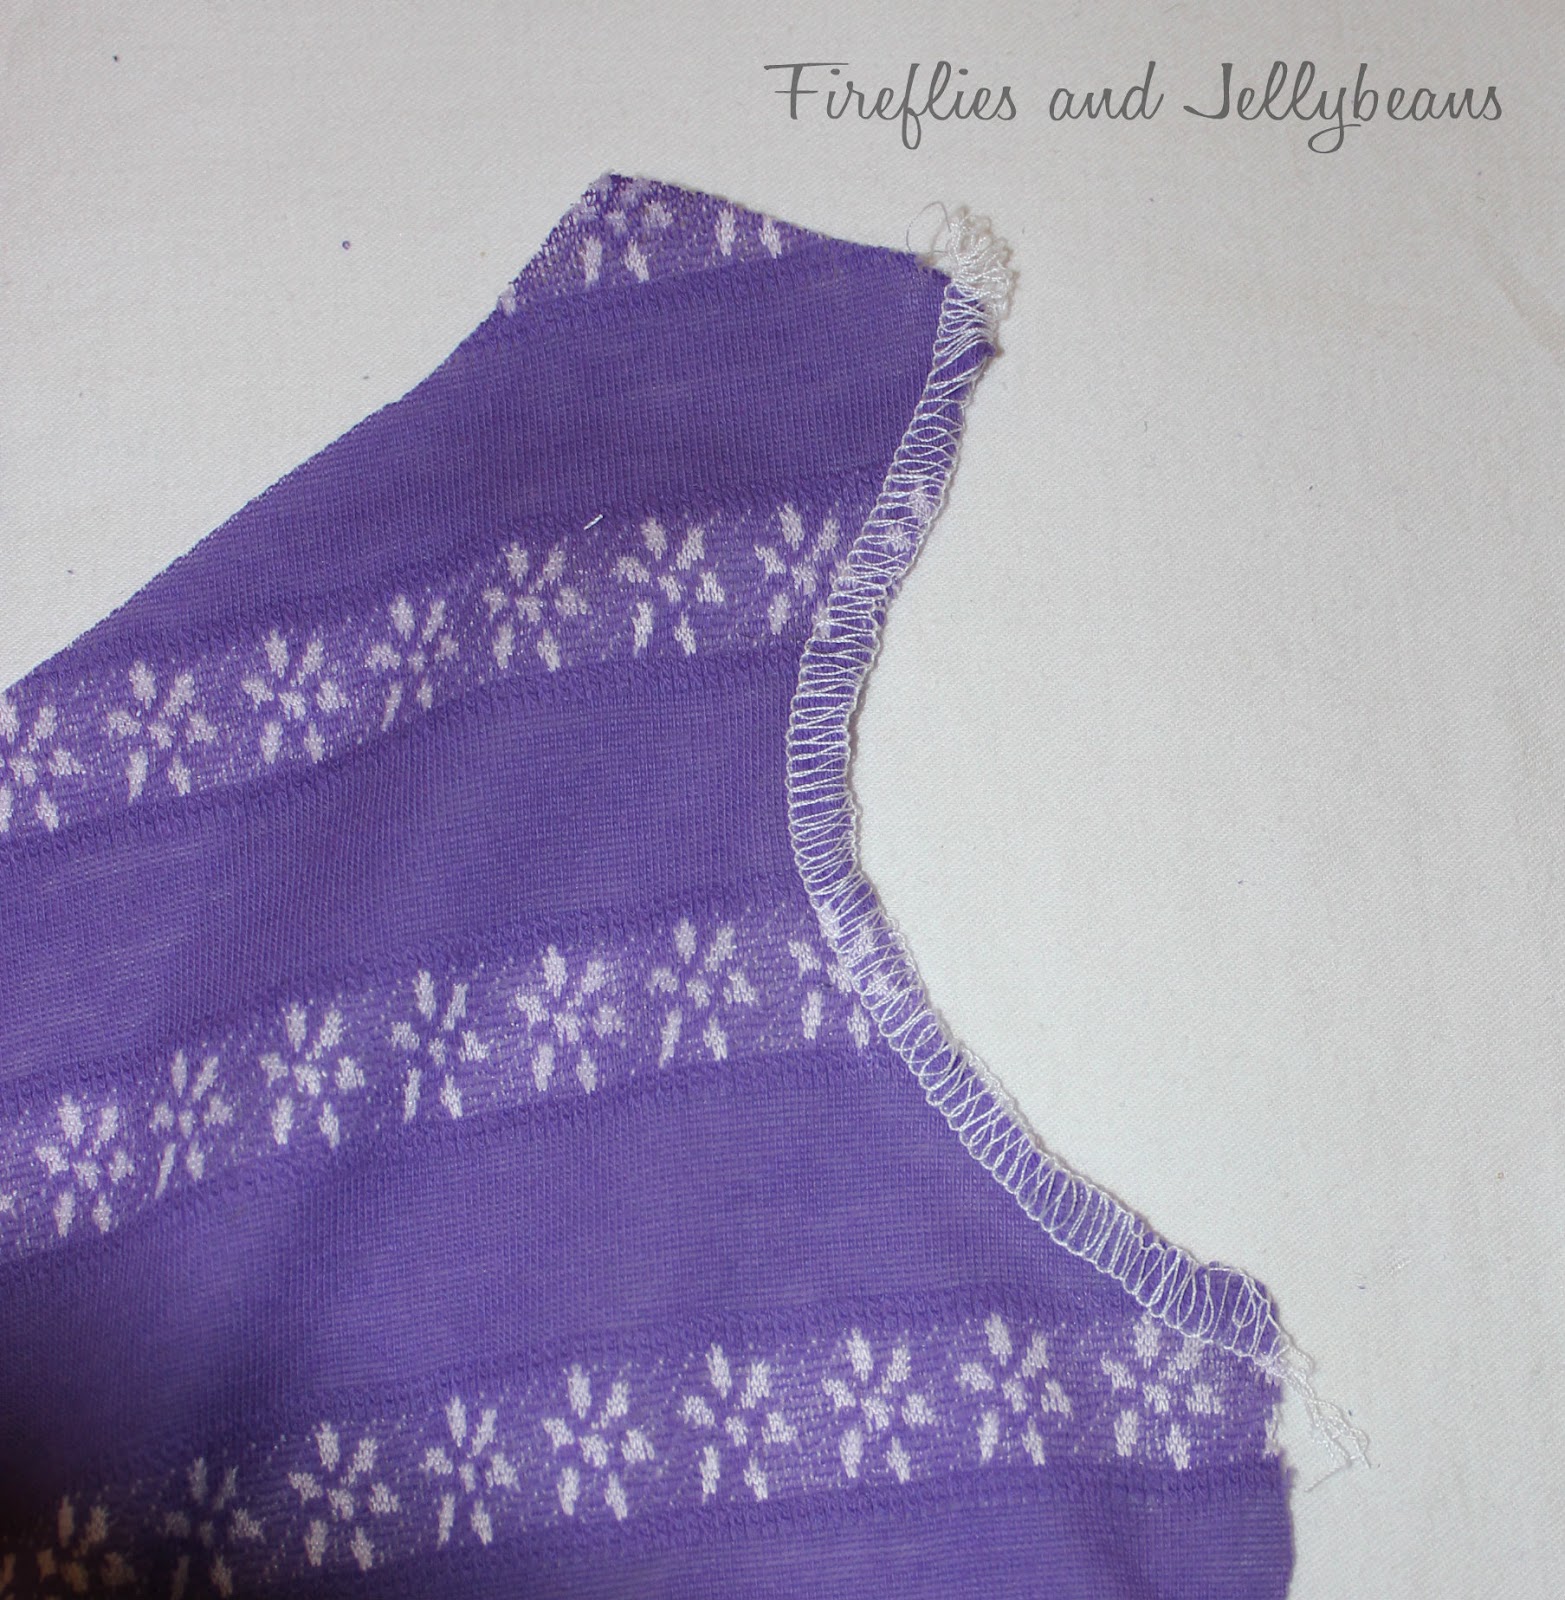
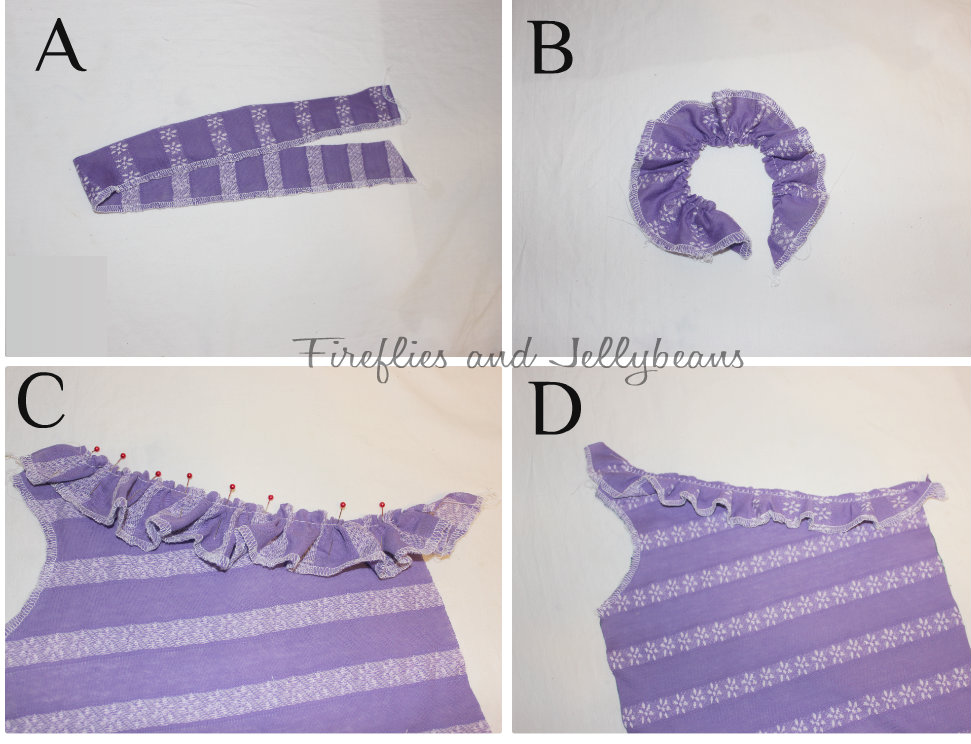
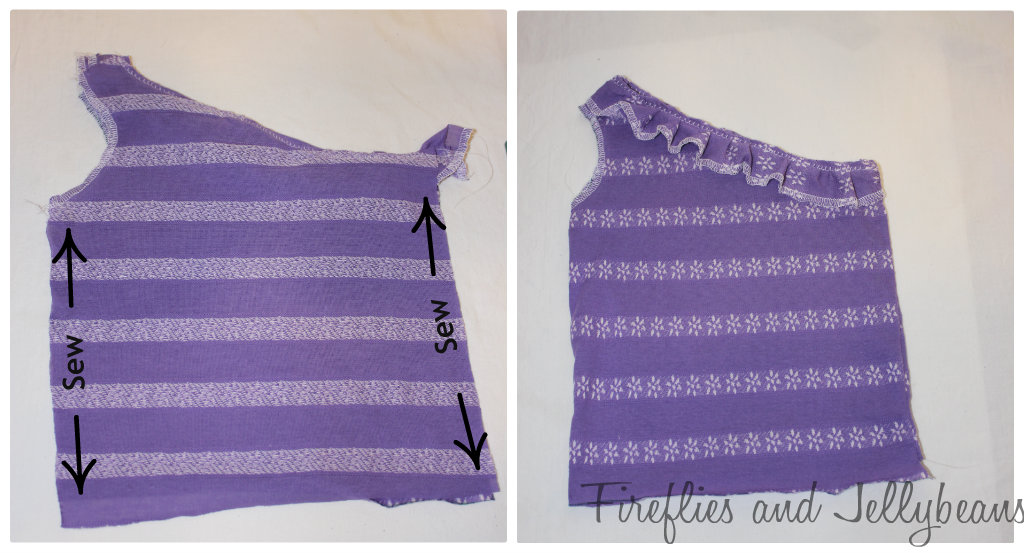
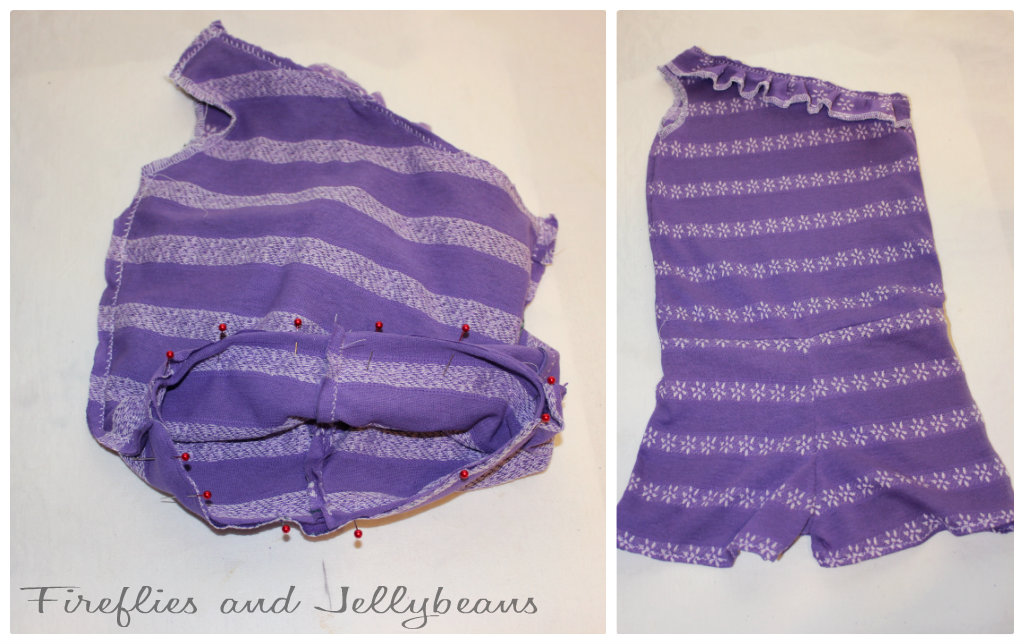
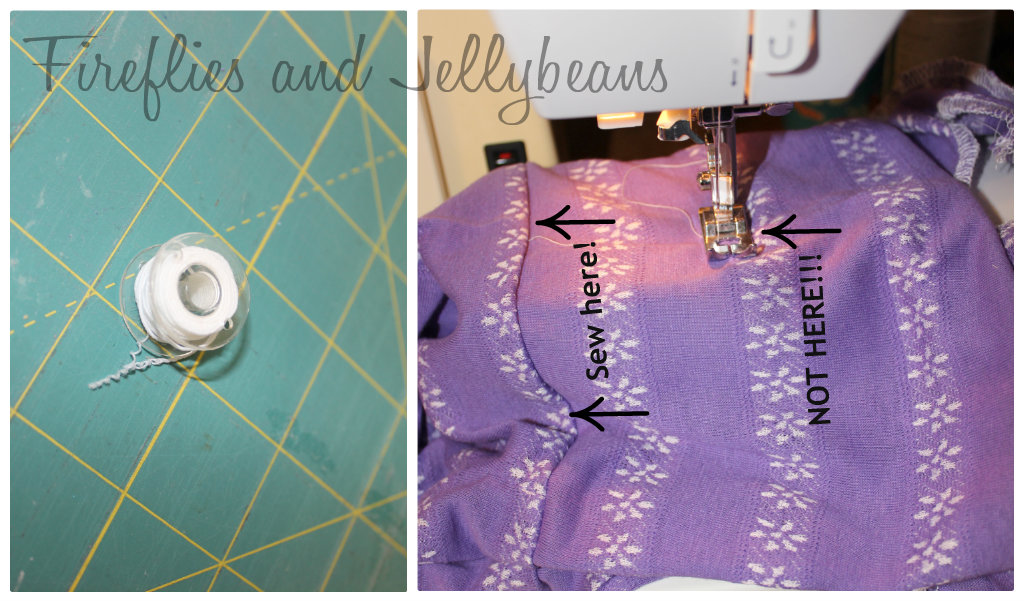
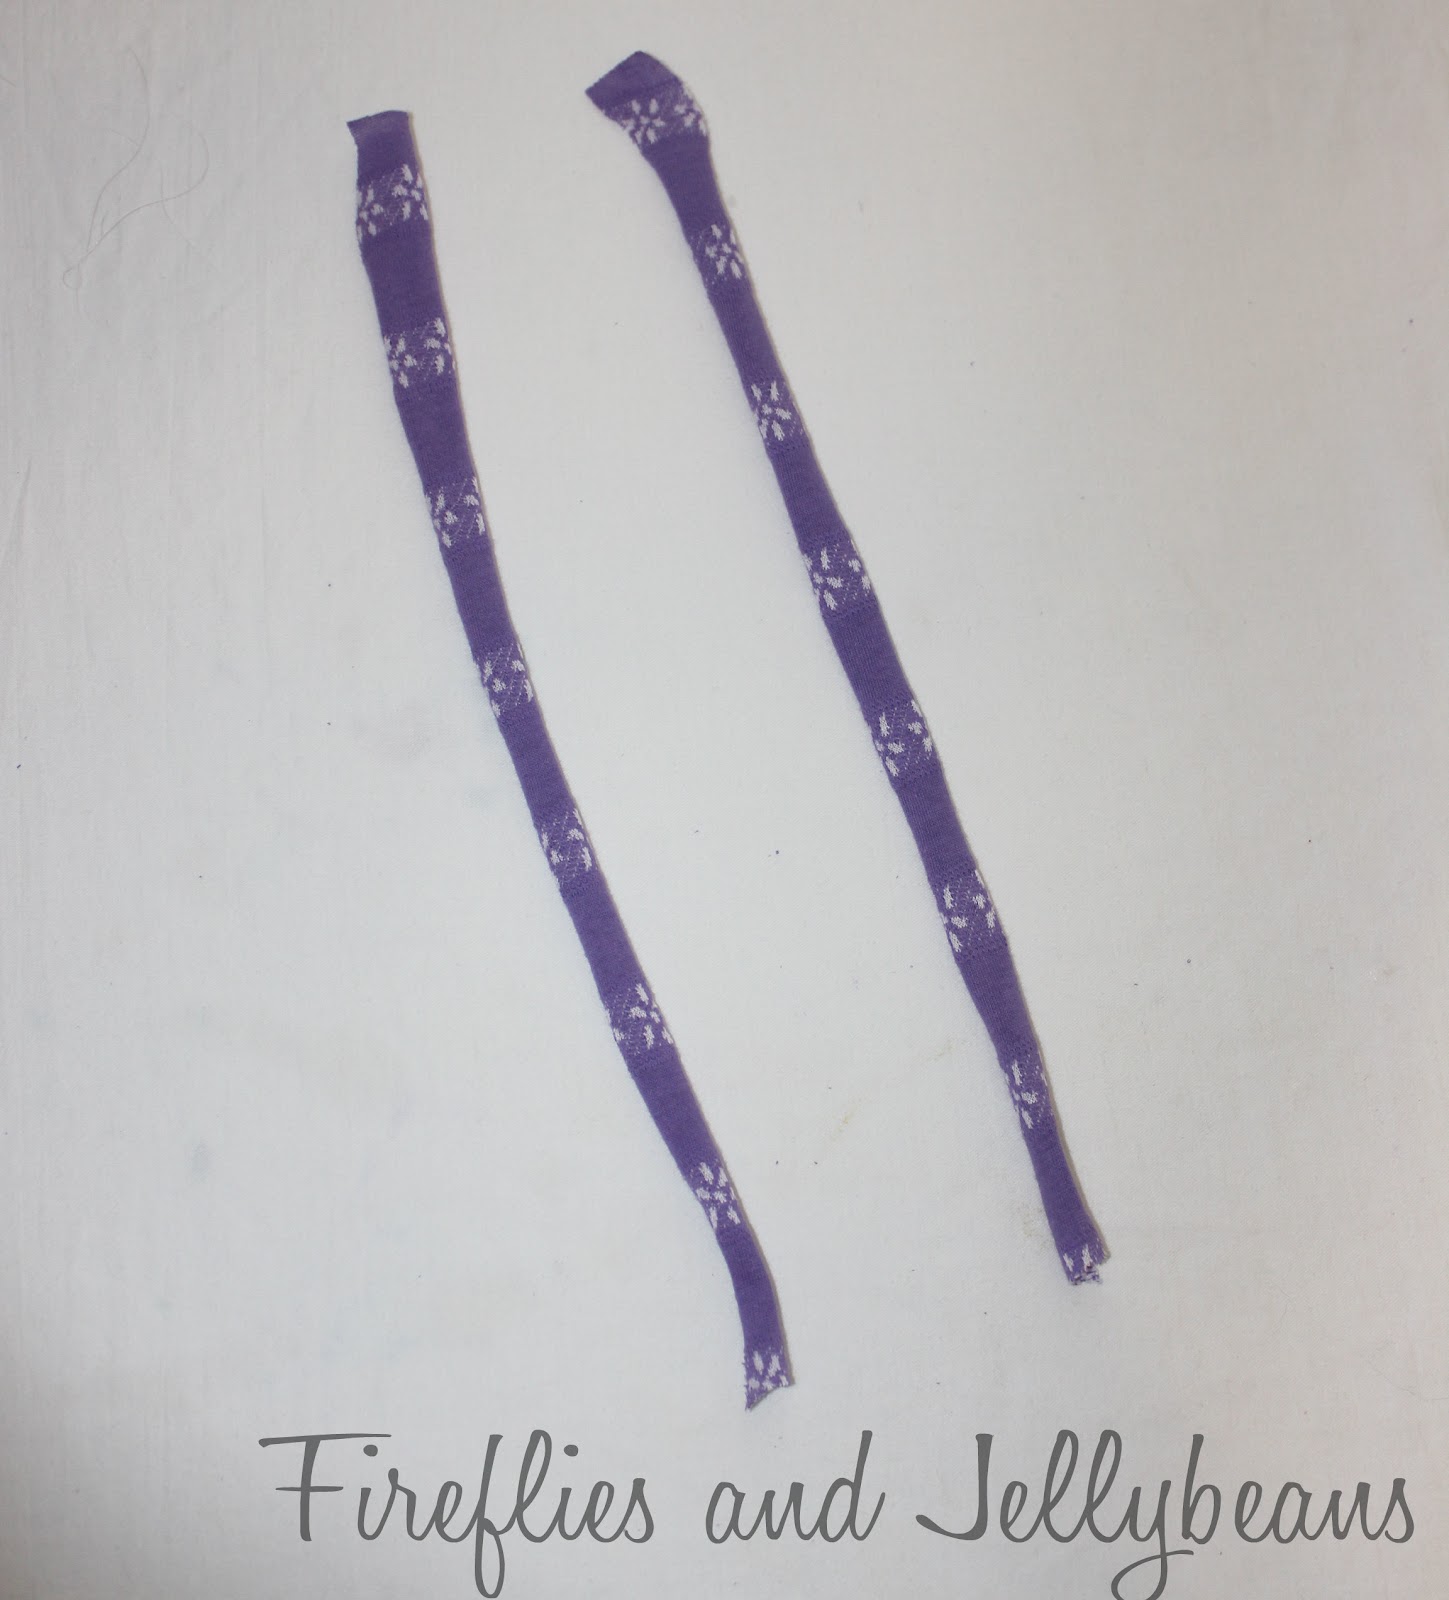
I made the dress using the Hoody-pattern from Lil' Blue Boo and I just added length and the ruffle on the bottom.  I love this pattern and use it all the time! 


Be sure to stay connected with Tulip:
 web site,  on facebook on twitter on pinterest

Check out what other bloggers made with Tulip supplies!


***Disclosure: I wrote this post as part of a paid campaign with Tulip and Blueprint Social. The opinions in this post are my own.***

Monday, June 18, 2012

Sunshine Dress Tutorial

My next Sew-It-Yourself: Kid Clothes tutorial is of what I like to call the Sunshine Dress after my Daughter whose name means "Sunshine" and- she just so happens to be the Sunshine our our lives!


Supplies:
Knit Jersey
1/4 inch elastic
Sewing machine with common sewing tools.

1. Create your pattern:
Take a tank top the fits your daughter.  Fold it in half and fold over the neck so that it is flat accross the shoulders.  Make an "A-line shape.  My daughter wears a 3T so I went straight down the folded side 6 inches lower then the shirt and the over 8 inches and then made a diagonal line up to the bottom of the arm pit.

2. Use your pattern and cut 2 pieces (on the fold) for the front and back of the dress.  
This is what they look like unfolded:

3. For the Neck Casing: Cut 2 strips the length of the neck and  4 inches wide.  Fold over the end and sew to finish each side of the strips. 

4. Cut a piece of elastic a little over half the length of the neck so that when you stretch it out fully it goes the full length.  Fold your Casing strips in half (with the right side facing out)  and place on the RIGHT side of the neck of the dress.  Place the elastic of top.  While sewing stretch out the elastic.  This will give you the gathered look of the neck and allow it to stretch over their head too!  Repeat on the other dress pattern too so that the front and the back are the same.

5.  Finishing off the bottom of the dress: 
Cut 2 strips that are the length of the bottom of your dress and 4 inches wide. 
Sew the strip to the bottom of the dress with the right side of the strip facing the wrong side of the dress.  (When you open it up it should look like the first picture)
Folder over the bottom edge of the strip about a 1/4 inch.  Iron if you want (I didn't)
Fold over again to cover your seam.  Pin in place.
Top sew to finish
Repeat on the other dress pattern too so that the front and the back are the same.

6. Now we are going to finish off the arm pits with binding. 
Cut a strip the length of the whole armpit  and about 1 1/2 inches wide.  
Pin with the right side of the strip facing the wrong side of the dress and sew. 
Flip it open to see the right side of the dress and fold about 1/4 inch and fold agian to cover up your first seam and pin in place.
Top Sew to finish.  
Repeat on the other armpit.
***Note: Binding used to scare me before I made this dress... yeah for getting over my fear!***

7. Make the yoke for the neck of the dress. 
Cut a strip at last 18inches.
Fold in half (right sides together) and sew.  Flip right side out. 
Feed the strip through both your neck casings.
Fold over the end and push the other end inside to finish off the circle.  Hide the seam inside one of the neck casings. 

All done! 

Now go make some SUNSHINE! 

{I think that she looks 14 in the picture!}


Monday, June 4, 2012

Off The Shoulder Ruffle Romper Tutorial!

Today we are starting a New Series!  Sew It Yourself: Kids Clothes!  All month we will showcase kids clothes tutorials!  

First up is my Off the Shoulder Ruffle Romper:
Supplies:
Stretch/Jersey Knit
Elastic Thread
Sewing machine with other Sewing tools (Thread, scissors, etc)
Serger (optional!)
Paper (for making a pattern)
Current tank top that fits (for making a pattern)
Current shorts that fit (for making a patter)

Making the pattern:
Let me preface this with- I have never made my own pattern from existing clothes before now.   I always thought that it was difficult and wouldn't really work for me... but it totally did!  AND It was way easier then I thought!  After I figured this out I made 3 other dresses for my daughter (Tutorials coming soon!) SO- I hope you try it too!

1.  Take a tank top that fits snugly right now to make this pattern.  Fold one shoulder down and trace on to a piece of paper.  (I was able to use a regular piece of paper for my 2T-3T size but if you need bigger you can either tape paper together or use freezer paper). 
2. Now, take a pair of shorts (I used the bottom of a romper I had already) and fold in half with the crouch folded out so you can trace around it.  Make the side on the pattern that has the fold.

3. Use your patterns to  cut out your pieces of fabric.  I trace my patterns right onto to fabric.  It makes it so much easier to cut out.  I use a sharpie because I finish all the edges and you don't see the marker anyway.  Make sure you cut your shorts on the FOLD!!  You need 2 shorts pieces and 2 shirt top pieces.

Making the Shorts part:
4. Open up both shorts pieces and place right sides together.  Pin and sew on the curves sides (See below)

5. Open up the shorts and place the seams in the middle to form the shorts shape.  Now, pin and sew the crouch in on continuous line.

6. Hem the shorts legs by folding under and sewing.  Place the shorts to the side for now.

Sewing the Shirt top Part:
7. Finish off the one armpit sleeve on each top piece.  I serged them and called them good because I was being lazy.  But you could hem them or using binding too.

8.  Now, we are going to add the ruffle.
A. Cut a strip that is at least 2 times as long as the "neck" of your shirt.  My strip was 2 inches wide.  Serge or hem one side.
B. Gather your strip.  I use this cheat technique from Made. 
C. Pin and sew your ruffle to the "neck" with the RIGHT side of the ruffle to the WRONG side of the shirt.
D. Flip the ruffle to the RIGHT side of the shirt.  Not the Right side of the ruffle should be facing up.  Top sew the ruffle in place.
 Repeat for the other shirt piece.

9.  Place your shirt pieces together with RIGHT sides together and pin and sew.  Make sure you don't sew your armpits closed! :)   Turn right side out. 

Putting it all together:
10.  Now- grab the shorts.  Pin together at the waist with RIGHT sides together.  

11. Change out your bobbin with elastic thread.  Hand wrap the elastic thread onto the bobbin.  Not too tight... not too loose.  Keep regular thread in your needle.  Now we are going to Shir the wiast (here is a great Shirring Tutorial!).  You want to start at your seam (not where the picture has the needle.) and do three lines on shirring up toward the neck.   

12. And just to make sure that we don't have any wardrobe malfunctions... lets add a strap for the other shoulder.  Cut out 2 strips about 1 inch wide and pull so that the roll up all nice (that is a quick way to make it look finished!) 
13.  Try the romper on to find the placement of the straps.  Pin and sew.

Put on your favorite little girl and go ROMP around! 


 Linking to:
Today's Creative Blog
Creative Itch Home Stories A2Z

Content Ad