


 Here is the final step in our fruit sorter project. We have made 4 kinds of fruit:
Bananas
Strawberries
Orange Wedges
Apple Wedges
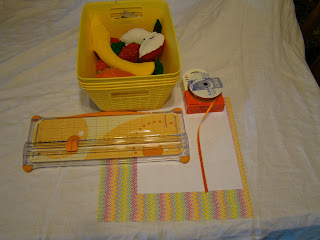
Now, it is time to work on the baskets. Here is what you will need:
4 baskets (I got mine from the dollar store)
card stock
white paper
paper cutter
ribbon
adhesive
Not pictured:
scissors
hole punch
packaging tape
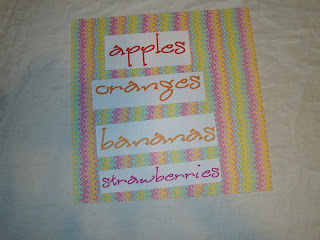
 1.) Print out or hand write the names of the fruit that we made:
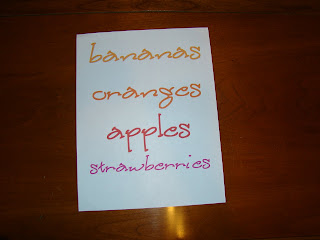 2.) cut out the names of the fruit:
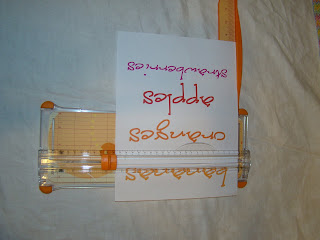
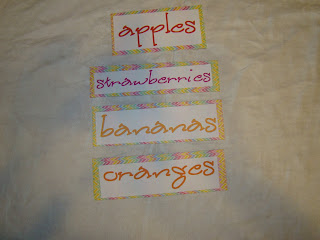
3.) Cut out mats on card stock and mount your fruit names:
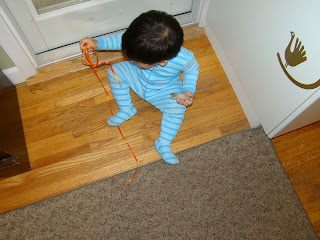
4.) have your assistant help you unroll your ribbon while you are doing the next step (optional!)
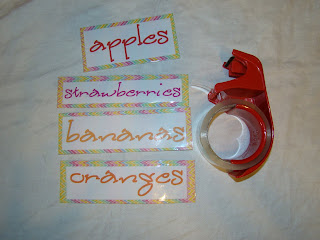
5.) Laminate your mounted fruit names with packaging tape (or what ever you want to use)
 6.) Punch holes in the fruit names:
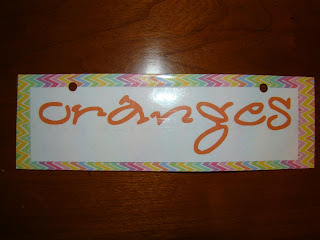
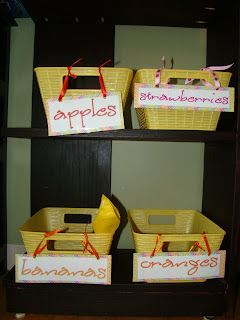
7.) Attach using the ribbon to the handles.
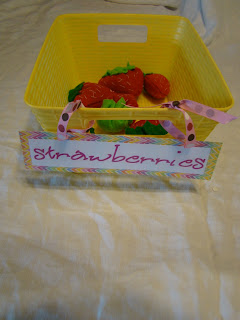
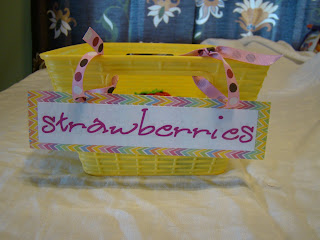 8.) Place on a shelf and enjoy the cuteness!
I hope that you enjoyed our fruit basket sorter project! :)
4 comments :
I love this! Thanks for taking us step by step in making the fruit and sorting it!
So cute! (The baskets, the fruit, and most importantly the assistant!)
It is a good thing my assistant is cute, because sometimes he is not that helpful! : )
I am glad that you like it!
Such a fun twist on fruit baskets!!
Post a Comment